Okay, so a mountain bike accident has left me with to much time on my hands and so I thought I would post on the importance of planning and preparation. Hopefully this may be of use to tilers with limited experience.
This job was done several years ago and I will go through the main points as best I can.
The first is money, to do a job with this level of prep you need to have a good price in for it, or a day rate with the trust of the client. This lets you spend the time required to get it right.
Second is get involved early. This means you can have your say about layout, positioning of recesses, electrics and plumbing, and spot problems before they happen. You will have something to offer, it's not just about making it easier but making it look better as well.
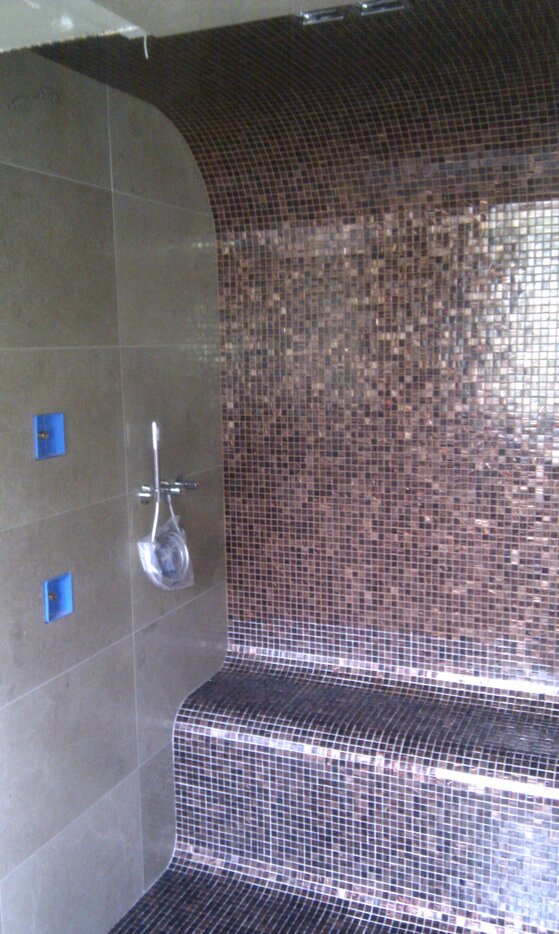
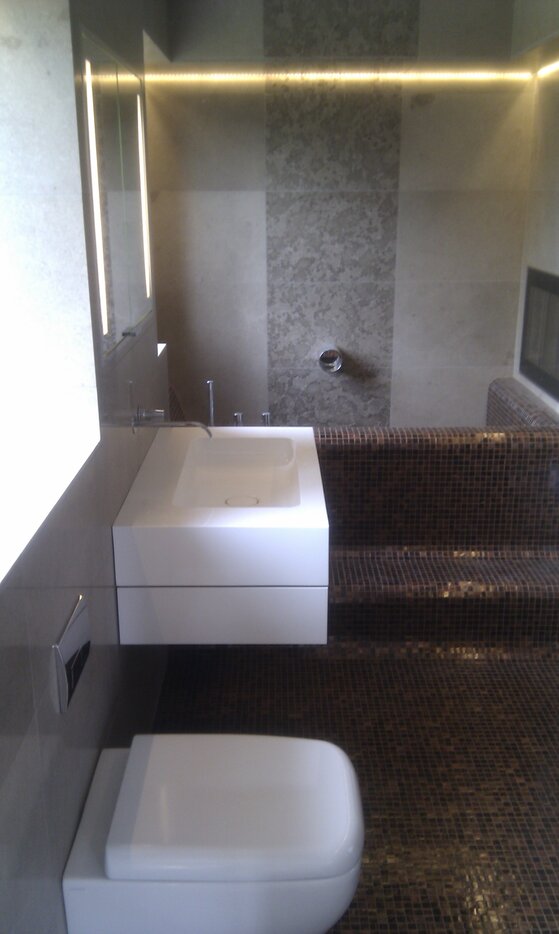
On this job we used a mix of natural stone and bisazza mosaics. Mosaics always look better if you can get them to work out to full cubes wherever you can.
So with this in mind you have to think about every wall before you fix a tile.
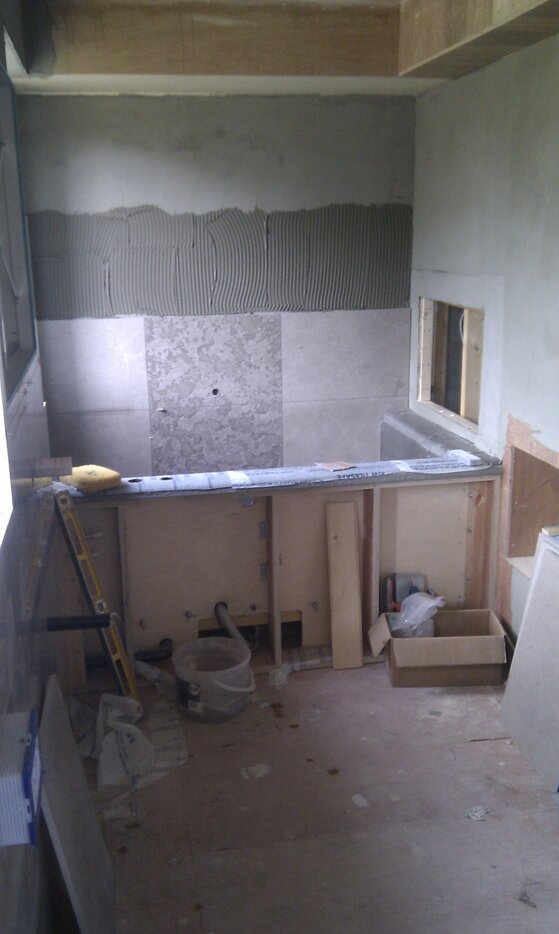
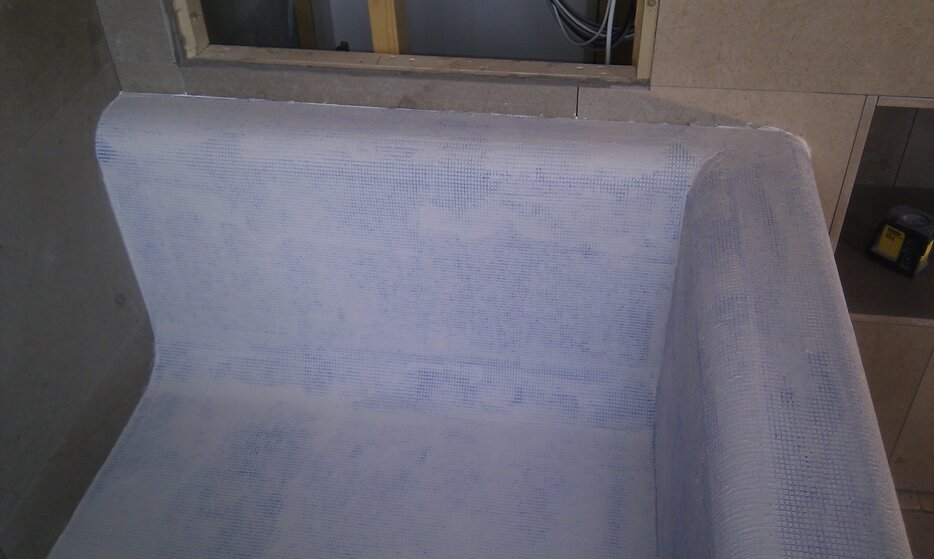
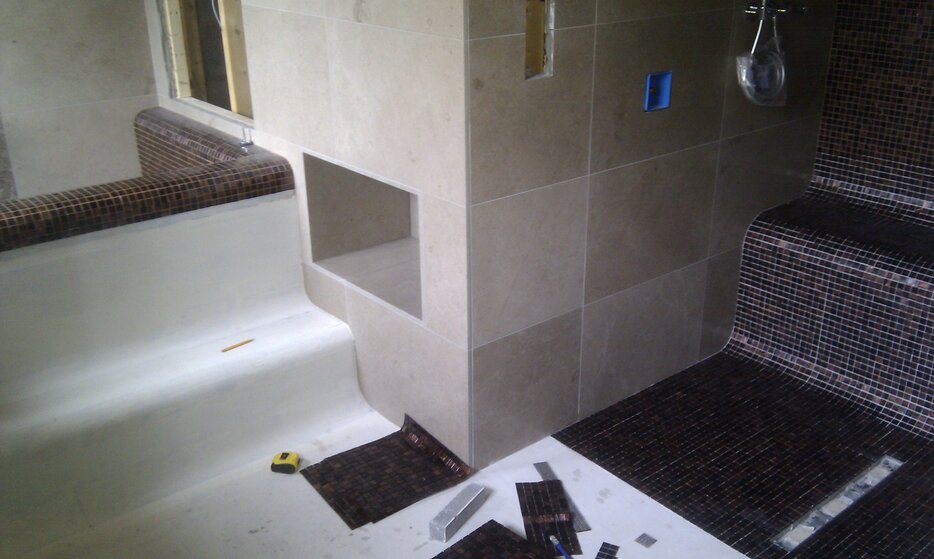
When fixing onto ply I usually coat the walls with mapenet 150, primed with sbr, then fixed with flexible adhesive and then smoothed over with the flat of your trowel. This is because you have no control over the surface you're tiling onto and wood loves to move and shrink as it drys. this might seem belt and braces but when the builder insists on using ply instead of a more suitable product it's better to be safe than sorry. after having to chop out and remove a tile (thermostat in wrong place), I no this works.
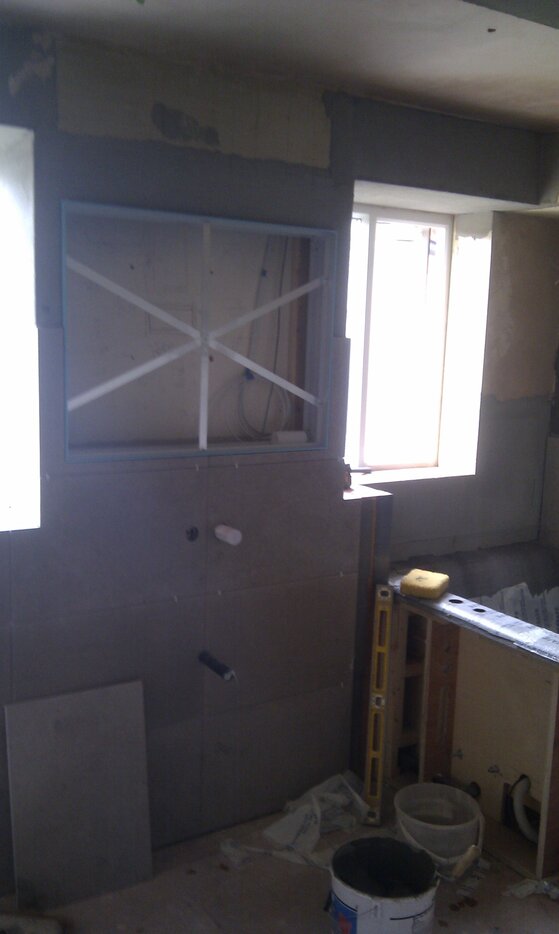
Walls are built out with adhesive to make sure you end up with full mosaics.
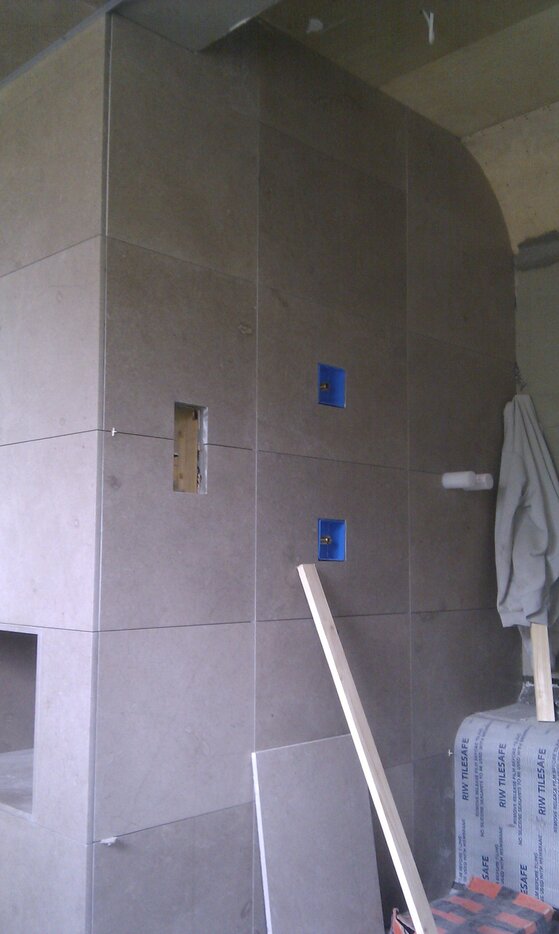
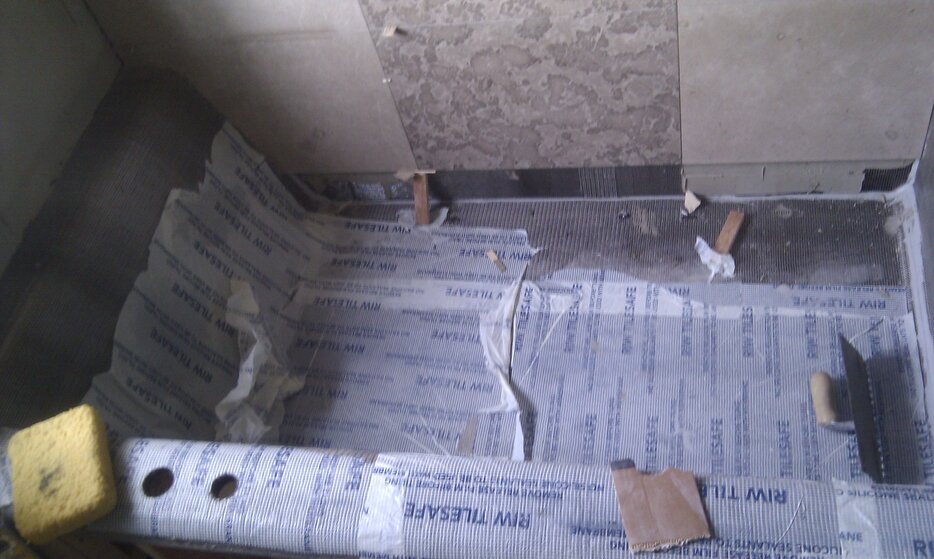
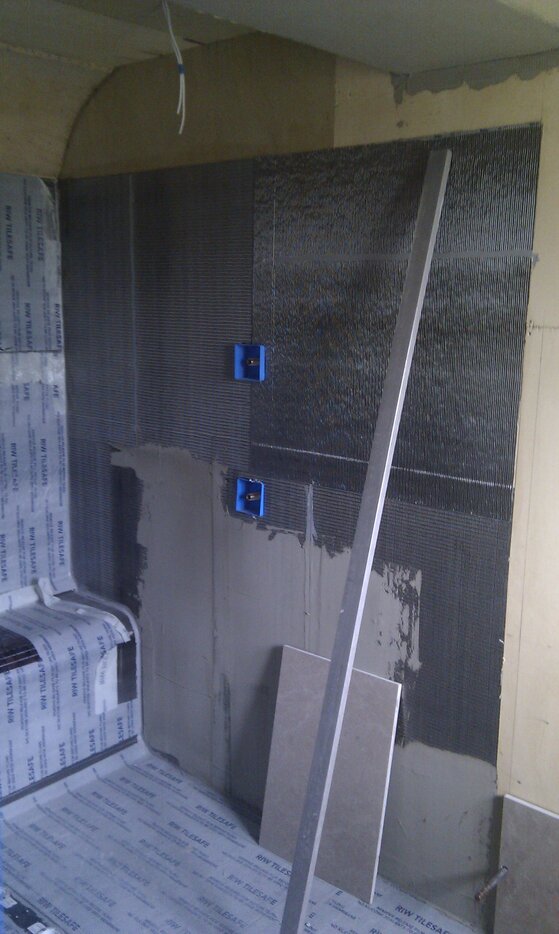
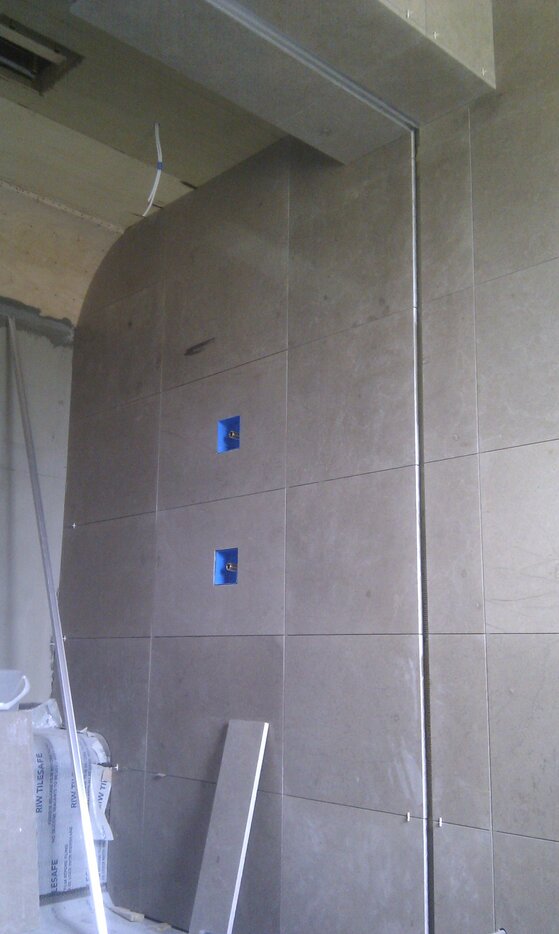
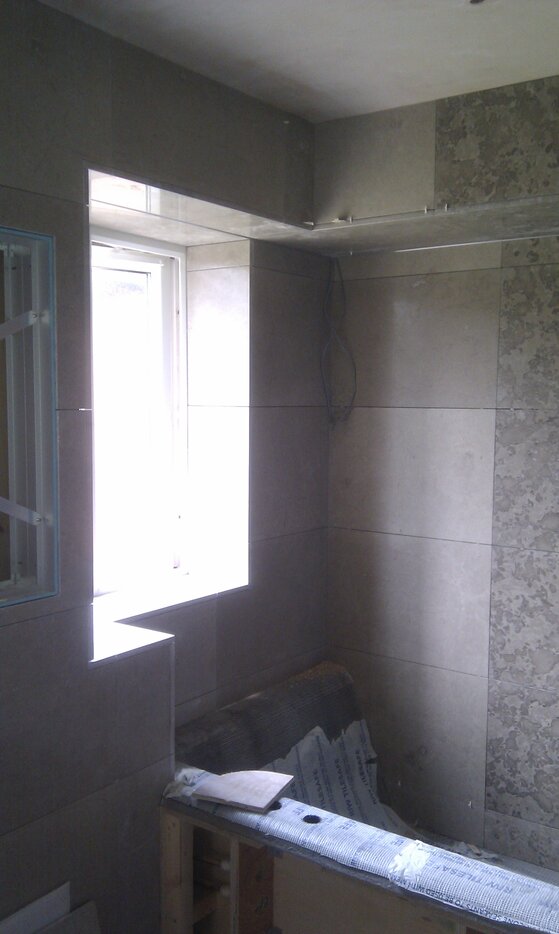
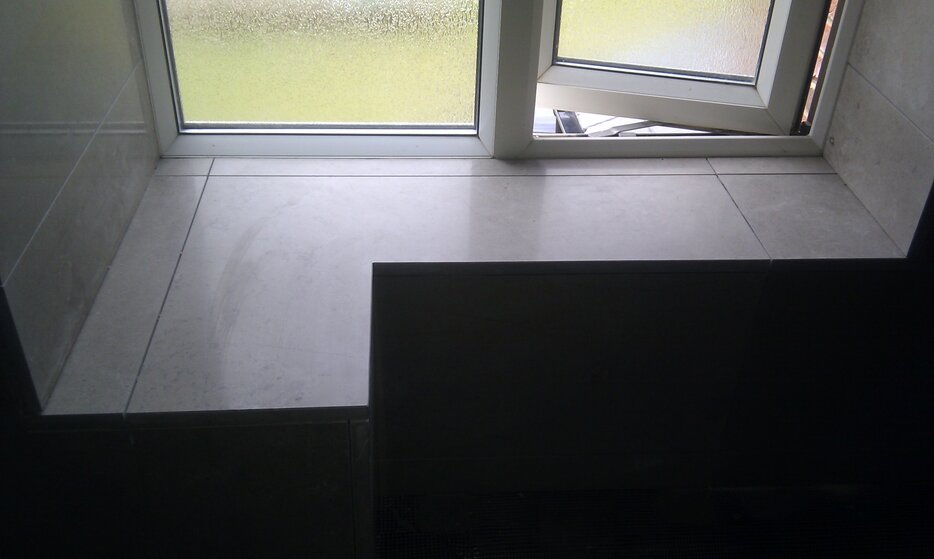
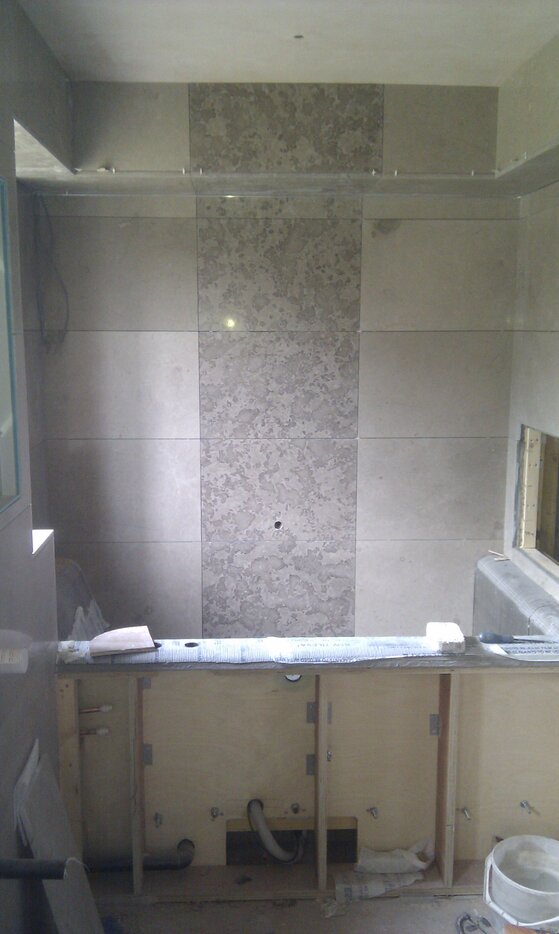
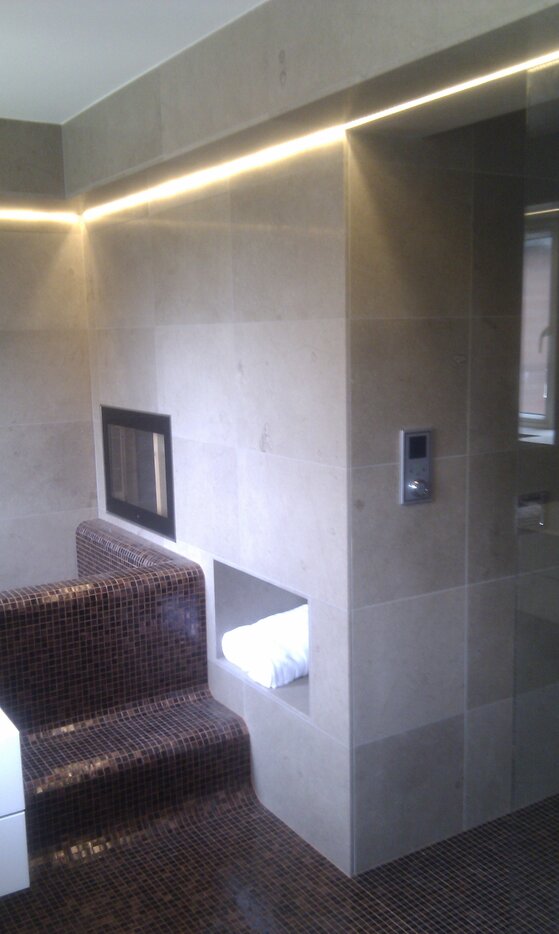
U shaped channels for led strip lights follow the bulkhead around the room and continue across windows.
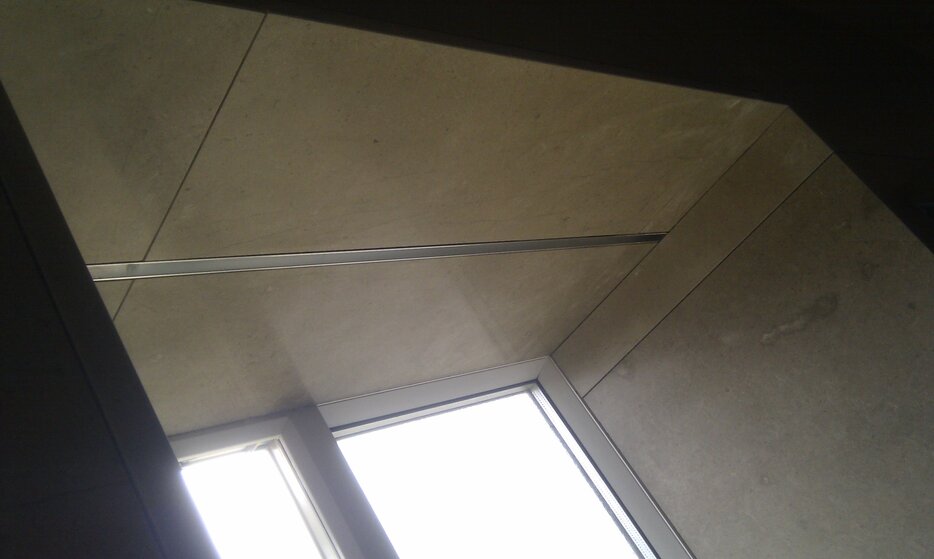
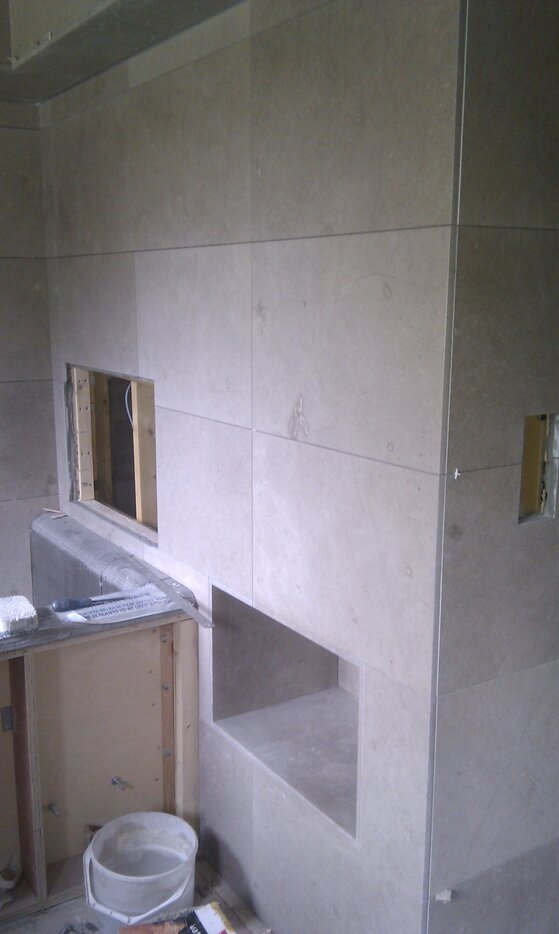
This show how early input on setting out can result in an easier job and a better finish.
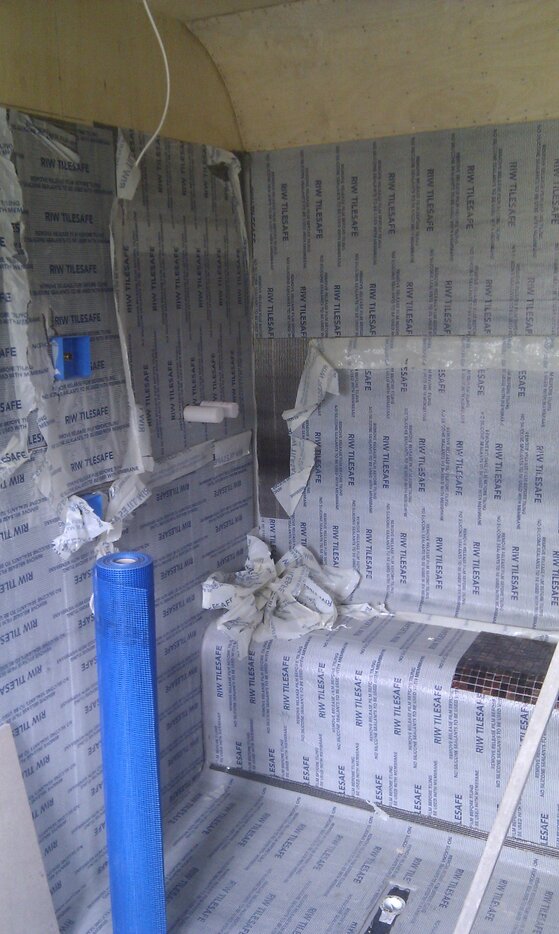
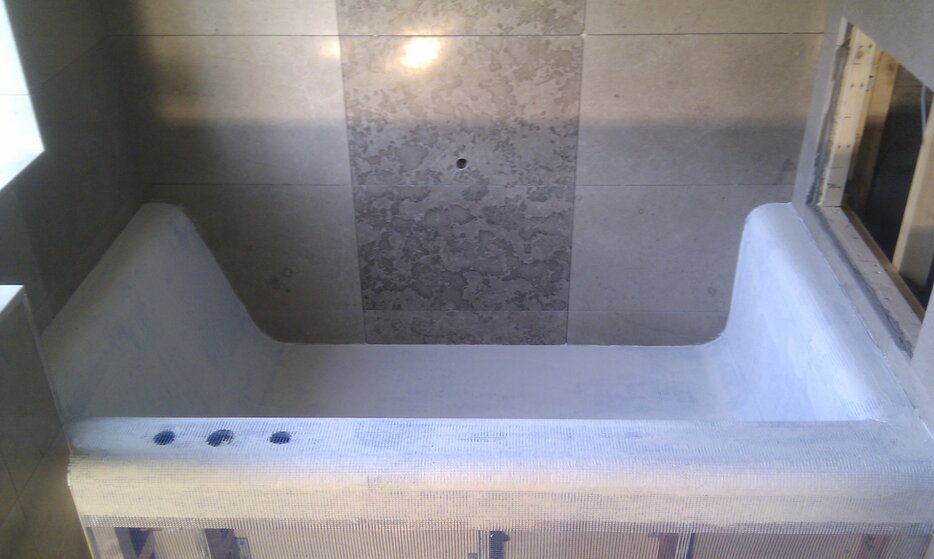
When using certain tanking systems you end up with a lot of overlaps in corners and at joints, it's worth spending the time to build up the low areas to achieve a flat smooth surface. the mosaics will only be as good as the surface you're laying them on. I find mapenet perfect for the final prep.
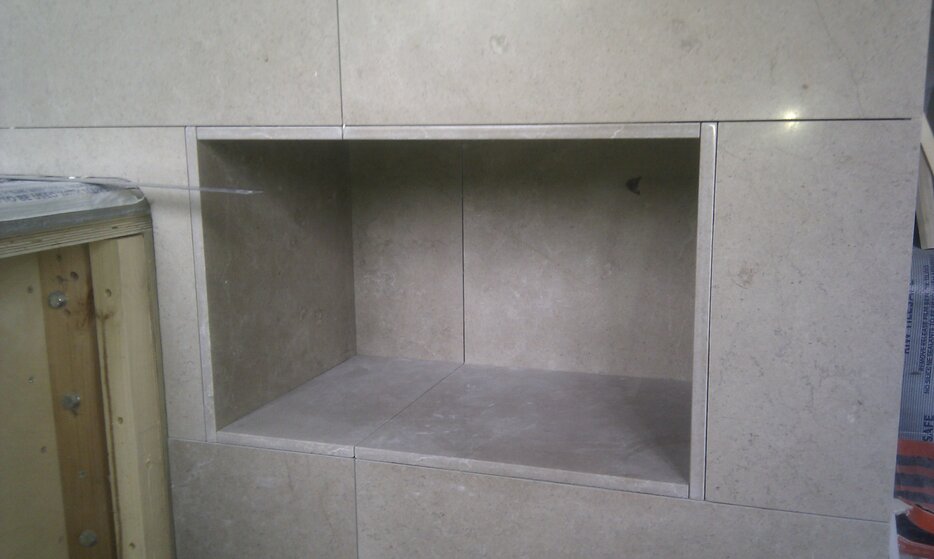
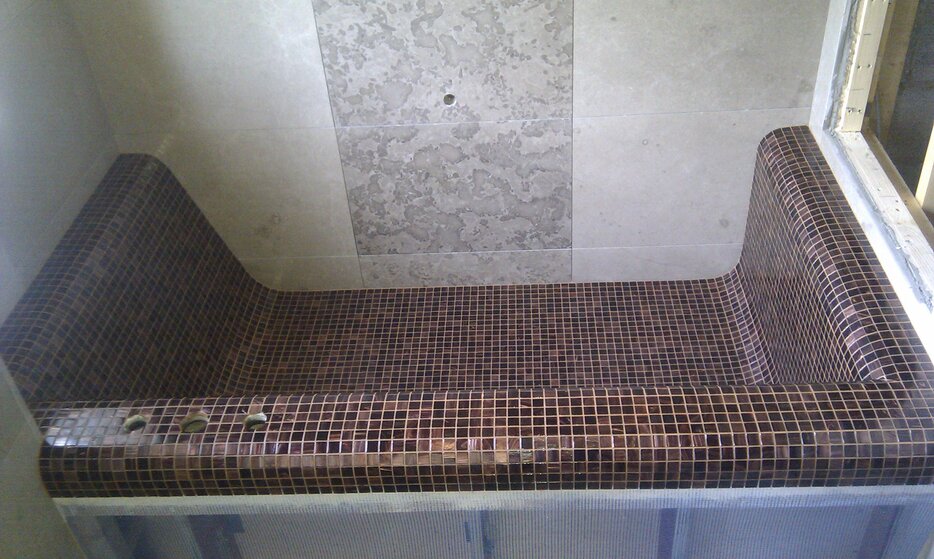
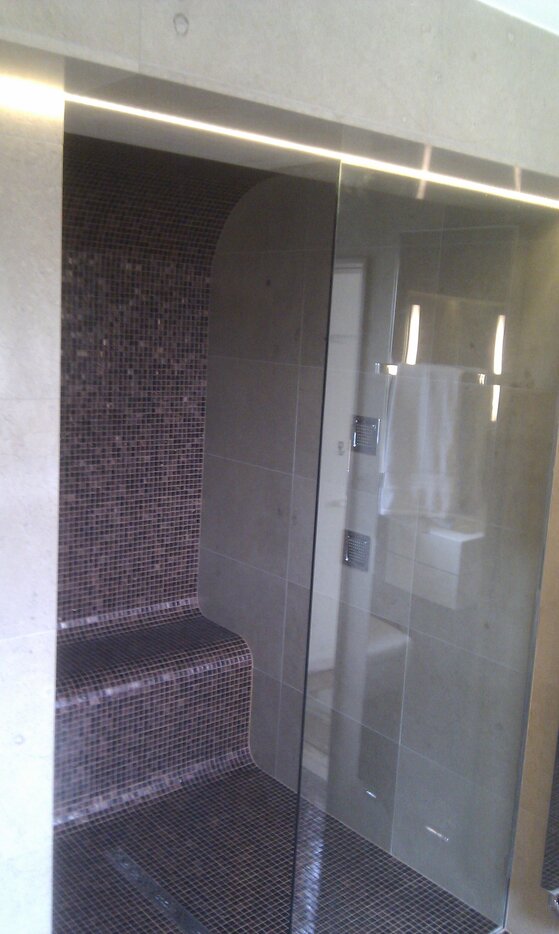
Now it's time for the mosaics, if you've been able to get the walls right you should end up with full cubes.
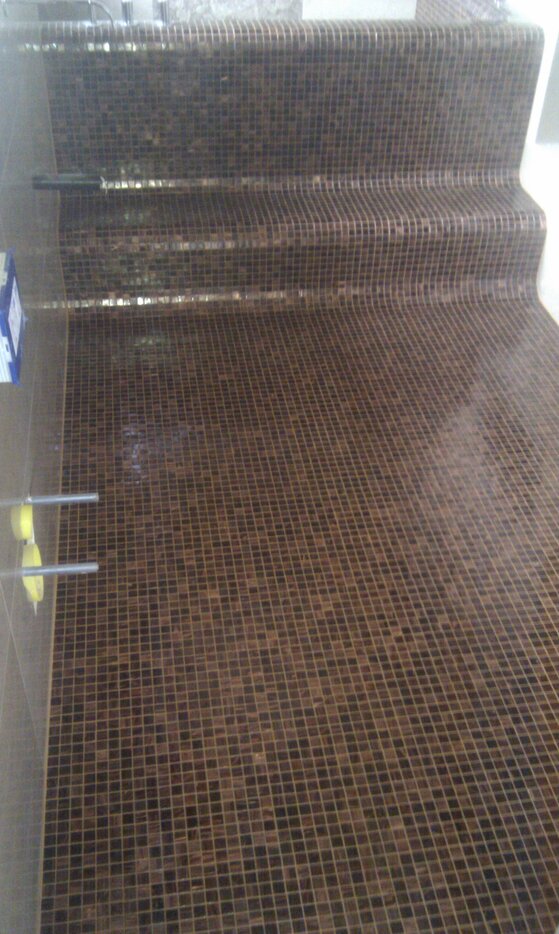
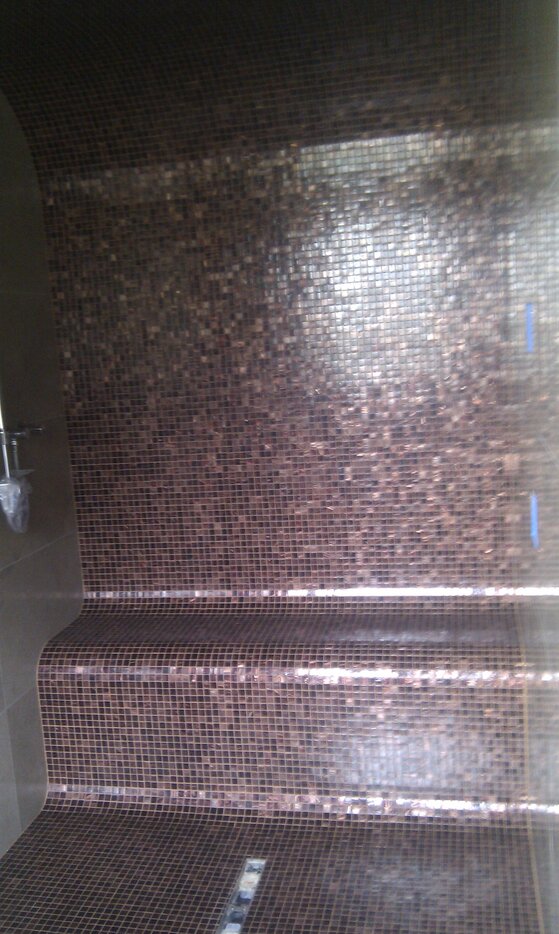
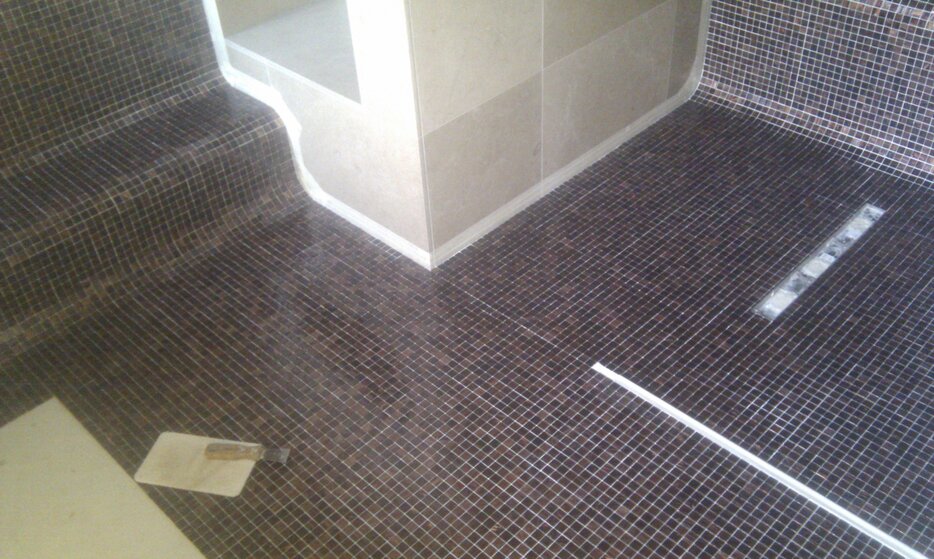
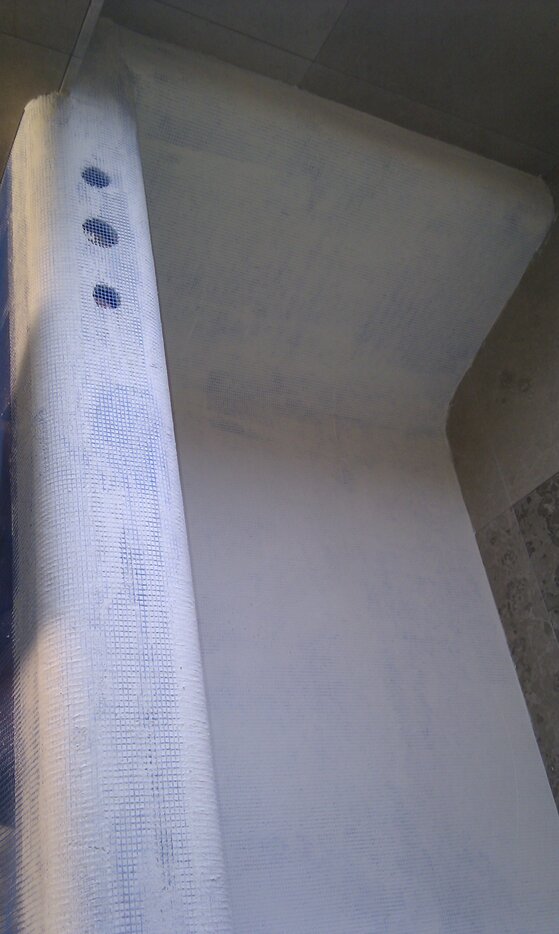
When using ufh I again use the mapenet to help hold the cables flat so you can prep the floor to the finish you want on the tile. It has to be done before you start fixing it's almost impossible bed up mosaics.
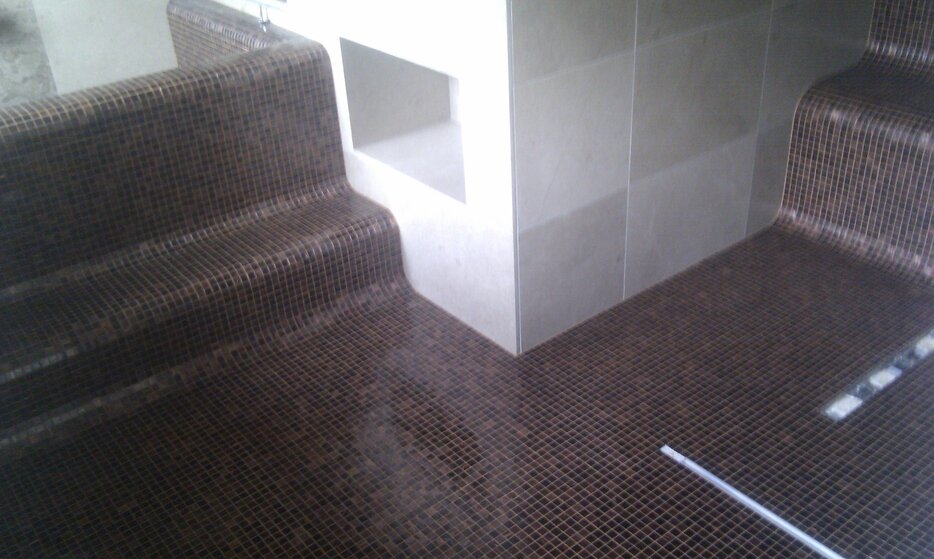
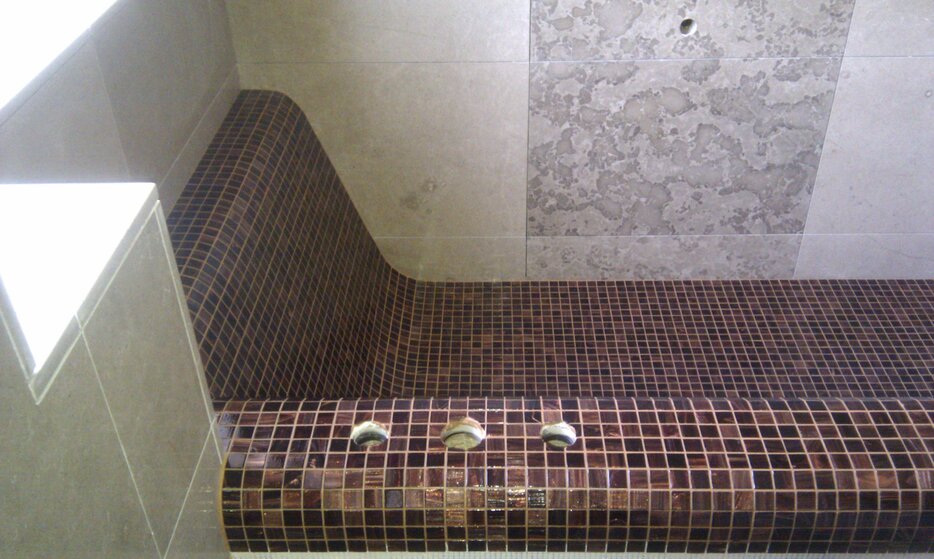
Take time to mask up the stone if using a different grout to the walls especially with epoxy.
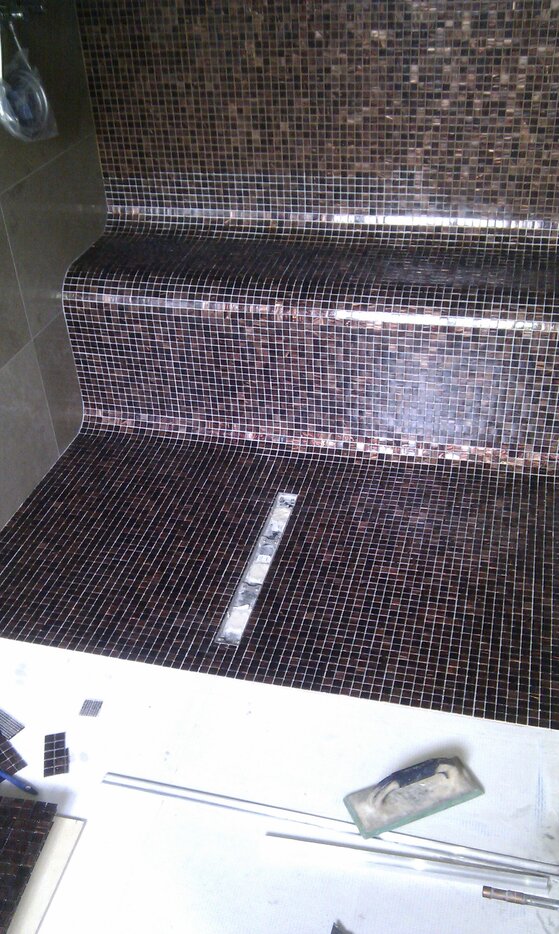
I know most of this seems obvious to a lot people and I'm not trying to teach you to suck eggs, but I hope this is of use to a few of you because when you only type with one finger, this has took me ages to do.
This job was done several years ago and I will go through the main points as best I can.
The first is money, to do a job with this level of prep you need to have a good price in for it, or a day rate with the trust of the client. This lets you spend the time required to get it right.
Second is get involved early. This means you can have your say about layout, positioning of recesses, electrics and plumbing, and spot problems before they happen. You will have something to offer, it's not just about making it easier but making it look better as well.
On this job we used a mix of natural stone and bisazza mosaics. Mosaics always look better if you can get them to work out to full cubes wherever you can.
So with this in mind you have to think about every wall before you fix a tile.

When fixing onto ply I usually coat the walls with mapenet 150, primed with sbr, then fixed with flexible adhesive and then smoothed over with the flat of your trowel. This is because you have no control over the surface you're tiling onto and wood loves to move and shrink as it drys. this might seem belt and braces but when the builder insists on using ply instead of a more suitable product it's better to be safe than sorry. after having to chop out and remove a tile (thermostat in wrong place), I no this works.

Walls are built out with adhesive to make sure you end up with full mosaics.


U shaped channels for led strip lights follow the bulkhead around the room and continue across windows.


This show how early input on setting out can result in an easier job and a better finish.

When using certain tanking systems you end up with a lot of overlaps in corners and at joints, it's worth spending the time to build up the low areas to achieve a flat smooth surface. the mosaics will only be as good as the surface you're laying them on. I find mapenet perfect for the final prep.


Now it's time for the mosaics, if you've been able to get the walls right you should end up with full cubes.


When using ufh I again use the mapenet to help hold the cables flat so you can prep the floor to the finish you want on the tile. It has to be done before you start fixing it's almost impossible bed up mosaics.


Take time to mask up the stone if using a different grout to the walls especially with epoxy.


I know most of this seems obvious to a lot people and I'm not trying to teach you to suck eggs, but I hope this is of use to a few of you because when you only type with one finger, this has took me ages to do.
Last edited by a moderator:

