Q
Qwerty
So today on my weekend off I was given an hour by the long haired colonel indoors to go outside and test the new ATS thin walled cores.
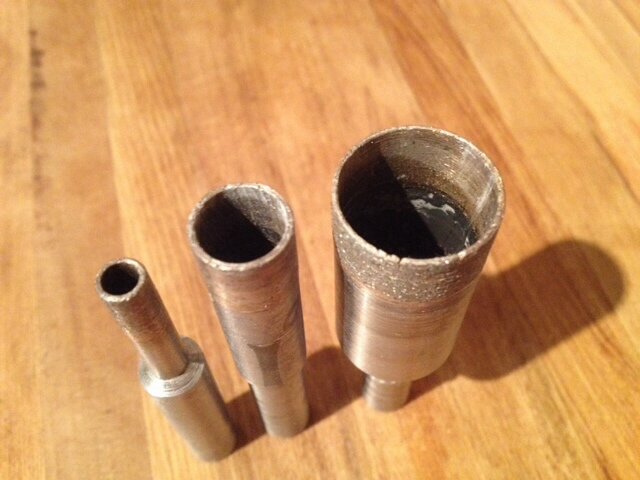
Alan from ATS diamond tools had sent me 6mm, 12mm & 20mm bits. Cheers mate
I had to use my Makita cordless (at 1300 RPM) on drilling mode. I tried them all wet first and then dry. Tested on 10mm full bodied grade 4 porcelain.
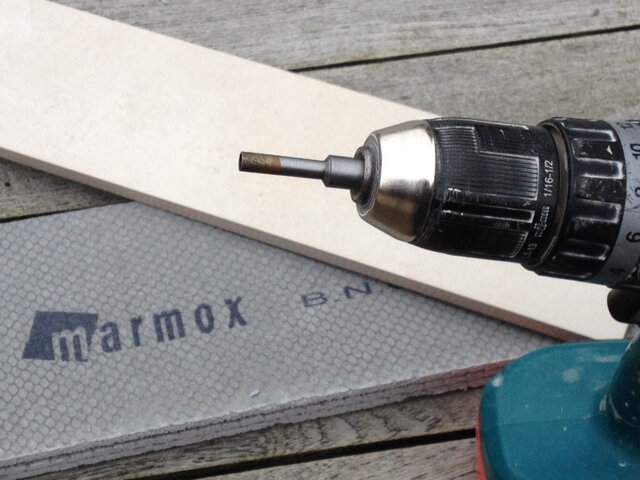
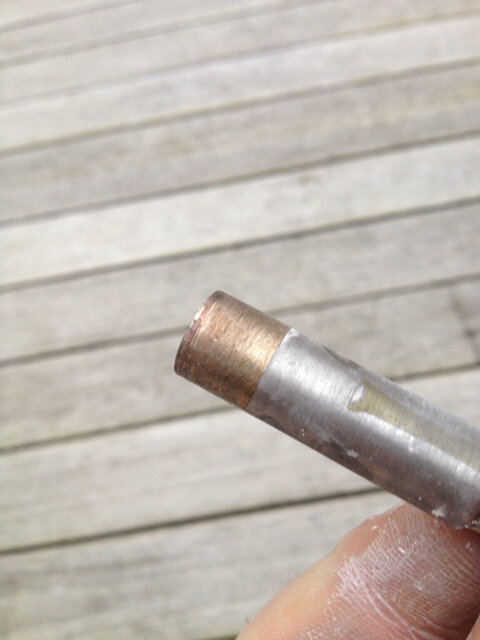
My first observation on these bits are that they are very well machined and the metal appeared to be of a very "engineered" high speed (high temperature) steel. The bits came in some small plastic tubes and were covered in engineering oil. The diamonds appeared very fine and I noticed that there were no notches in the leading edge of the bit to aid in debris extraction that you find in regular ATS diamond core drills and other makes.
6mm bit (wet). Drilled 3 holes in quick succession. Average time for each hole was 1 min 51 secs. By the end of the 3rd hole the water surrounding the hole was boiling and bubbling away a treat. Diamonds on tip seemed worn too.
12mm bit (wet). Drilled 3 holes. Average time for each hole was 1 min 13 secs!....the fastest of the three. Drill bit did not seemed phased at all really and provided consistent results.
20mm bit (wet). Drilled 3 holes. Average time for each hole was 1 min 32 secs.
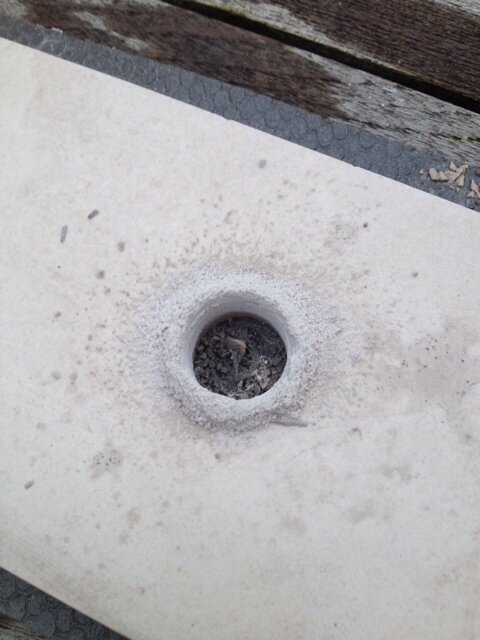
I noticed that each one gave off what appeared to be a metal oxide where it was wearing down slightly. I can see this being a major downside if tiles were drilled once fixed due to the grey metal sludge getting onto finished grout!
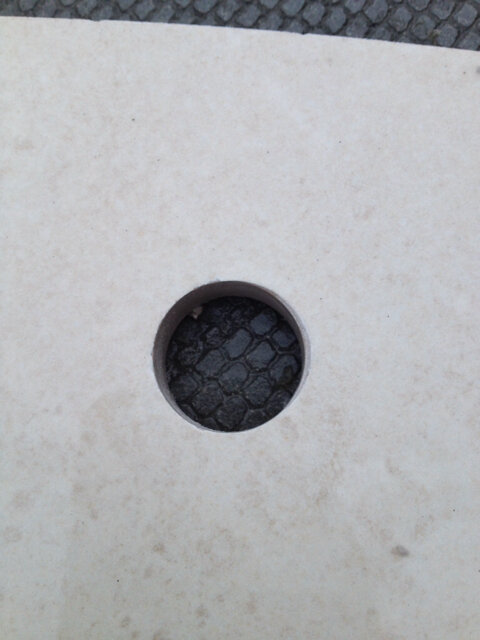
I was not surprised that each bit seemed to chip the surface slightly but to be honest I wasn't really trying to be ultra precise at that point. I did produce some lovely clean holes at a slower speed though. I found the cores got stuck in the drill bit so had to resort to removing it from the drill and tapping it out from the backside through the hole in the shaft with a 3mm drill bit.
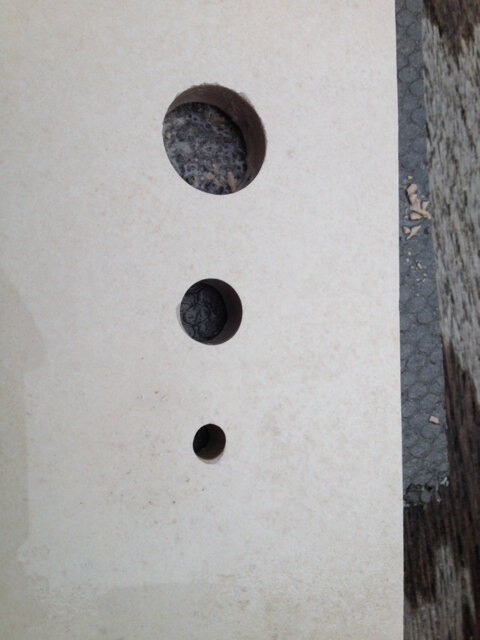
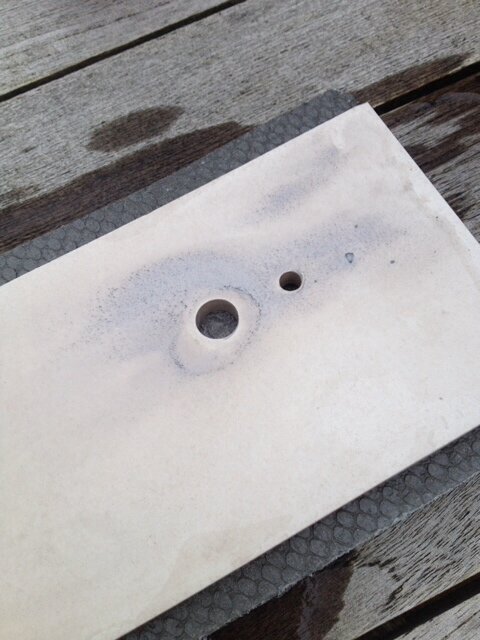
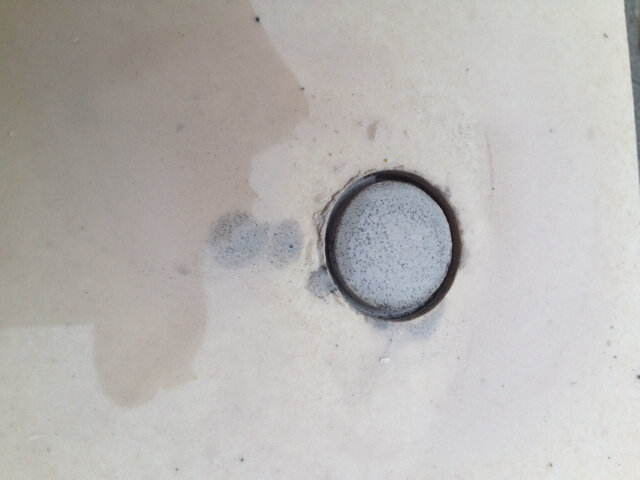
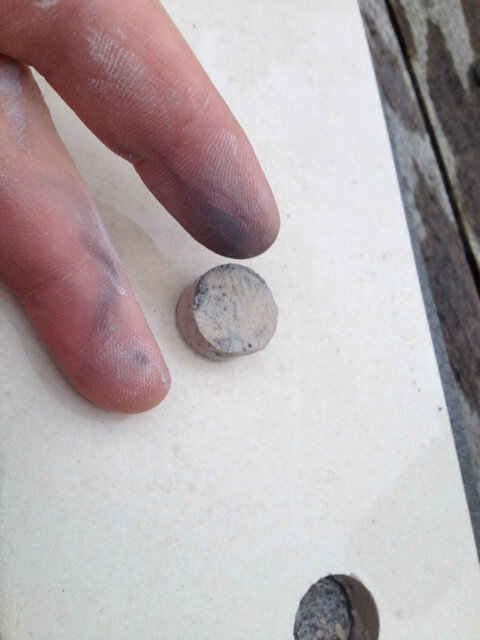
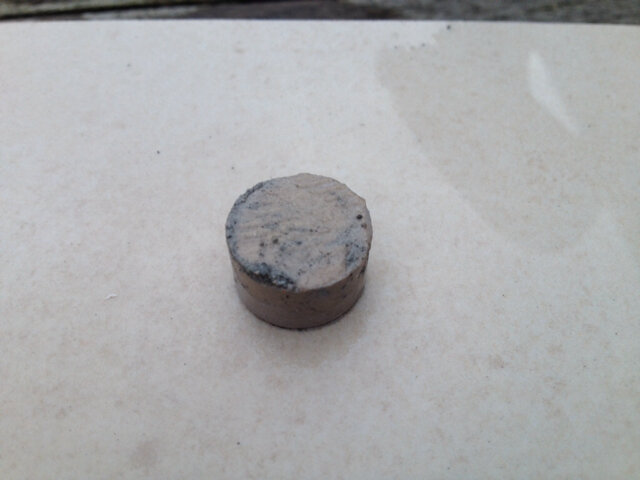
The dry testing went surprisingly well really.
6mm struggled slightly but still managed 3 holes even if it was literally red hot by the end. Cut the first dry hole in 1 min 54 secs and two more at around 2 mins 10 secs.
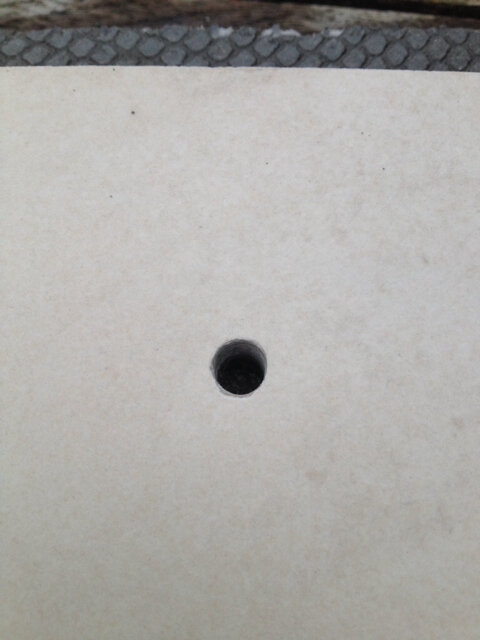
Change of battery then onto 12mm. Cut first hole in 1 min 32 secs and a few more in under 2 mins each.
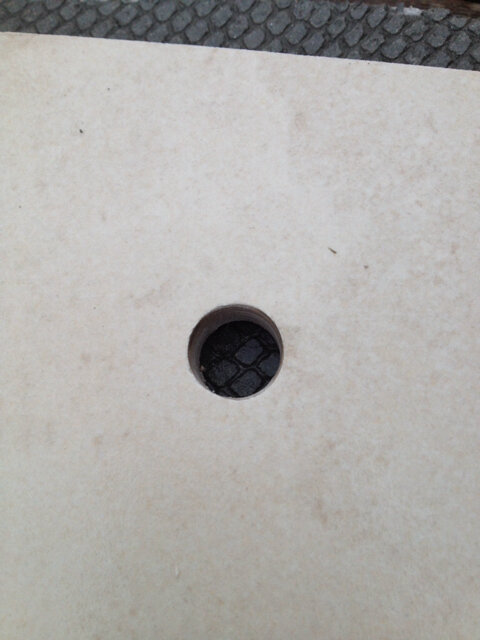
The 20mm one surprised me as it was the fastest dry at 1 min 20 secs with a few more just a bit slower.
All of them produced virtually zero metal oxide when dry. The cores were an absolute nightmare to remove from the bits when dry. I resorted to using the 3mm drill bit trick with the help of a hammer to tap the core out.
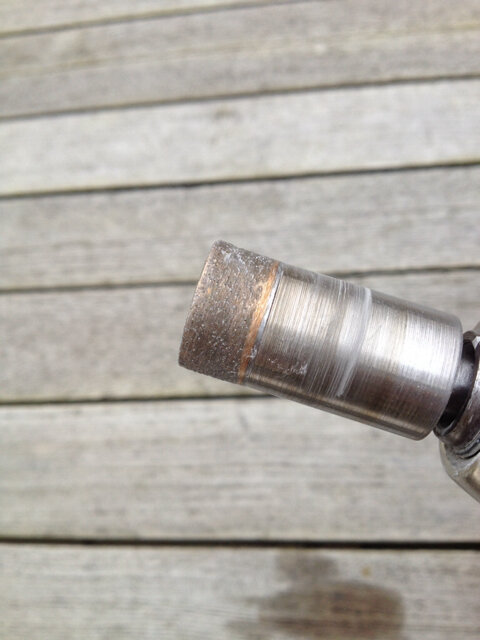
Bits still seem to have a fair bit of life left in them and I think they will still go on to cut plenty of stone or ceramic with ease. They seemed fine in my drill and never slipped when drilling. Machining on the shaft may be an idea but then again no other diamond cores have that!
All in all I'm quite impressed!!!
Alan from ATS diamond tools had sent me 6mm, 12mm & 20mm bits. Cheers mate
I had to use my Makita cordless (at 1300 RPM) on drilling mode. I tried them all wet first and then dry. Tested on 10mm full bodied grade 4 porcelain.

My first observation on these bits are that they are very well machined and the metal appeared to be of a very "engineered" high speed (high temperature) steel. The bits came in some small plastic tubes and were covered in engineering oil. The diamonds appeared very fine and I noticed that there were no notches in the leading edge of the bit to aid in debris extraction that you find in regular ATS diamond core drills and other makes.
6mm bit (wet). Drilled 3 holes in quick succession. Average time for each hole was 1 min 51 secs. By the end of the 3rd hole the water surrounding the hole was boiling and bubbling away a treat. Diamonds on tip seemed worn too.
12mm bit (wet). Drilled 3 holes. Average time for each hole was 1 min 13 secs!....the fastest of the three. Drill bit did not seemed phased at all really and provided consistent results.
20mm bit (wet). Drilled 3 holes. Average time for each hole was 1 min 32 secs.
I noticed that each one gave off what appeared to be a metal oxide where it was wearing down slightly. I can see this being a major downside if tiles were drilled once fixed due to the grey metal sludge getting onto finished grout!
I was not surprised that each bit seemed to chip the surface slightly but to be honest I wasn't really trying to be ultra precise at that point. I did produce some lovely clean holes at a slower speed though. I found the cores got stuck in the drill bit so had to resort to removing it from the drill and tapping it out from the backside through the hole in the shaft with a 3mm drill bit.


The dry testing went surprisingly well really.
6mm struggled slightly but still managed 3 holes even if it was literally red hot by the end. Cut the first dry hole in 1 min 54 secs and two more at around 2 mins 10 secs.

Change of battery then onto 12mm. Cut first hole in 1 min 32 secs and a few more in under 2 mins each.


The 20mm one surprised me as it was the fastest dry at 1 min 20 secs with a few more just a bit slower.


All of them produced virtually zero metal oxide when dry. The cores were an absolute nightmare to remove from the bits when dry. I resorted to using the 3mm drill bit trick with the help of a hammer to tap the core out.
Bits still seem to have a fair bit of life left in them and I think they will still go on to cut plenty of stone or ceramic with ease. They seemed fine in my drill and never slipped when drilling. Machining on the shaft may be an idea but then again no other diamond cores have that!

All in all I'm quite impressed!!!


