D
Deleted member 1779
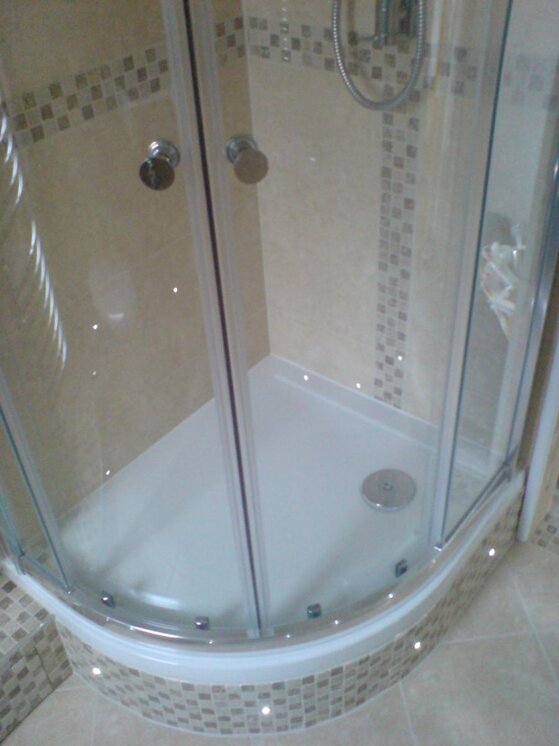
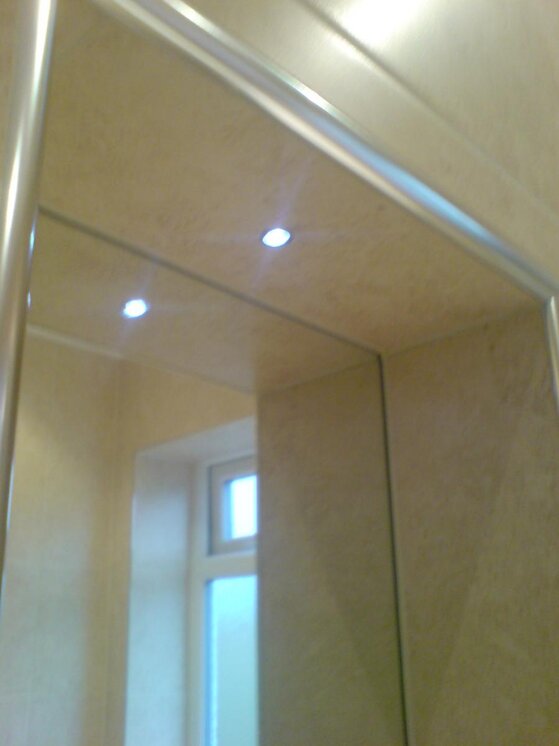
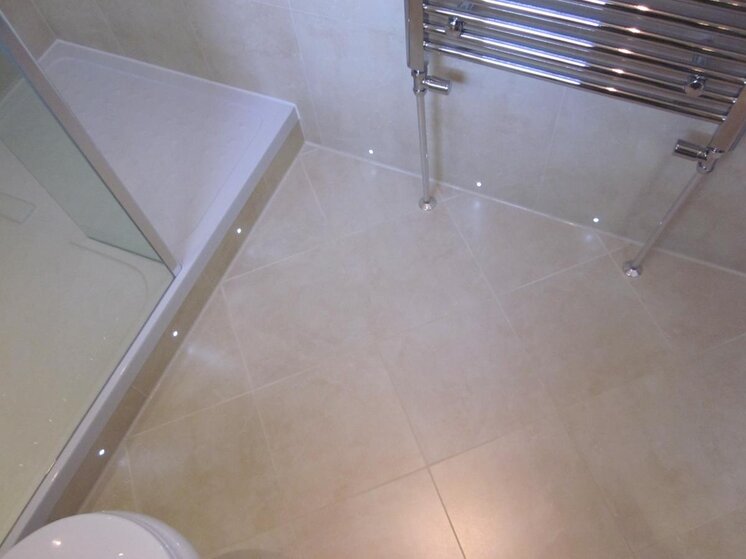
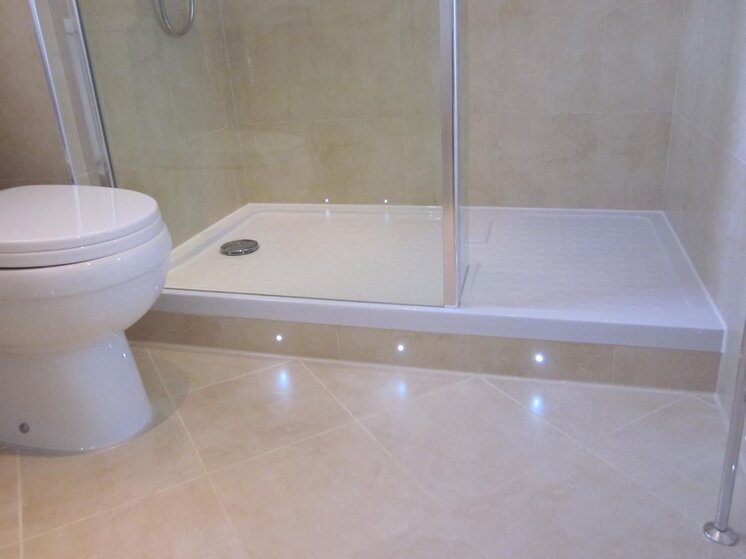
Installing LED lighting into tiles is becoming more popular as well as other lighting effects. The problem is that lights come in all sizes and are unlikely to fit into the 16mm 30mm or 40mm sizes supplied with the main tile drilling set the Bathroom Fitters Kit.

Although this kit is ideal for drilling holes into tiles to fit standard pipework to bathroom tiles its probably not the right kit for LED lighting.

Above is a typical low voltage 12v LED lighting system for a bathroom. Its got the correct IP rating and the leads / wires are long enough so that they can be run to an isolated 240v supply a long way from any water. Probably fitted somewhere above the bathroom in the ceiling void.

Make sure you check 100% that the electrics are suitable and safe for the bathroom. There are many other topics on the web to show you how to achieve this so its no too difficult.
If in ANY DOUBT always work with a qualified electrician. Never just guess.

In this instance the 15mm LED lights call for a 12mm hole with a very slight clearance and tolerance for drilling the hole.
It has to be right first time.

Its obvious that the 16mm diamond core is going to be far too big for this project so best leave that size for the 15mm copper pipes, radiator feeds and hot - cold feeds to the sinks.
For this project you are going to have to spend about thirty pounds to get a seperate size. But the right diamond hole saw is going to make all the difference to your tile drilling.

This is a tile display we did and you can see that starting from the 110mm hole we drilled for the soil stack (centre) we also drilled holes at 30mm to fit the taps plus 6mm for the loo roll holder and finally 8mm for the load bearing soap dish.
And then we went on to drill TEN size 12mm holes to fit the LED lighting. So that a total of 17 holes drilled into one tile. Get it wrong here and thats a lot of re-work, time and drills to get through.
Shown below you can see its a 10mm thick porcelain tile so not exactly the cheap ceramics that are nice and easy!!
Normally hard work to drill but not with the PORSADRILL range of diamond cores from 365-drills.

Shown at an angled profile you can see the empty 12mm hole waiting for the LED light to be fitted.
You can see four of the lights fitted are nice and snug.
When drilling its so important to get it right.
This tile has a rivened effect so ripples make it more important to look accurate.
And finally you can see the LED that we pushed out slightly to show you how snug the drilling is to get these right.

Of course the diamond core drills will work on other stone based material too. Here you can see we used it on Corian. But it will also work on Quartz, granite, marble, limestone, patio slabs, glass, mirror, stone, slate and other.

The hole is an exact fit. The LED does not move in its socket. There is no distortion or warping of the hole as we use the diamond tile drill to bore though it.
Keep the drill cool by using water and drilling slowly. Take your time.

Shown in extreme close up this 15mm LED is fitted absolutley flush to the stone with no chips or exposed edges. The 12mm core drill has worked and done its drilling job.
I hope this little article has inspired installers to suggest the fitting of LED to bathrooms. We attend so many tradeshows where they are shown and sold so its rising in popularity. And hopefully we can show that its not too difficult to achieve.
In the past drilling holes at the point of installation in hard porcelain tiles was difficult if not impossible. The only way to do it was by sending them off to be water jet cut at a specialist factory (and for the word specialist substitue the word EXPENSIVE) not to mention time consuming and error prone.
Doing it for under thirty quid is pretty good value for money even today!
Hope it helps some of you and inspires others.

Although this kit is ideal for drilling holes into tiles to fit standard pipework to bathroom tiles its probably not the right kit for LED lighting.

Above is a typical low voltage 12v LED lighting system for a bathroom. Its got the correct IP rating and the leads / wires are long enough so that they can be run to an isolated 240v supply a long way from any water. Probably fitted somewhere above the bathroom in the ceiling void.

Make sure you check 100% that the electrics are suitable and safe for the bathroom. There are many other topics on the web to show you how to achieve this so its no too difficult.
If in ANY DOUBT always work with a qualified electrician. Never just guess.

In this instance the 15mm LED lights call for a 12mm hole with a very slight clearance and tolerance for drilling the hole.
It has to be right first time.

Its obvious that the 16mm diamond core is going to be far too big for this project so best leave that size for the 15mm copper pipes, radiator feeds and hot - cold feeds to the sinks.
For this project you are going to have to spend about thirty pounds to get a seperate size. But the right diamond hole saw is going to make all the difference to your tile drilling.

This is a tile display we did and you can see that starting from the 110mm hole we drilled for the soil stack (centre) we also drilled holes at 30mm to fit the taps plus 6mm for the loo roll holder and finally 8mm for the load bearing soap dish.
And then we went on to drill TEN size 12mm holes to fit the LED lighting. So that a total of 17 holes drilled into one tile. Get it wrong here and thats a lot of re-work, time and drills to get through.
Shown below you can see its a 10mm thick porcelain tile so not exactly the cheap ceramics that are nice and easy!!
Normally hard work to drill but not with the PORSADRILL range of diamond cores from 365-drills.

Shown at an angled profile you can see the empty 12mm hole waiting for the LED light to be fitted.
You can see four of the lights fitted are nice and snug.
When drilling its so important to get it right.
This tile has a rivened effect so ripples make it more important to look accurate.
And finally you can see the LED that we pushed out slightly to show you how snug the drilling is to get these right.

Of course the diamond core drills will work on other stone based material too. Here you can see we used it on Corian. But it will also work on Quartz, granite, marble, limestone, patio slabs, glass, mirror, stone, slate and other.

The hole is an exact fit. The LED does not move in its socket. There is no distortion or warping of the hole as we use the diamond tile drill to bore though it.
Keep the drill cool by using water and drilling slowly. Take your time.

Shown in extreme close up this 15mm LED is fitted absolutley flush to the stone with no chips or exposed edges. The 12mm core drill has worked and done its drilling job.
I hope this little article has inspired installers to suggest the fitting of LED to bathrooms. We attend so many tradeshows where they are shown and sold so its rising in popularity. And hopefully we can show that its not too difficult to achieve.
In the past drilling holes at the point of installation in hard porcelain tiles was difficult if not impossible. The only way to do it was by sending them off to be water jet cut at a specialist factory (and for the word specialist substitue the word EXPENSIVE) not to mention time consuming and error prone.
Doing it for under thirty quid is pretty good value for money even today!
Hope it helps some of you and inspires others.
Last edited by a moderator:


