C
cornish_crofter
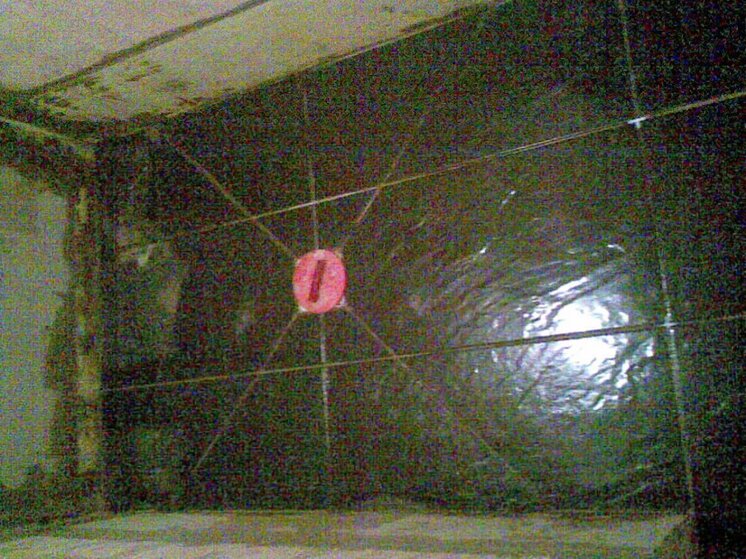
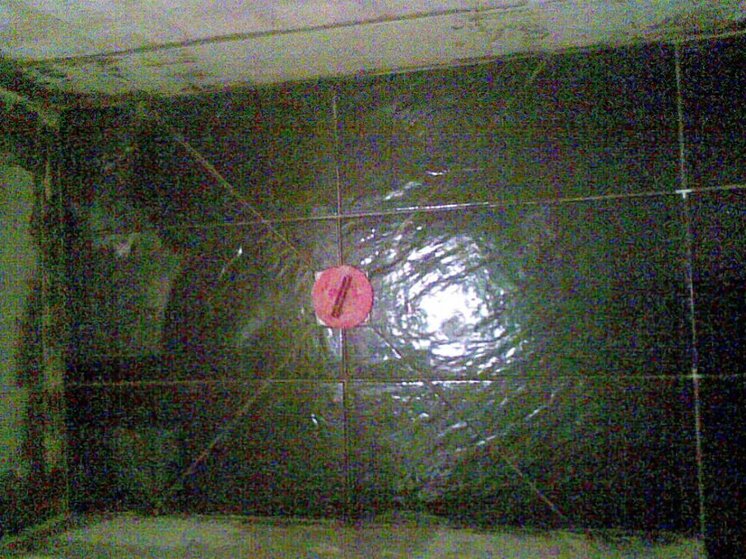
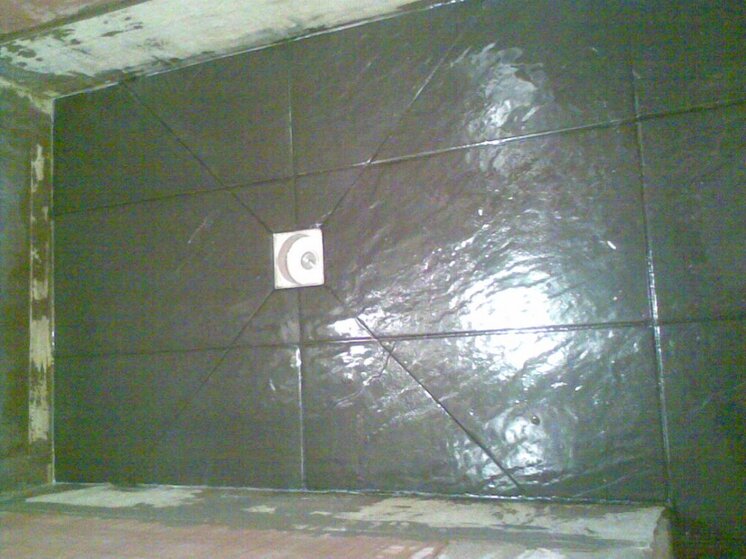
Following my recent adventures with the former, I just thought I would give an account of its installation, which has now been successfully completed.
This is my first wetroom installation and Wetdecs has helped me choose which former to use, and has helped heaps with being on the end of the phone for my stupid questions.
After reviewing the three formers that he sells the customer and I decided that the Tilux was the most suitable for this installation. It was to go onto a concrete floor in place of the screed, which would be dug up. The space we had to install it in is some 820mm x 1500 (old downstairs loo). But we decided that we would build a stud wall and face it with aquapanel to shorten the room to 1200 long
We chose the 900x1200 former, placed the order and sent off payment.
Now, we actually received a 1200x 1200 former. According to Wetdecs we would receive this one instead and just have more to cut off, which didn't matter. In fact it made trimming it down easier.
We also received a box containing the gulley, and 10m of tape that I ordered to seal the corners of the room. We didn't go for the tanking kit as the walls are rendered concrete block, with aquapanel at the back. However the tape will do the corners and the join between the two panels of aquapanel. The membrane on the former will mainly look after the horizontal corners.
The former is essentially made from an ultra hard polystirene. Wetdecs will know what the material is actually called. This base has a yellow waterproof membrane glued onto the top, and the collar for the gulley in the centre.
The first stage was to check that everything was complete, which it was. Then I had to go about making sure the former and the hole it was supposed to go in would match. With the former some 400mm too big in one direction and the screed too thin to accomodate the thickness of the former, we were quite a long way from our goal, but we knew we could do it.
Trimming the former to size was the easy part. This was achieved by halving the difference in width and taking that off each side. The method that the instructions suggested was to turn the former up side down and cut the base from underneath with a utility knife, making sure that I didn't damage the waterproof membrane. Then I snapped along the cut and peeled the membrane back just beyond where the break was. It was then necessary to run the utility knife along the resulting crease (in the base, not the membrane) to complete the separation. I ended up with 2 bits of scrap just under 200mm wide. These proved very useful later.
The former is some 45mm thick, whilst the depth of the screed we removed from the area was unusually thin at around 37mm (1.5"). Hence I also had to reduce the height of the concrete underneath it (OUCH!)
Because I had to dig out for the gulley and waste, and in this case I also had to run a 1 1/4/" waste for a basin (other side of new shower area) through this area it seemed sensible to dig out a trench to accomodate these first. As expected I had to dig down to the DPM.
Last edited by a moderator:


