R
Rob Z
I was just cleaning out a few pictures and found these. This might help someone here to do something new on one of their jobs. I don't have a complete set of photos step-by-step, but this should be enough to give you the idea of what to do.
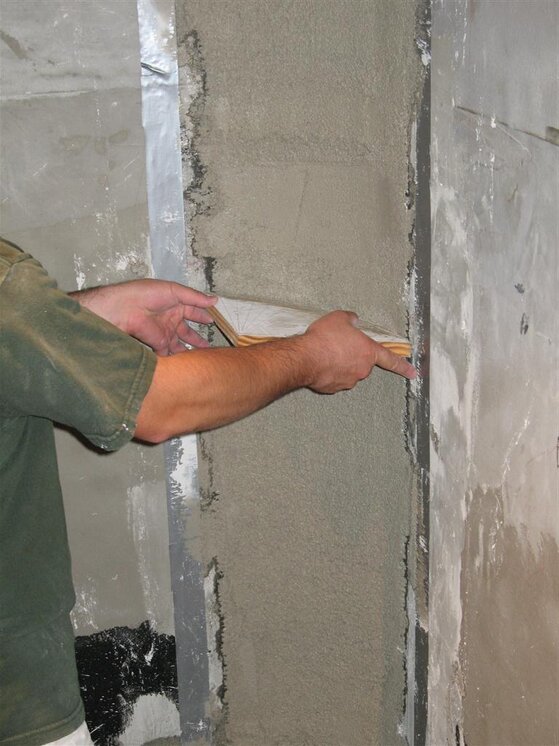
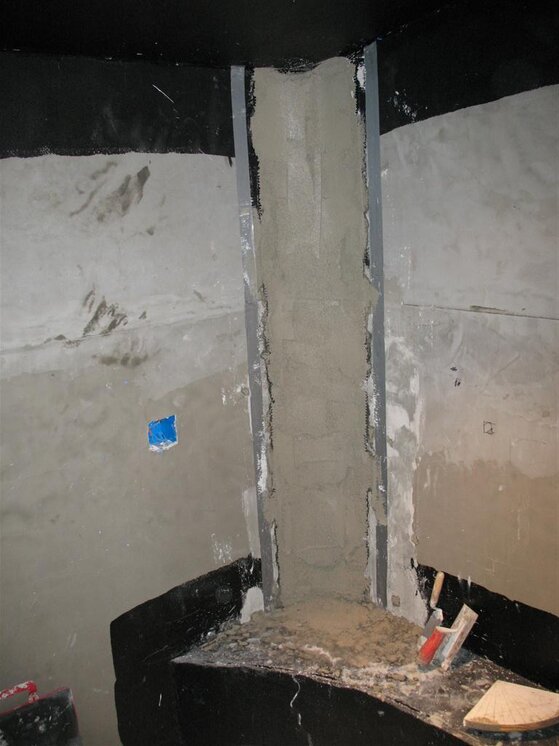
We had floated this shower (rendered) and roughed in the bench with block and mortar. We then used epoxy and bonded metal lath to the mortar on the walls in the corner. We had already figured out what kind of a radius we could get the tiles to conform to, and jigsawed a piece of scrap lumber to form the screed.
Then, we applied a scratch coat of mud to the lath as thickly as we could get to hang, roughed it up with a stucco rake and left it over night.
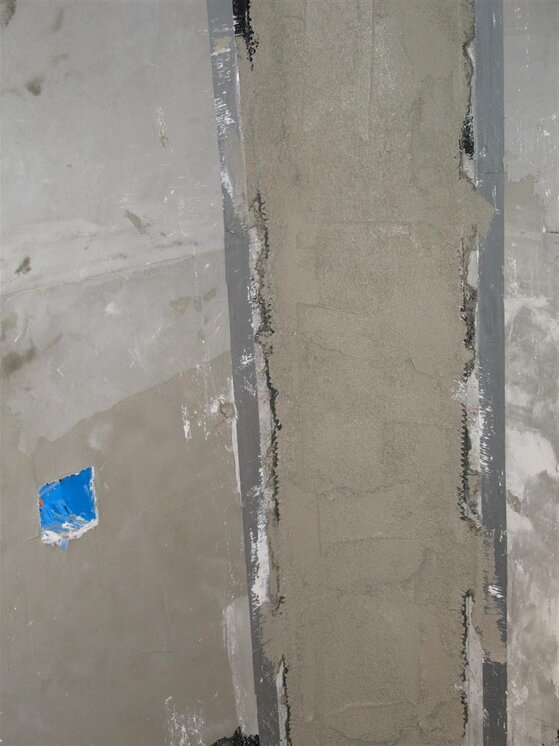
The gray duct tape on the walls was put along the plumb line that defined each side of the cove.
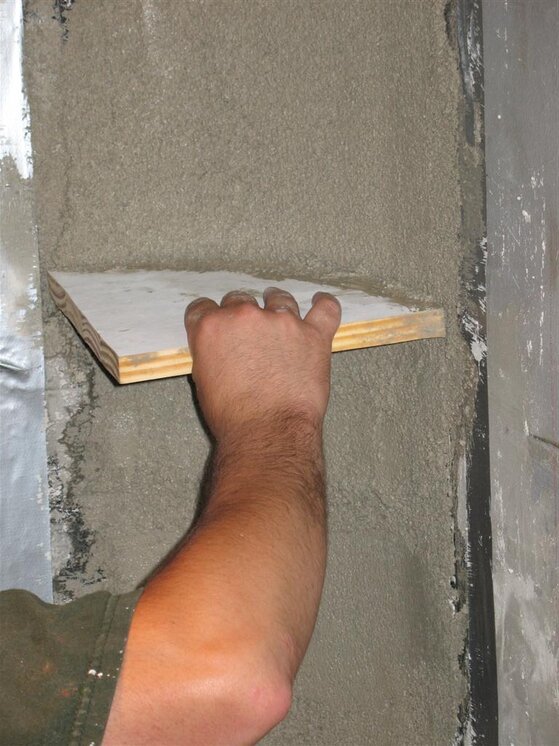
The next day, we coated the scratch coat with thinset (as a bonder) and floated the rest of the mud on the corner. I mixed this mud a little stiffer than normal so I could get it to firm up quickly and be struck off sooner.
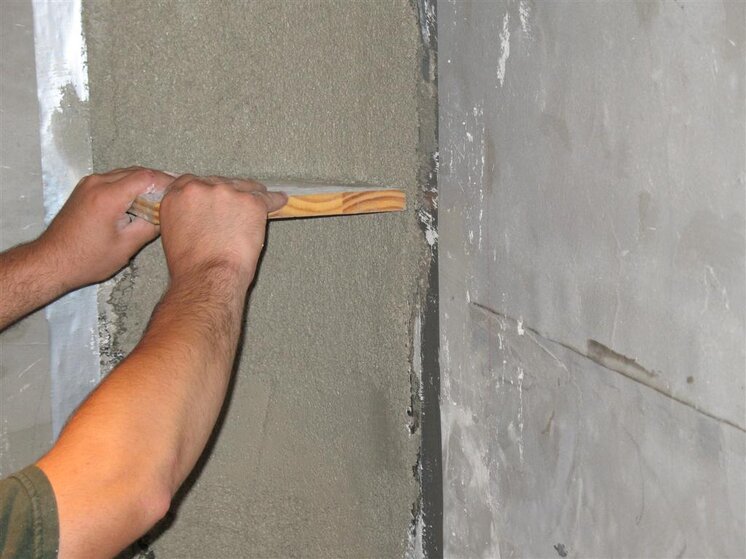
We then gradually carved away with the screed board and reached the final shape. We aligned the edges of the screed board with the duct tape on the sides and that kept things plumb.
Once the mortar hardened, we skimmed it with thinset and then later on finished the tanking (the black stuff you see on the ceiling).
This feature in the shower took about 4 extra hours for me and my helper,and we used scrap material that was already onsite. The customer was thrilled.
We had floated this shower (rendered) and roughed in the bench with block and mortar. We then used epoxy and bonded metal lath to the mortar on the walls in the corner. We had already figured out what kind of a radius we could get the tiles to conform to, and jigsawed a piece of scrap lumber to form the screed.
Then, we applied a scratch coat of mud to the lath as thickly as we could get to hang, roughed it up with a stucco rake and left it over night.
The gray duct tape on the walls was put along the plumb line that defined each side of the cove.
The next day, we coated the scratch coat with thinset (as a bonder) and floated the rest of the mud on the corner. I mixed this mud a little stiffer than normal so I could get it to firm up quickly and be struck off sooner.
We then gradually carved away with the screed board and reached the final shape. We aligned the edges of the screed board with the duct tape on the sides and that kept things plumb.
Once the mortar hardened, we skimmed it with thinset and then later on finished the tanking (the black stuff you see on the ceiling).
This feature in the shower took about 4 extra hours for me and my helper,and we used scrap material that was already onsite. The customer was thrilled.