S
Supercoley1
Hello, I am just setting about doing my first full bathroom DIY job (not pro at all) and have managed to do most things through internet research etc.
The project in question is a bathroom that currently has a shower over bath, W/C, sink and a wall hung radiator. The room is approx 280cm across the breadth (window wall) and 270cm from the door to the window wall. There a dog leg to the room as the airing cupboard is set within this room into a seperate area on the left of the door.
I will be keeping these apart from the wall hung radiator which I want to remove and then put a towel radiator in another place. I don't have a problem with the plumbing and radiator aspect.
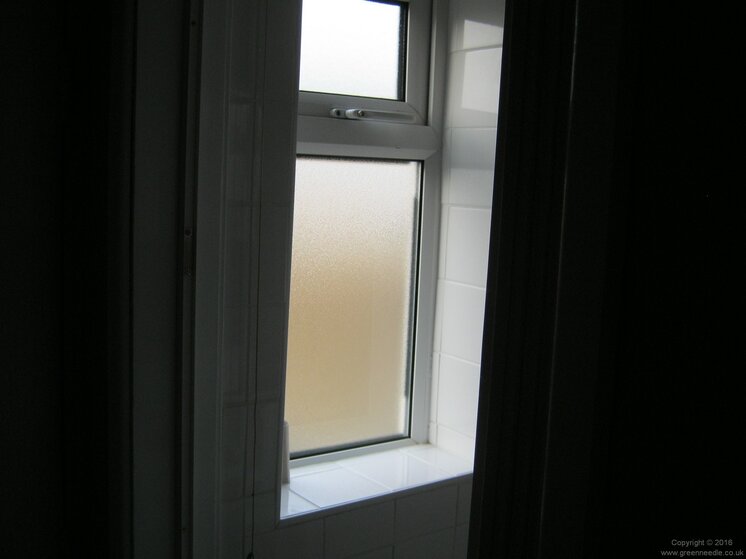
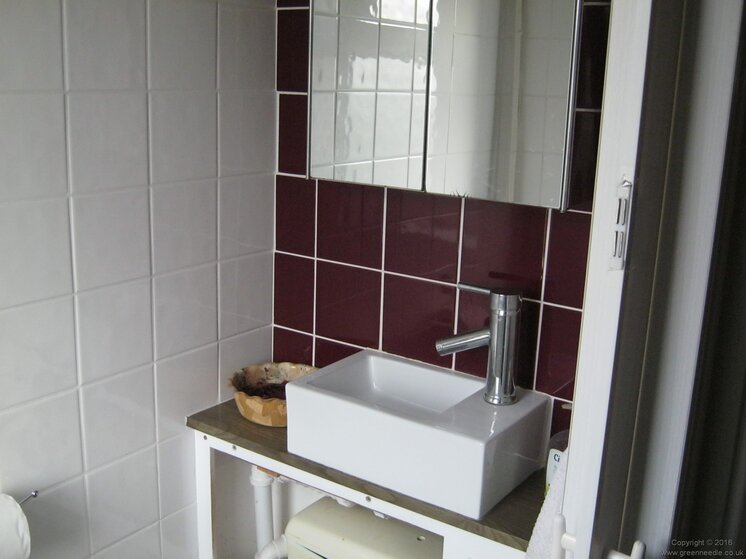
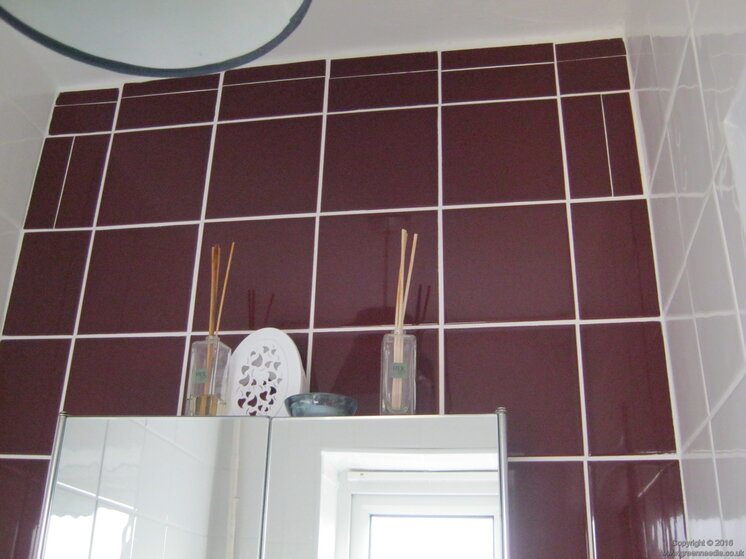
We have had the bathroom like this since we moved in 30 months ago and all we did was to change the bath taps for a shower mixer type, tile the shower area on the window and half the bath side wall (It only had a 420mm high splashback around the bath previous to this), put up a shower curtain rail and laminate the floor. Pretty basic 'quick' but ready to use. The picture below shows what this was like:

After planning to redo the bathroom we decided to do it early July and it would take a few months to complete due to the budget (Each month we can afford the 'next step')
So on 10th July we started to plan the bathroom. The W/C and sink will remain in the same place. The Bath will still be on the wall but will be moved so that each end is an equal distance from the wall. A frame will then be built around the bath so that I can tile under the rim and make it look like the bath has been 'sunken'.
The radiator which is currently on the right as you enter the bathroom will be removed and then the plumbing redone to put a towel radiator behind the door as you enter the bathroom.
The area where the bath is will be tiled in black, white and lime green inspired by a picture on Toppstiles here:
Fusion Kiwi Wall Tile | Topps Tiles
however we don't have anywhere near the budget to use those tiles and get the exact design. I have sourced some lime green, black and white tiles that are all a lot cheaper and are 150mm x 150mm. The design of this area is here (These plans are rough guides as they don't allow for grout joints. I will line them up properly when I get the tiles to gauge the number across etc when the tiles come.)
This is the 'fold out' design and what you will see facing the bath. The lime is bit bright in these pictures where the tile I have bought is more subtler more like the ones in the Toppstiles picture:

And this is the plan from above:

The green/black/white combo will only go as far as the bath surround and the rest will be plain white.
This is the lime tile I have bought. 2 boxes:
Tiles, Ceramic Tiles, Wall Tiles, Gloss Lime Green Tile
The floor will also be tiled with white 330x330 tiles. Very crisp very clean, very bright with the single 'feature' area of the bath drawing the focus.
I will update tomorrow on what I have done already.
Regards
AC
The project in question is a bathroom that currently has a shower over bath, W/C, sink and a wall hung radiator. The room is approx 280cm across the breadth (window wall) and 270cm from the door to the window wall. There a dog leg to the room as the airing cupboard is set within this room into a seperate area on the left of the door.
I will be keeping these apart from the wall hung radiator which I want to remove and then put a towel radiator in another place. I don't have a problem with the plumbing and radiator aspect.
We have had the bathroom like this since we moved in 30 months ago and all we did was to change the bath taps for a shower mixer type, tile the shower area on the window and half the bath side wall (It only had a 420mm high splashback around the bath previous to this), put up a shower curtain rail and laminate the floor. Pretty basic 'quick' but ready to use. The picture below shows what this was like:

After planning to redo the bathroom we decided to do it early July and it would take a few months to complete due to the budget (Each month we can afford the 'next step')
So on 10th July we started to plan the bathroom. The W/C and sink will remain in the same place. The Bath will still be on the wall but will be moved so that each end is an equal distance from the wall. A frame will then be built around the bath so that I can tile under the rim and make it look like the bath has been 'sunken'.
The radiator which is currently on the right as you enter the bathroom will be removed and then the plumbing redone to put a towel radiator behind the door as you enter the bathroom.
The area where the bath is will be tiled in black, white and lime green inspired by a picture on Toppstiles here:
Fusion Kiwi Wall Tile | Topps Tiles
however we don't have anywhere near the budget to use those tiles and get the exact design. I have sourced some lime green, black and white tiles that are all a lot cheaper and are 150mm x 150mm. The design of this area is here (These plans are rough guides as they don't allow for grout joints. I will line them up properly when I get the tiles to gauge the number across etc when the tiles come.)
This is the 'fold out' design and what you will see facing the bath. The lime is bit bright in these pictures where the tile I have bought is more subtler more like the ones in the Toppstiles picture:

And this is the plan from above:

The green/black/white combo will only go as far as the bath surround and the rest will be plain white.
This is the lime tile I have bought. 2 boxes:
Tiles, Ceramic Tiles, Wall Tiles, Gloss Lime Green Tile
The floor will also be tiled with white 330x330 tiles. Very crisp very clean, very bright with the single 'feature' area of the bath drawing the focus.
I will update tomorrow on what I have done already.
Regards
AC
Last edited by a moderator:


