Search the forum,

Discuss Show Us YOUR Work Thread - Tilers Pictures in the Tiling Work Showcase Forum area at TilersForums.com.

Status
Not open for further replies.

Dave

TF
Staff member
Arms
Esteemed
Subscribed
389,894
1,000,000
Co.Durham
Edit May 2024: THIS is a New Show Us Your Work Thread for 2024 Onwards

This is the new Tilers Showcase Forum where we want new tiling work added, with each tiling job you complete having a thread of its own so people can see what kind of work you do, and potential customers can find your work


I thought it was about time we had a thread dedicated to all members of Tilers forums to show us any work that they do.

Be it from installing a kitchen to garden decking. Show us your work! Get those pictures taken, but then do something with them! Actually add them to a thread and some facebook groups with your website link in them etc and it'll help spread the tile love. :)

If you have done a job then please do share it with us.

Pics are a MUST as what is the point of sharing a job without them..:smilewinkgrin:.

So if you do a job and you take a few pics then please do share it with us.

Lets make it a big thread for all to view and input in.

Thanks Dave ..:thumbsup::thumbsup:
 
Last edited by a moderator:
Mouldy

TF
Arms
21
553
Park Gate
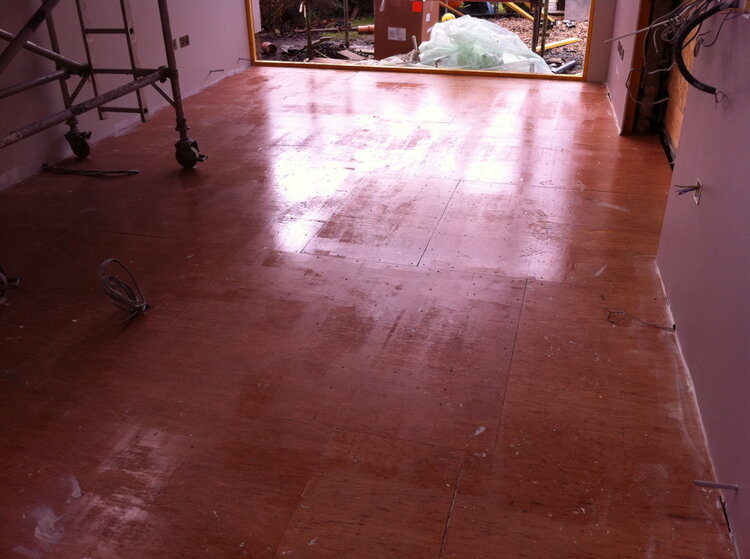
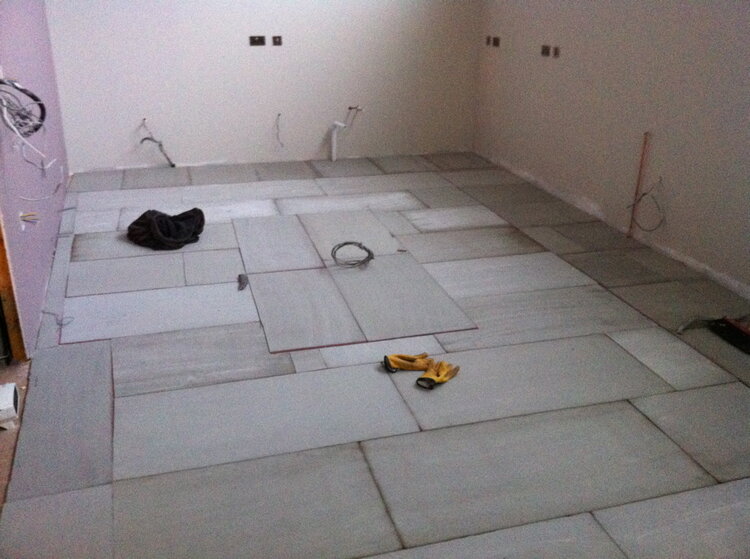
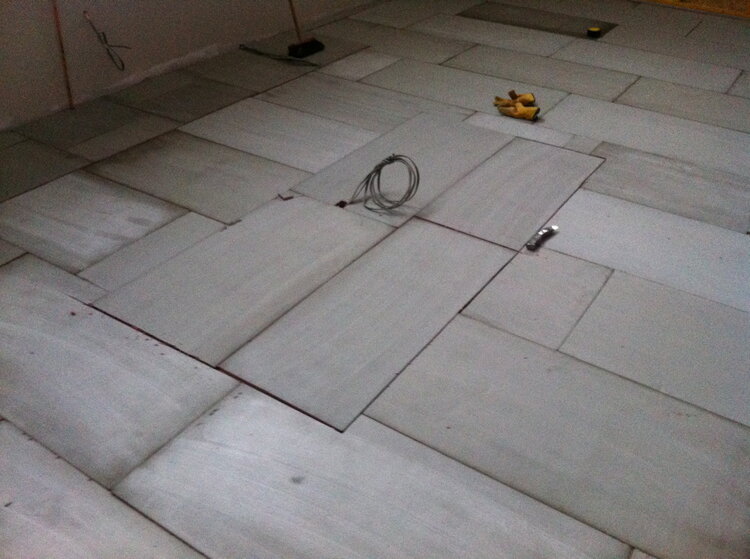
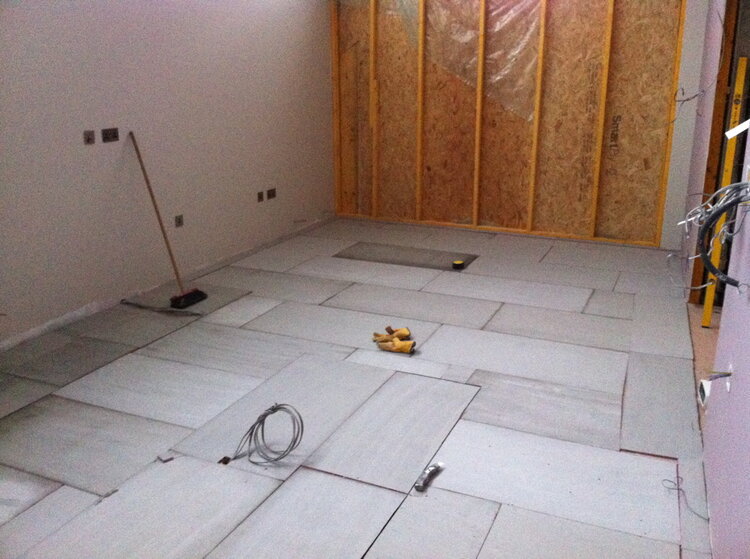
Heres a few of my latest:-

Peters Rd before.jpg Peters Rd during.jpg Peters Rd Finished.jpg
 
Last edited:
T

tfs

How to repair a damaged door jam (forced open)

Nothing fancy here at all but demonstrates how to make the repair using my fein to cut out timber and chisel to cut recess for keeper.

Old keeper and facing were put back on, personally I would liked to have replaced.

I you ever make any repairs to wood and need to use a filler I reccomend using metolux Metolux - Products For the Trade Professional this is a 2 part filler that sets in approx 15-20 minutes depending on temp etc. It can be shaped and even staind to match existing timbers both colour and profile. You get the job done quicker instead of using DIY fillers which can take 24hours.

You will also notice the size of the peice of timber I cut out, it was much larger than what was actualy damaged. This is to ensure that the new peice is fixed solid to the existing timber. If you only cut out a small sections then this can be easily forced open . Its probs more important to take this into account if you are making a simliar type of repair to an external door.
 

Attachments

  • damaged door jam 1.jpg
    96.1 KB · Views: 78
  • damaged door jam 2.jpg
    101.6 KB · Views: 77
  • close up of cut out.jpg
    97.1 KB · Views: 79
  • cut out damaged timber 2.jpg
    79.7 KB · Views: 71
  • chiseled recess for keeper.jpg
    92.5 KB · Views: 72
  • door working again.jpg
    100.7 KB · Views: 70
  • old keeper and facing put back on as requested.jpg
    102.4 KB · Views: 67
Last edited by a moderator:
T

tfs

The only thins I have managed to do this week due to snow! Full decorarion of childs bedroom.

I skimmed a few walls in this room last week. At the begining of the week I fitted a new carpt after painting some of the walls. Painted the skirting/ facings with eggshell and fitted new facing and cill around the window.

Papered feature wall with Laura Ashley wall paper (took 3 rolls due do to 75cm repeat in the pattern).

Built 2 bespoke bookcases but not fitted yet as only just finnished decorating.
 

Attachments

  • knee to head.jpg
    89.6 KB · Views: 69
  • mist coat.jpg
    98.3 KB · Views: 71
  • half done.jpg
    103.6 KB · Views: 66
  • prepin floor.jpg
    97.3 KB · Views: 61
  • underlay.jpg
    122 KB · Views: 62
  • carpet fitted.jpg
    108.2 KB · Views: 64
  • Laura Ashley feature wall 1.jpg
    127.4 KB · Views: 63
  • Laura Ashley wall 2.jpg
    102 KB · Views: 64
Last edited by a moderator:
S

Scott

I dont normally put up pics of my work but i feel like a change.

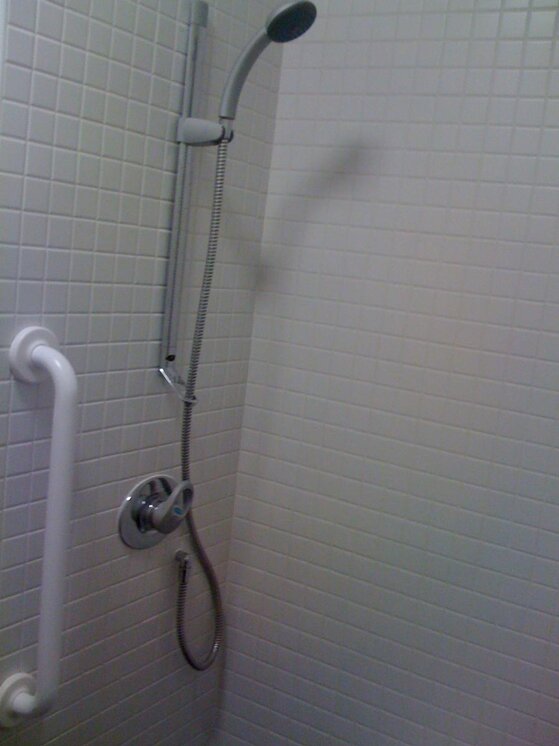
This is one of my latest projects and in a way the forum is possibly the reason i got the job due to the customer checking up on tile weights etc.

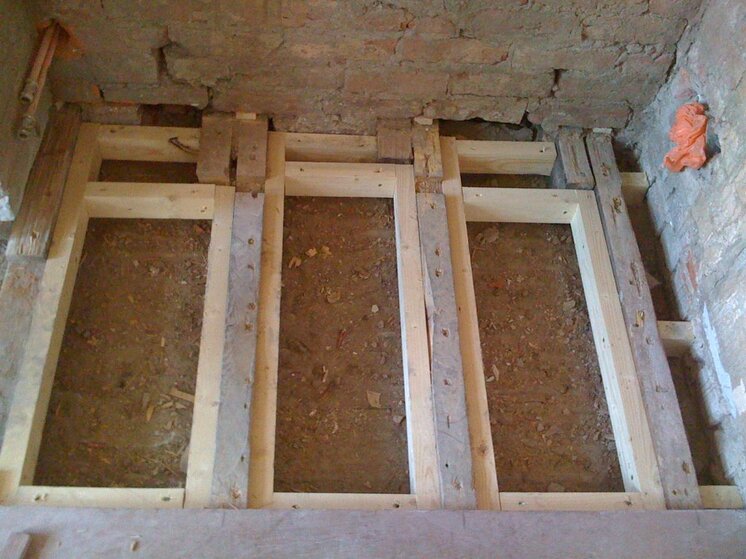
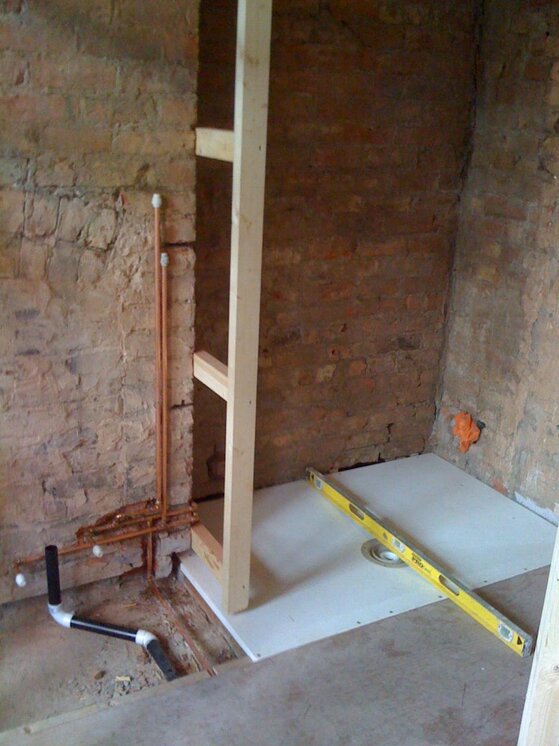
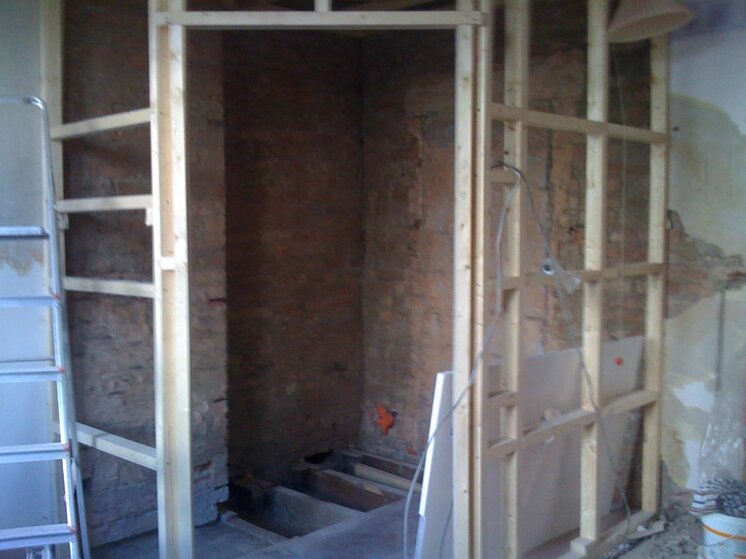
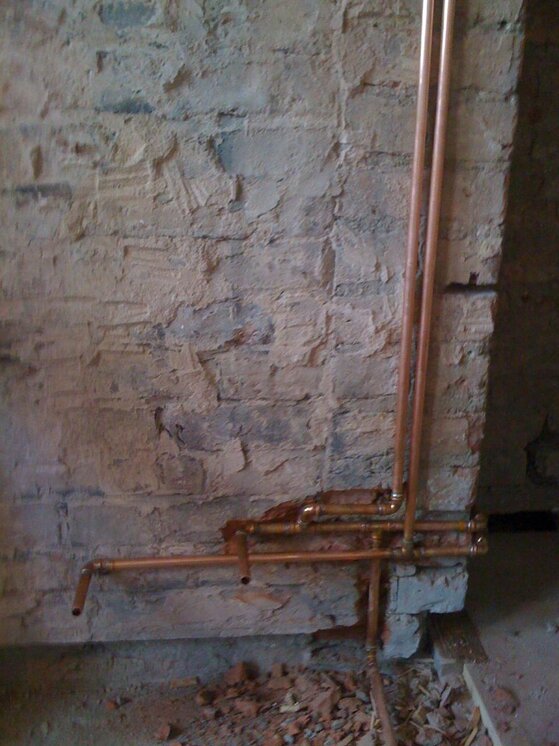
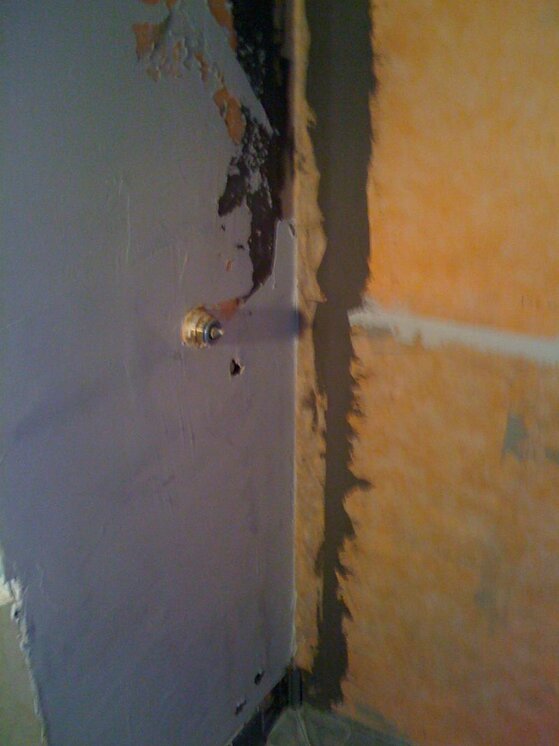
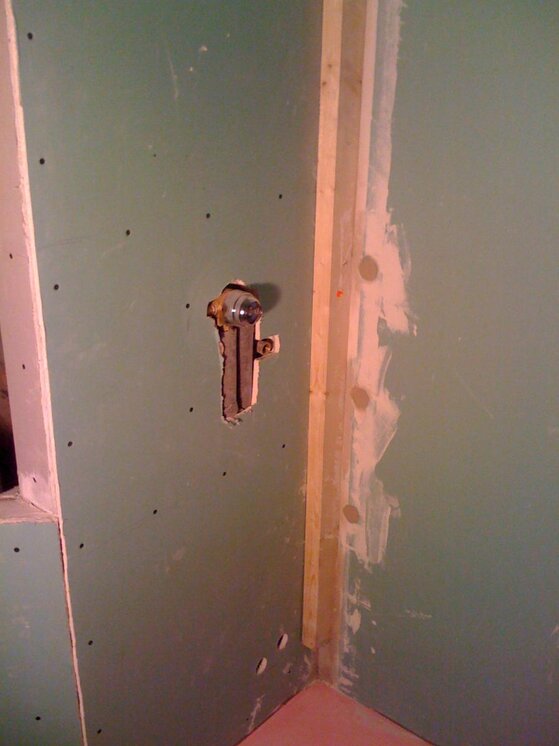
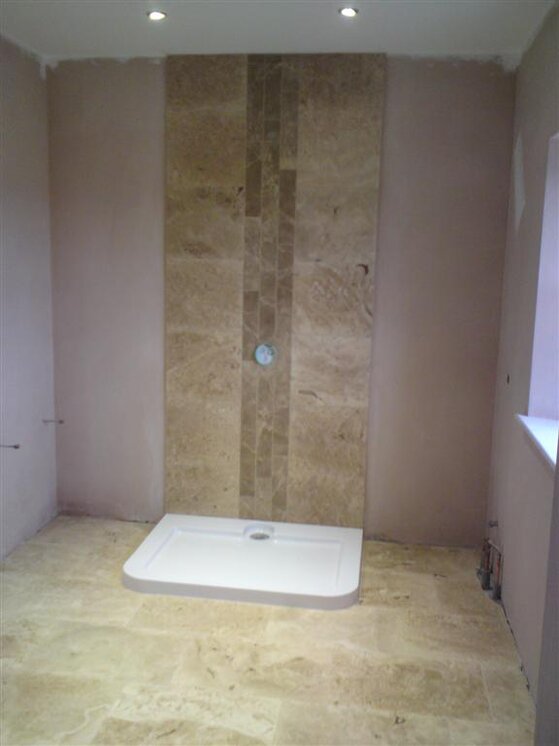
The previous bathroom fitter had said he would remove the top layer of tiles and tile over the existing blue layer. The new tiles are 600x300 ceramics....need i say more? Ok, it was not only skimmed plaster board but paramount plasterboard :yikes:

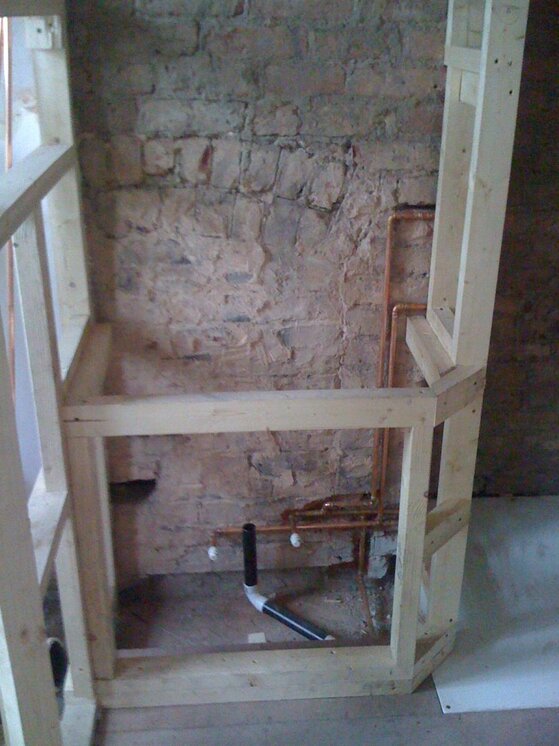
I advised them that the whole lot needed to come out and they bit the bullet and had the job done right. Both rooms knocked into one and the wall adjacent to the bedroom had an independant stud wall put up in front so I didnt have to completely ruin her house.
 

Attachments

  • DSC01992 (1200x900).jpg
    168.5 KB · Views: 82
  • DSC01979 (1200x900).jpg
    162.6 KB · Views: 91
  • DSC02056 (1200x900).jpg
    134.1 KB · Views: 89
  • DSC01991 (1200x900).jpg
    216.6 KB · Views: 86
  • DSC02049 (1200x900).jpg
    141.4 KB · Views: 92
  • DSC02050 (1200x900).jpg
    155.6 KB · Views: 93
  • DSC02010 (1200x900).jpg
    140.4 KB · Views: 90
  • DSC01974 (900x1200).jpg
    160.7 KB · Views: 97
  • DSC02053 (900x1200).jpg
    254.7 KB · Views: 100
T

tfs

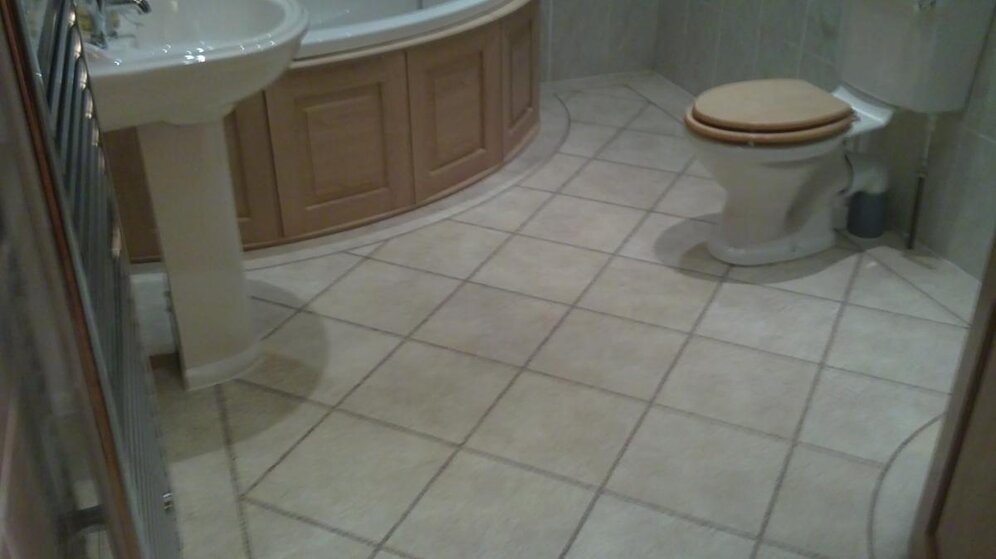
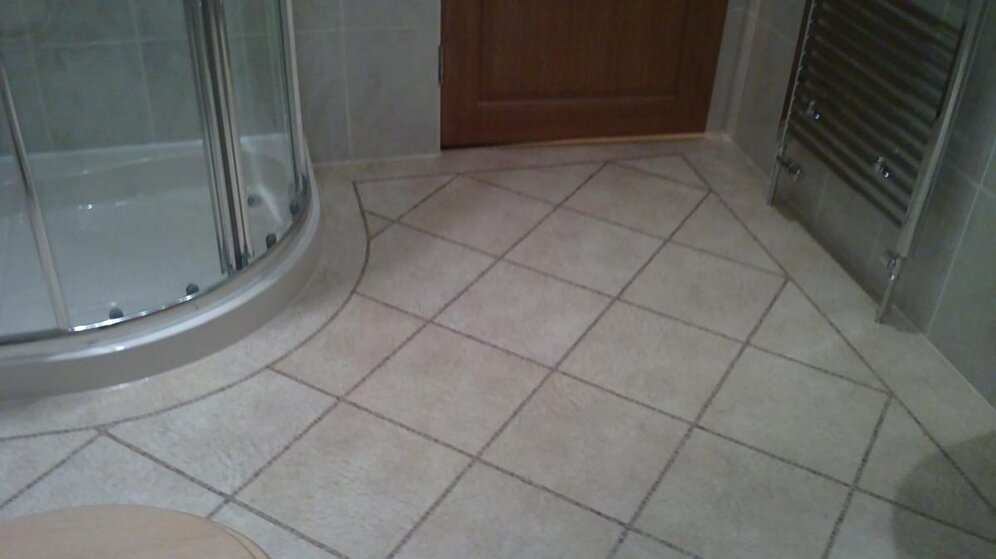
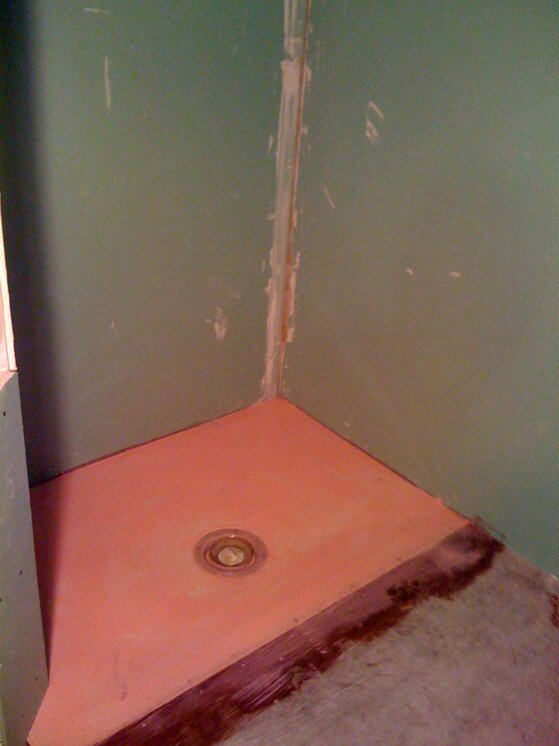
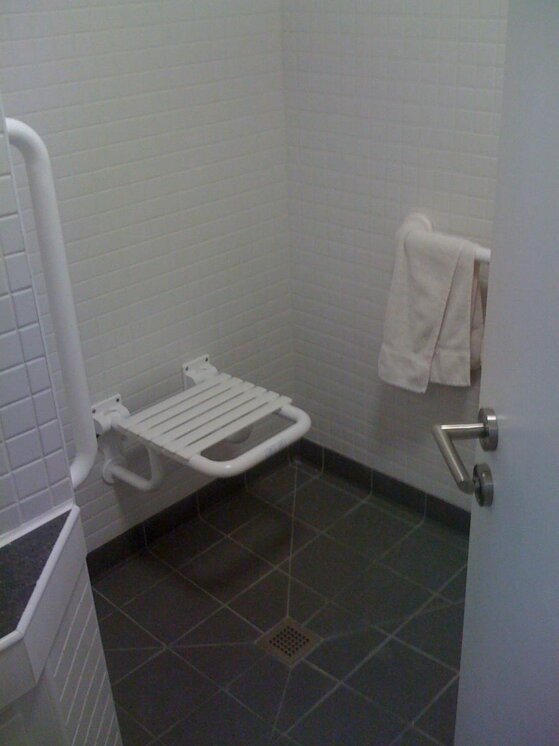
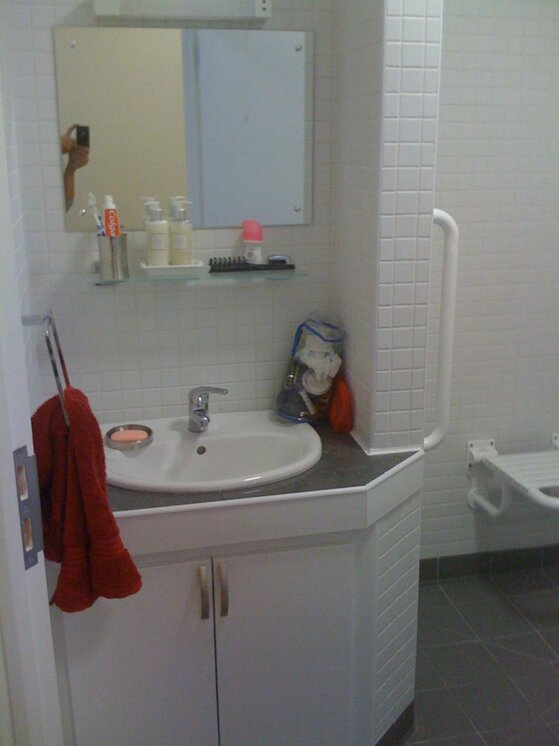
Bathroom just about finnished (needs clean and waiting on sink to arrive before being fitted)

Did this bathroom with my mate (plumber) I did Joinery and Tiling he did Electrics and Plumbing
 

Attachments

  • DSC00554.jpg
    94.9 KB · Views: 71
  • DSC00556.jpg
    90.2 KB · Views: 69
  • DSC00558.jpg
    103.2 KB · Views: 67
  • DSC00560.jpg
    81 KB · Views: 66
  • DSC00561.jpg
    83.3 KB · Views: 68
  • DSC00583.jpg
    91.7 KB · Views: 70
  • DSC00584.jpg
    84.2 KB · Views: 70
  • DSC00585.jpg
    91.6 KB · Views: 74
  • DSC00588.jpg
    93.2 KB · Views: 72
  • DSC00589.jpg
    90.5 KB · Views: 77
  • DSC00591.jpg
    96 KB · Views: 67
  • DSC00593.jpg
    90.9 KB · Views: 72
D

DHTiling

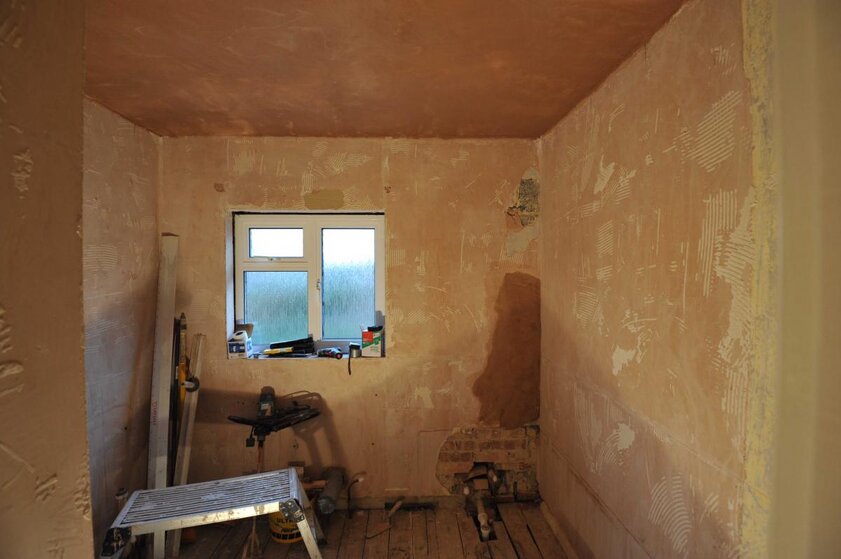
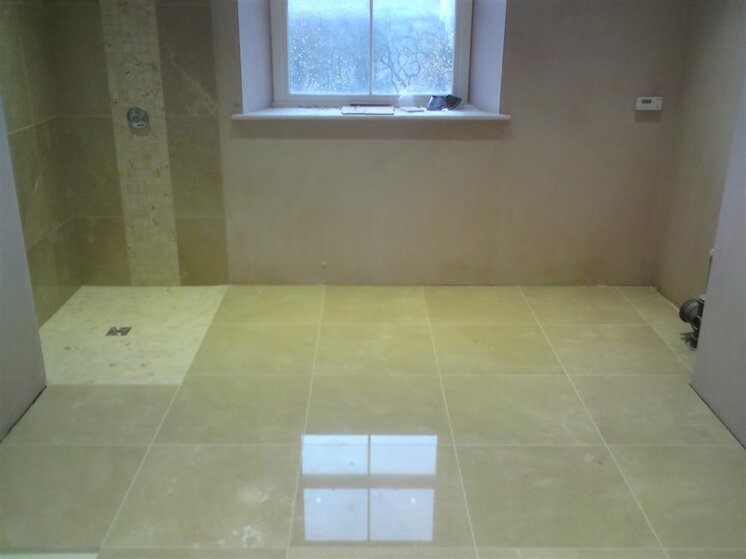
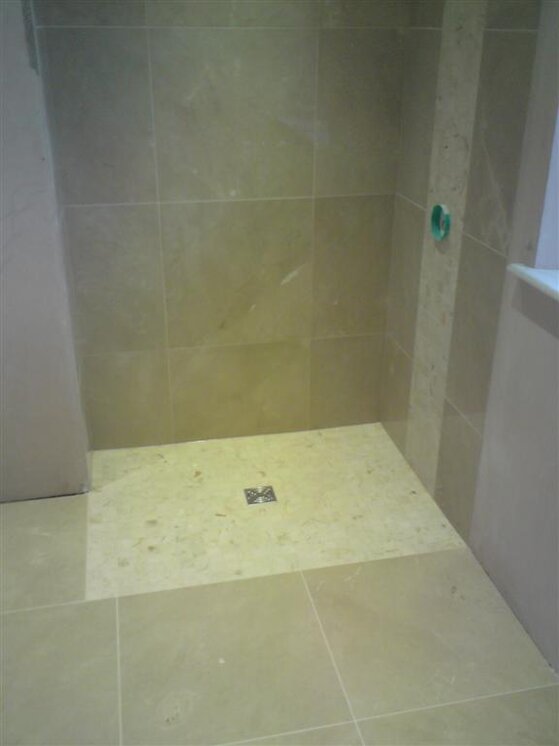
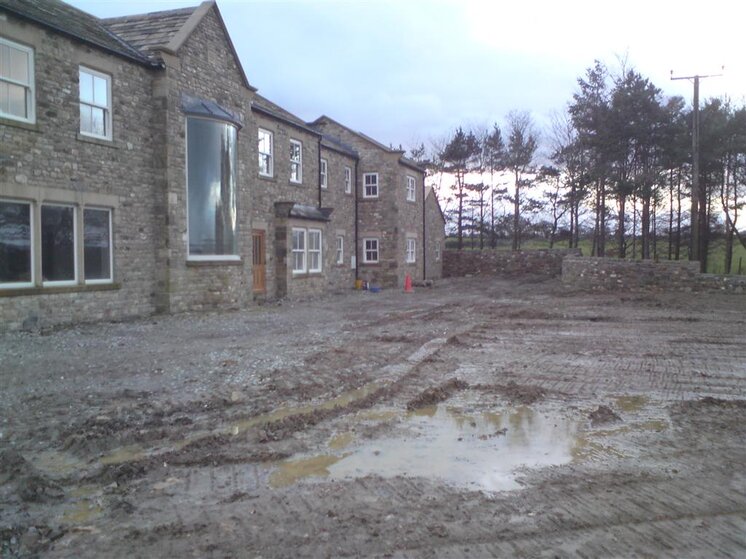
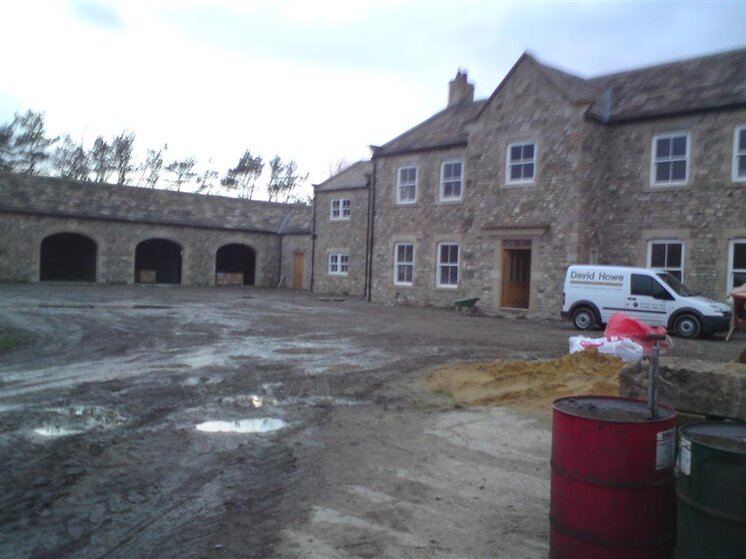
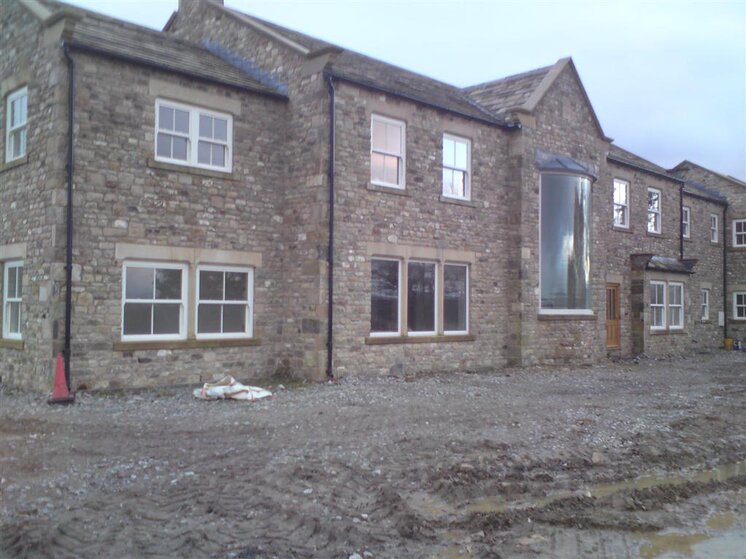
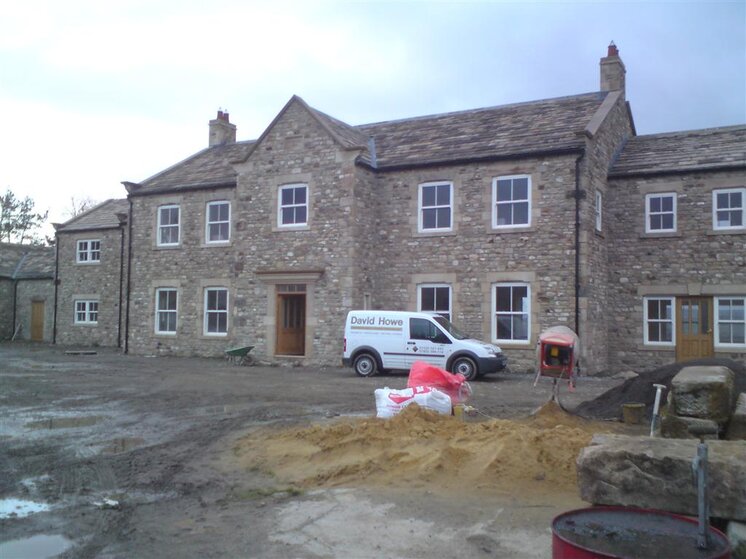
And some more pics from the big house up in the dales..

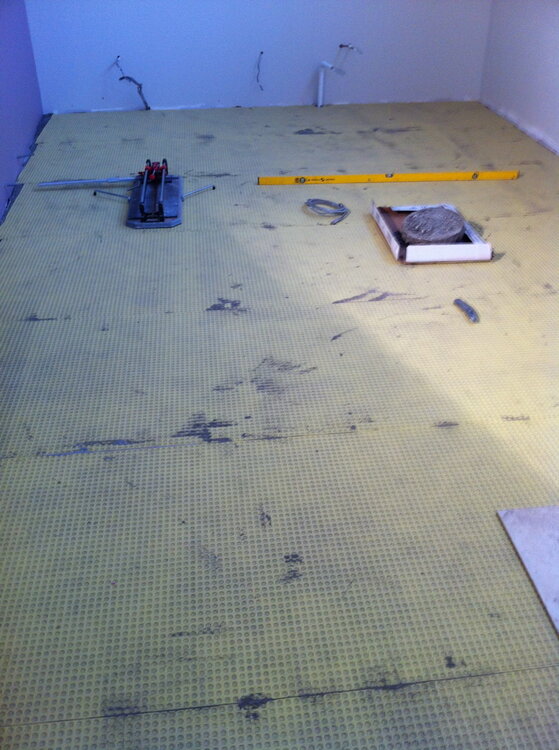
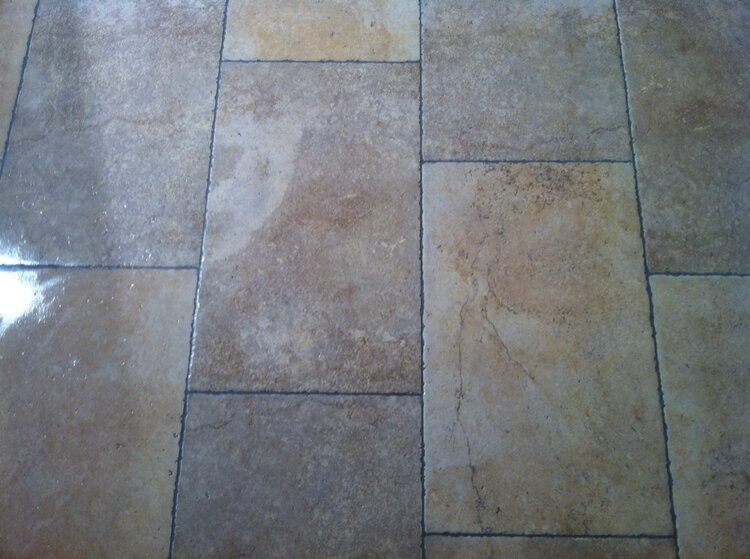
The marble bathroom is straight onto tanked block walls and then skimmed to stone.. and floor is Dural CI onto Gyvlon..

The wooden travertine is onto backer boards and skimmed either side and again floor onto Dural over Gyvlon..

Included some pics of the size of this house.. only pics i cannot find are the down stairs one of 170 mtrs of wooden trav..

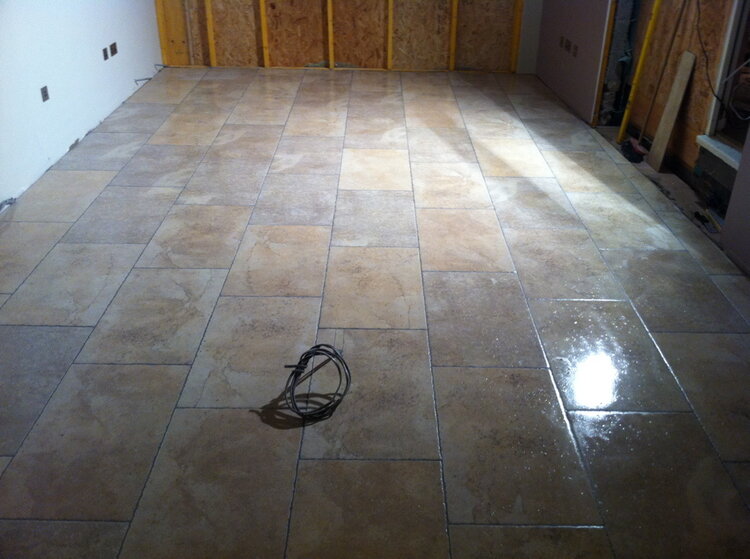
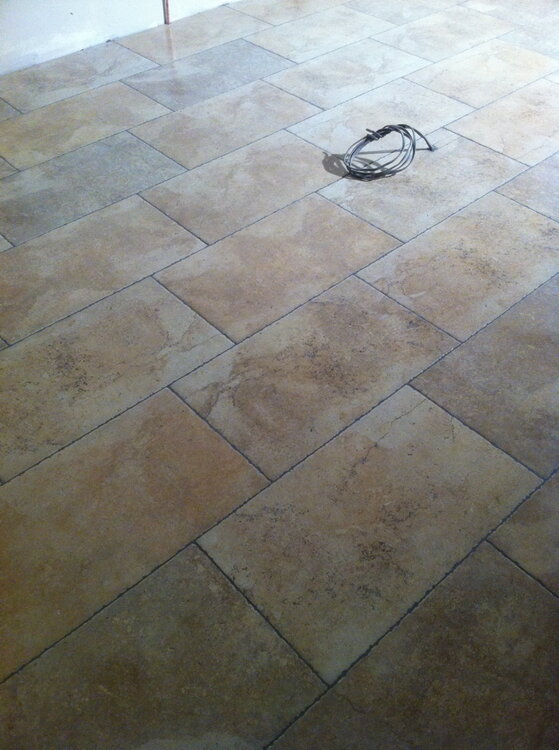
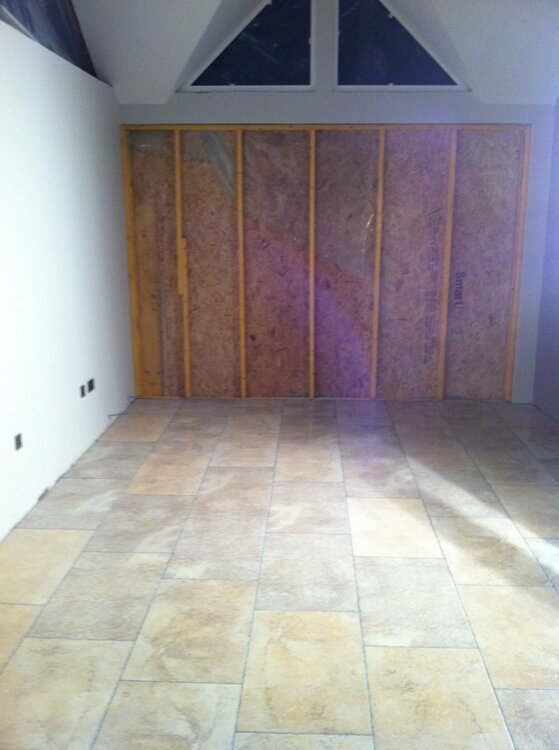
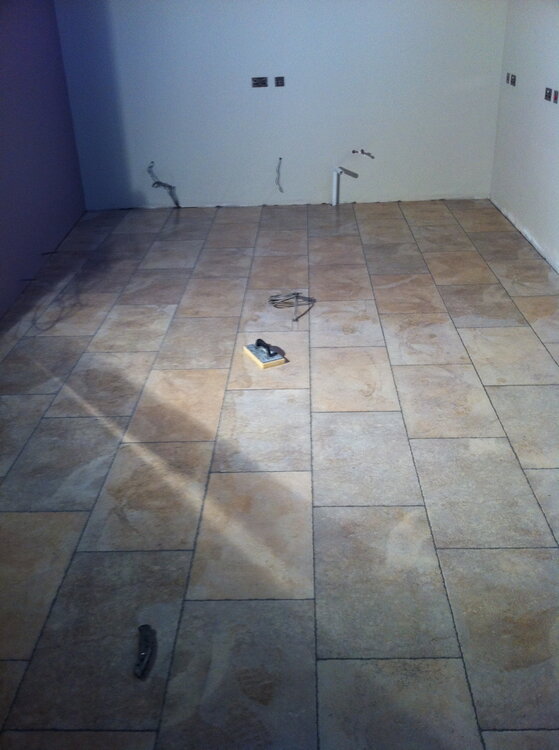
DSC00233.JPG DSC00228.JPG DSC00229.JPG DSC00235.JPG DSC00239.JPG DSC00234.JPG DSC00237.JPG
pencil.png
 
Status
Not open for further replies.

Reply to Show Us YOUR Work Thread - Tilers Pictures in the Tiling Work Showcase Forum area at TilersForums.com

There are similar tiling threads here

    • Like
  • Locked
  • Suggestion
I spend some time in doorways. TJ's Doorway Mosaics for McKenzie Shop Front
Replies
11
Views
2K
  • Sticky
  • Suggestion
Post a New Thread for Each Tiling Job Completed. Rather than using the Show us Your Work Thread - which has more than 500,000 views, and thousands of posts to scroll through - we thought it would...
Replies
0
Views
72
Morning All! I thought it was about time to start a new Good Morning Thread. The old thread can be found HERE but is quite long so not as easy to find specific posts. So tell us what you are up...
2
Replies
39
Views
4K
Join The Tile Association and Get Noticed Some time ago joining The Tile Association may have got your tile business noticed, but it wouldn’t have helped your website much, as the Tiles.org.uk...
Replies
0
Views
174
    • Like
  • Article
Morning all. Dan asked me to post up a thread about our training centre which he can then use for feedback. We have been established in Newport, South Wales (just across the bridge from Bristol)...
Replies
6
Views
1K
Posting a tiling question to the forum? Post in Tilers' Talk if you are unsure which forum to post in. We'll move it if there's a more suitable forum.

Advertisement

Birthdays

Top