D
davemul
Apologies mods of this needs to go elsewhere.. please feel free to move it or bin it!
Riiiight.. here goes....
We've been in our first house nearly 2 years now. We've (well ... more like I'VE!) done everything else bar the bathroom. It's an old 1800's cottage so the bathroom was in a pretty bad way. Solidly built but nasty and OLD!
I decided a few weeks ago to RIP it out and start from the beginning.
First task was to move the hot water cylinder from in the bathroom to a new cupboard outside the room (thanks to Scruff from ultimatehandyman.co.uk for the advice!)
Now you see it...

Now you dont!

Ive taken quite a lot out..
CARNAGE


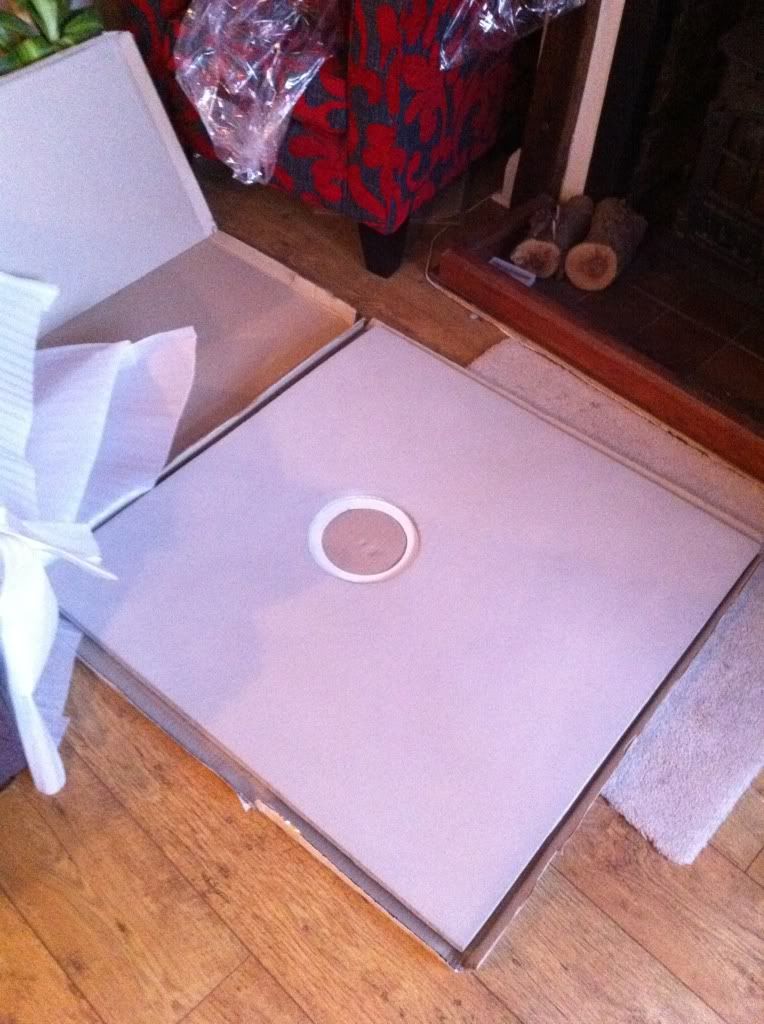
Well, I picked up a load of bits today..
Marmox goods and tiles!


New shower pump for the house too

Also have taken delivery of a taptile wireless light switch system Taptile - Ditch the switch one-touch mood lighting and dimming solutions for the bathroom and kitchen
6 astro glass downlights
an airflow icon15 extractor fan
and some Polk RC60i ceiling speakers
and a couple of remote water isolation switches about surestop
More bits arrive tomorrow.. i'll update this thread as I go along... im taking next week off to start the plumbing and install!
Riiiight.. here goes....
We've been in our first house nearly 2 years now. We've (well ... more like I'VE!) done everything else bar the bathroom. It's an old 1800's cottage so the bathroom was in a pretty bad way. Solidly built but nasty and OLD!
I decided a few weeks ago to RIP it out and start from the beginning.
First task was to move the hot water cylinder from in the bathroom to a new cupboard outside the room (thanks to Scruff from ultimatehandyman.co.uk for the advice!)
Now you see it...
Now you dont!
Ive taken quite a lot out..
CARNAGE
Well, I picked up a load of bits today..
Marmox goods and tiles!
New shower pump for the house too
Also have taken delivery of a taptile wireless light switch system Taptile - Ditch the switch one-touch mood lighting and dimming solutions for the bathroom and kitchen
6 astro glass downlights
an airflow icon15 extractor fan
and some Polk RC60i ceiling speakers
and a couple of remote water isolation switches about surestop
More bits arrive tomorrow.. i'll update this thread as I go along... im taking next week off to start the plumbing and install!
Last edited by a moderator:


