Discuss Show Us YOUR Work Thread - Tilers Pictures in the Tiling Work Showcase Forum area at TilersForums.com.

Edit May 2024: THIS is a New Show Us Your Work Thread for 2024 Onwards

This is the new Tilers Showcase Forum where we want new tiling work added, with each tiling job you complete having a thread of its own so people can see what kind of work you do, and potential customers can find your work


I thought it was about time we had a thread dedicated to all members of Tilers forums to show us any work that they do.

Be it from installing a kitchen to garden decking. Show us your work! Get those pictures taken, but then do something with them! Actually add them to a thread and some facebook groups with your website link in them etc and it'll help spread the tile love. :)

If you have done a job then please do share it with us.

Pics are a MUST as what is the point of sharing a job without them..:smilewinkgrin:.

So if you do a job and you take a few pics then please do share it with us.

Lets make it a big thread for all to view and input in.

Thanks Dave ..:thumbsup::thumbsup:
 
Last edited by a moderator:
Mouldy

TF
Arms
21
563
Park Gate
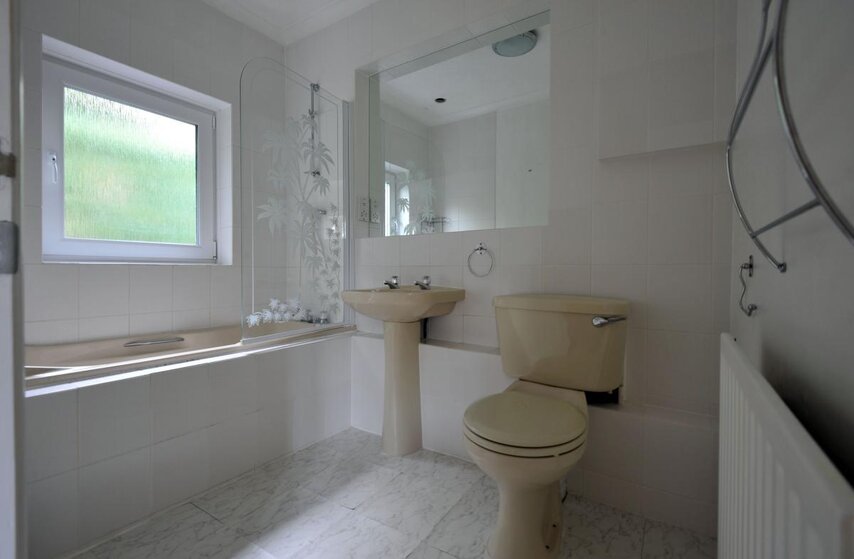
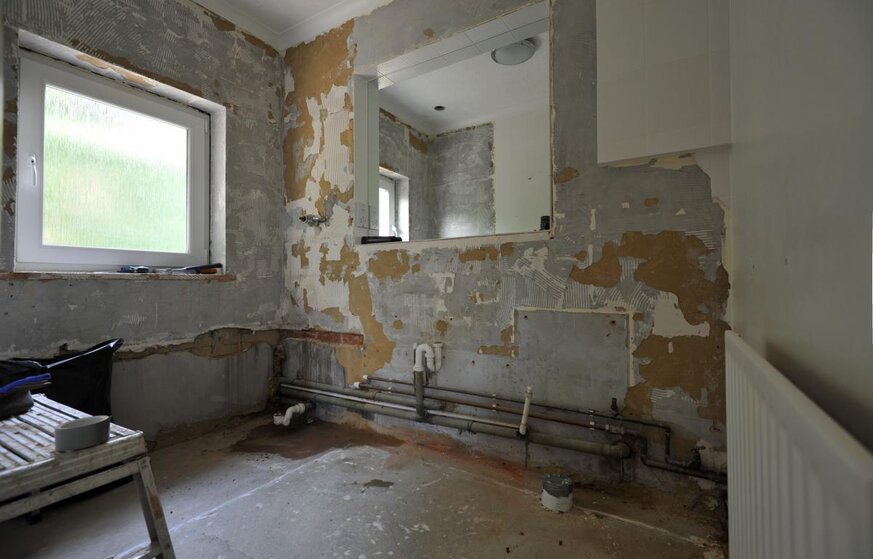
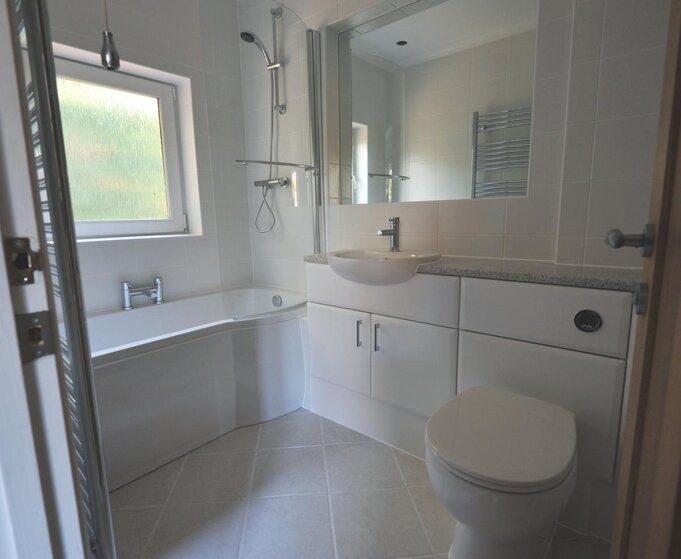
Heres a few of my latest:-

Peters Rd before.jpg Peters Rd during.jpg Peters Rd Finished.jpg
 
Last edited:
S

Stewart

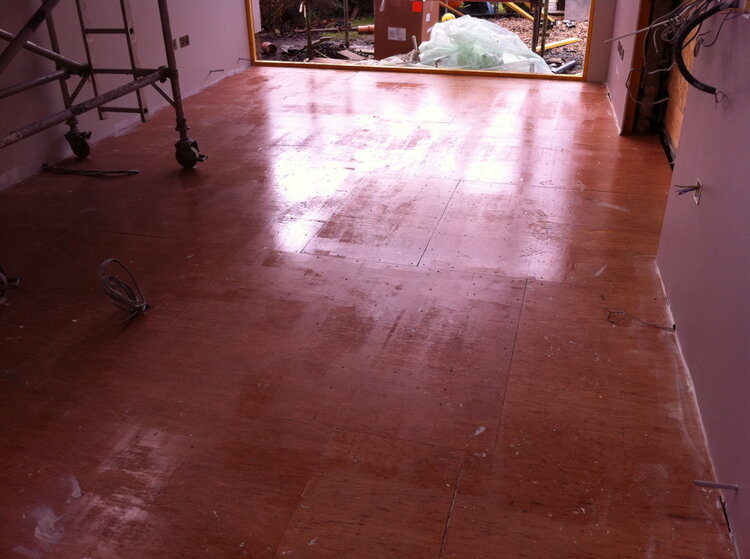
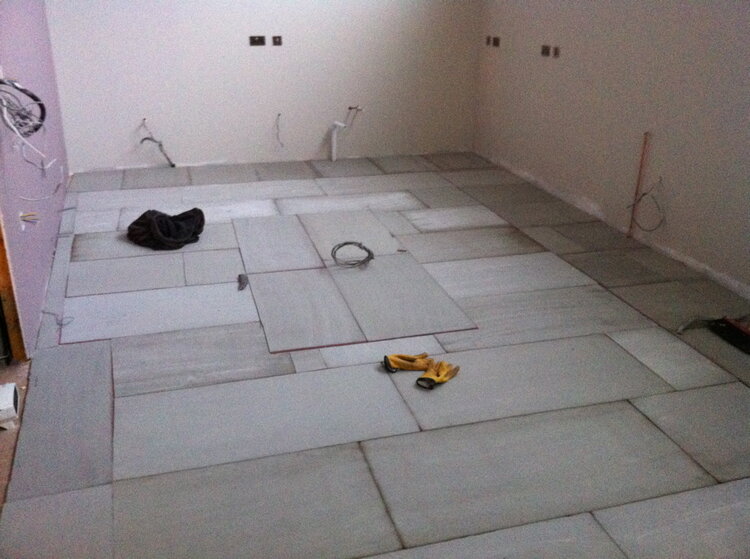
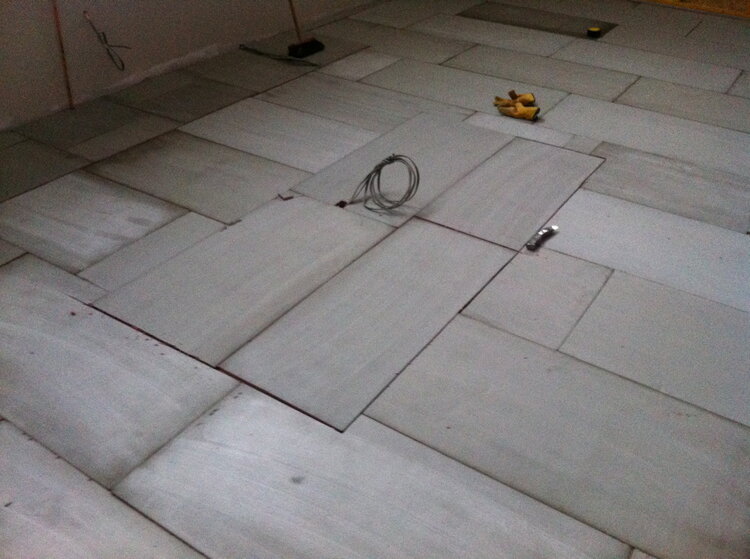
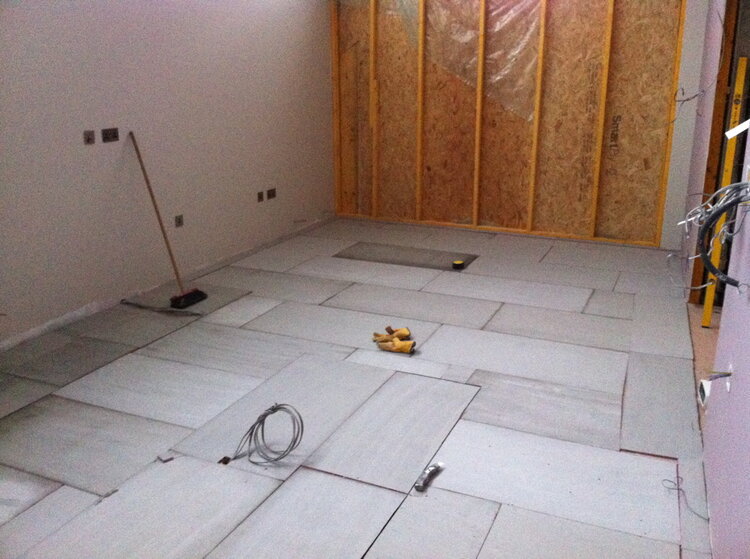
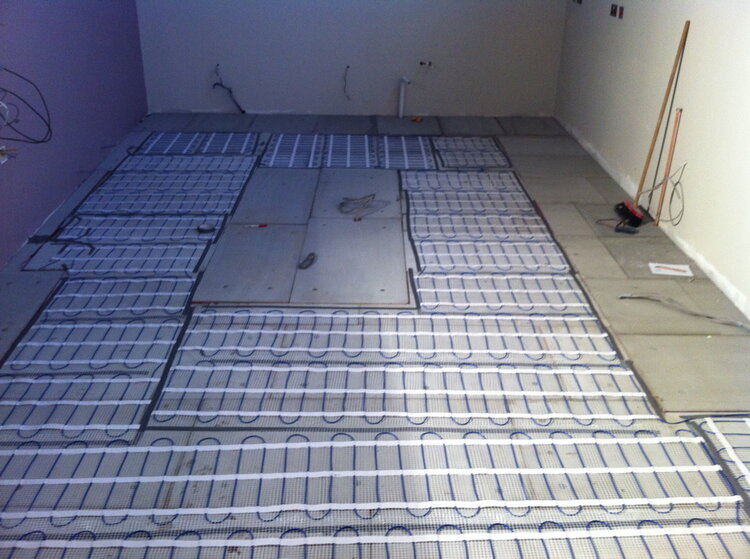
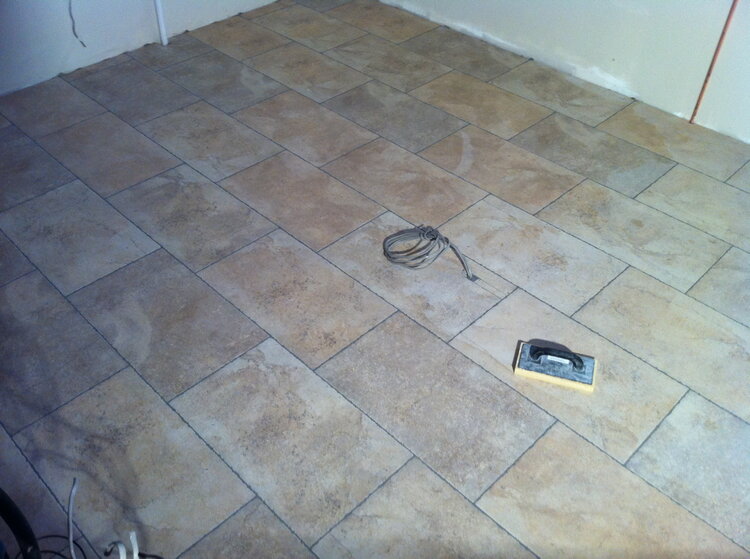
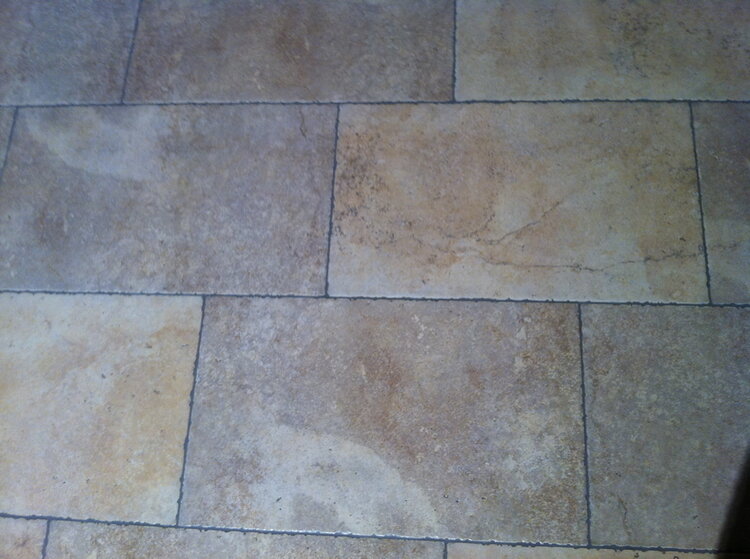
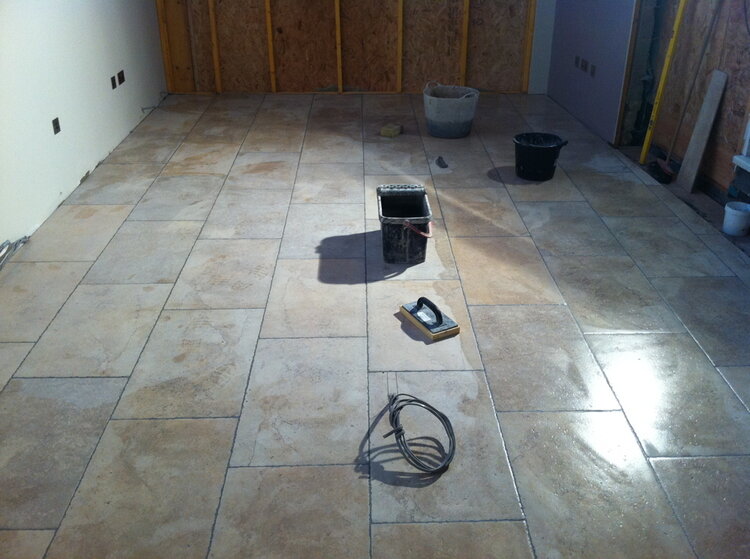
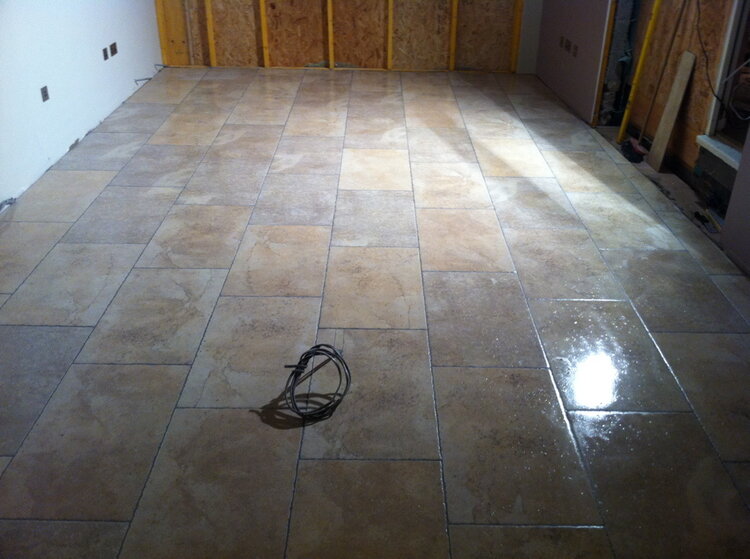
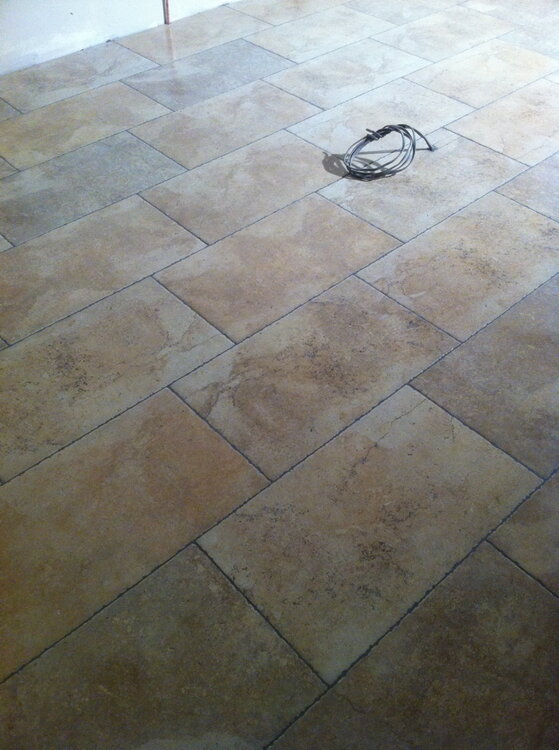
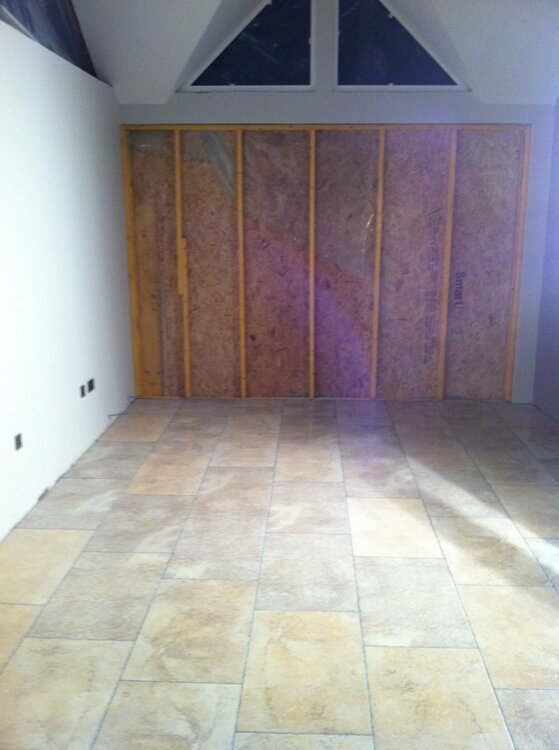
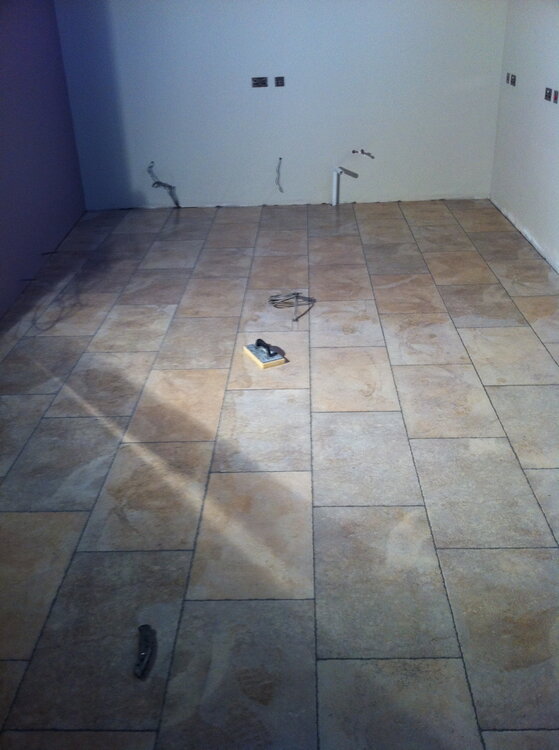
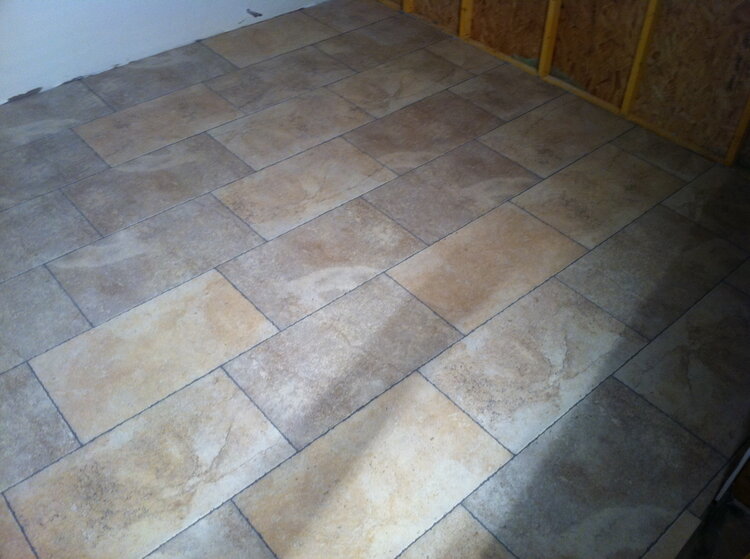
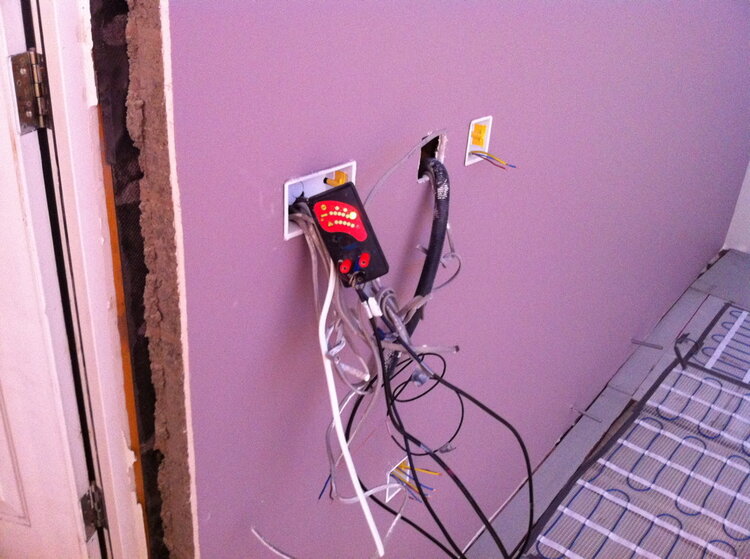
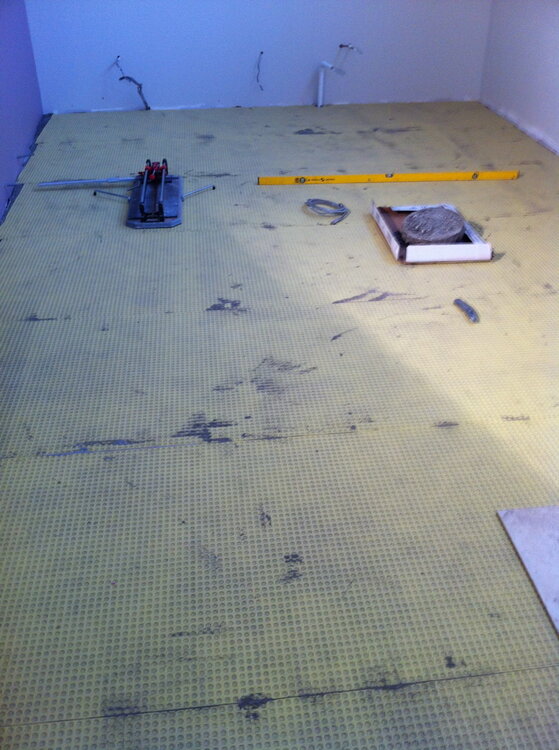
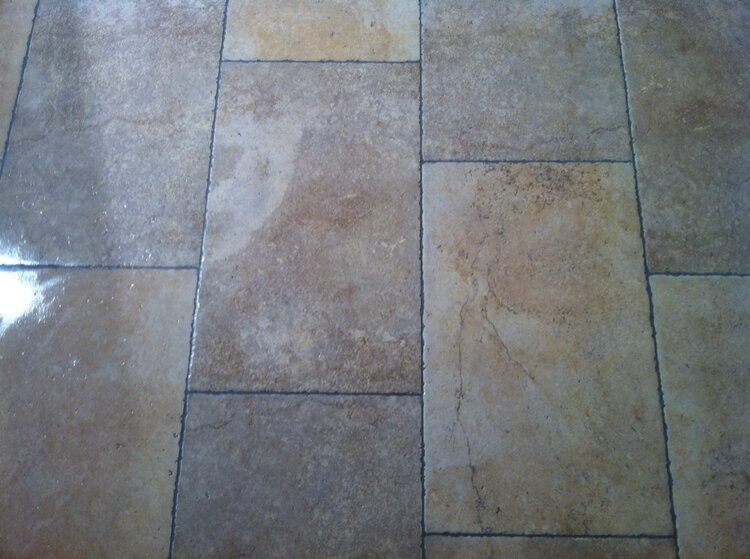
One of the floors i did this week.
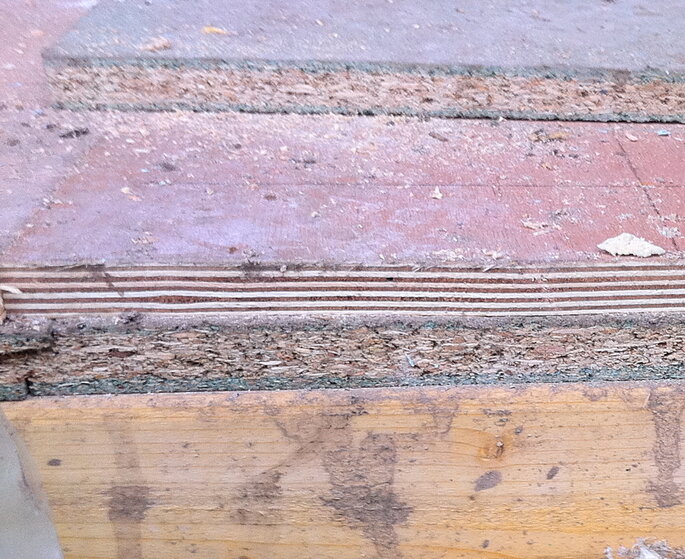
18mm ply, insulated backer board, 200 watt heatmat, Nicobond 2 part screed, Dural CI stuck with Nicobond Rapidflex, 40 square metres of Edimax 450 x 750 porcelain tiles stuck with Nicobond Rapidflex and grouted with Nicobond silver grey.
IMG_0734.jpg IMG_0773.jpg
IMG_0780.jpg IMG_0785.jpg
IMG_0784.jpg IMG_0784.jpg
IMG_0790.jpg IMG_0791.jpg
IMG_0797.jpg IMG_0836.jpg
IMG_0825.jpg IMG_0837.jpg
IMG_0811.jpg IMG_0830.jpg
IMG_0838.jpg IMG_0840.jpg
IMG_0819.jpg IMG_0831.jpg
 

Attachments

  • IMG_0788.jpg
    IMG_0788.jpg
    354 KB · Views: 104
T

tfs

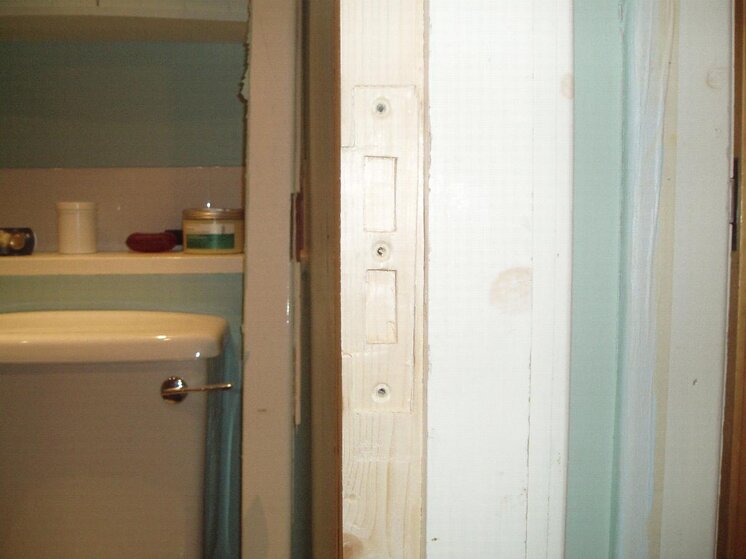
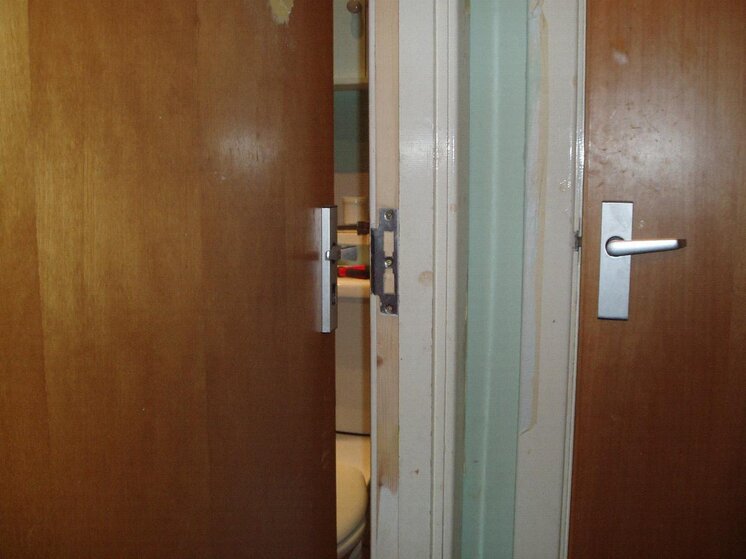
How to repair a damaged door jam (forced open)

Nothing fancy here at all but demonstrates how to make the repair using my fein to cut out timber and chisel to cut recess for keeper.

Old keeper and facing were put back on, personally I would liked to have replaced.

I you ever make any repairs to wood and need to use a filler I reccomend using metolux Metolux - Products For the Trade Professional this is a 2 part filler that sets in approx 15-20 minutes depending on temp etc. It can be shaped and even staind to match existing timbers both colour and profile. You get the job done quicker instead of using DIY fillers which can take 24hours.

You will also notice the size of the peice of timber I cut out, it was much larger than what was actualy damaged. This is to ensure that the new peice is fixed solid to the existing timber. If you only cut out a small sections then this can be easily forced open . Its probs more important to take this into account if you are making a simliar type of repair to an external door.
 

Attachments

  • damaged door jam 1.jpg
    damaged door jam 1.jpg
    96.1 KB · Views: 103
  • damaged door jam 2.jpg
    damaged door jam 2.jpg
    101.6 KB · Views: 101
  • close up of cut out.jpg
    close up of cut out.jpg
    97.1 KB · Views: 102
  • cut out damaged timber 2.jpg
    cut out damaged timber 2.jpg
    79.7 KB · Views: 94
  • chiseled recess for keeper.jpg
    chiseled recess for keeper.jpg
    92.5 KB · Views: 92
  • door working again.jpg
    door working again.jpg
    100.7 KB · Views: 90
  • old keeper and facing put back on as requested.jpg
    old keeper and facing put back on as requested.jpg
    102.4 KB · Views: 93
Last edited by a moderator:
T

tfs

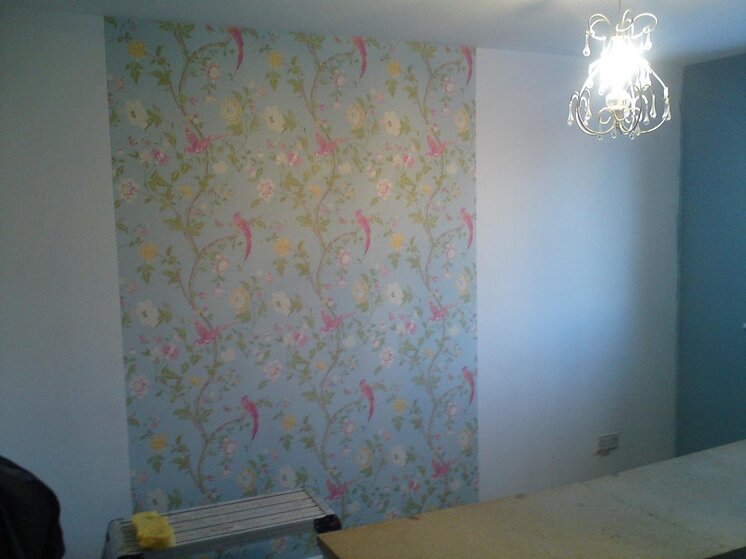
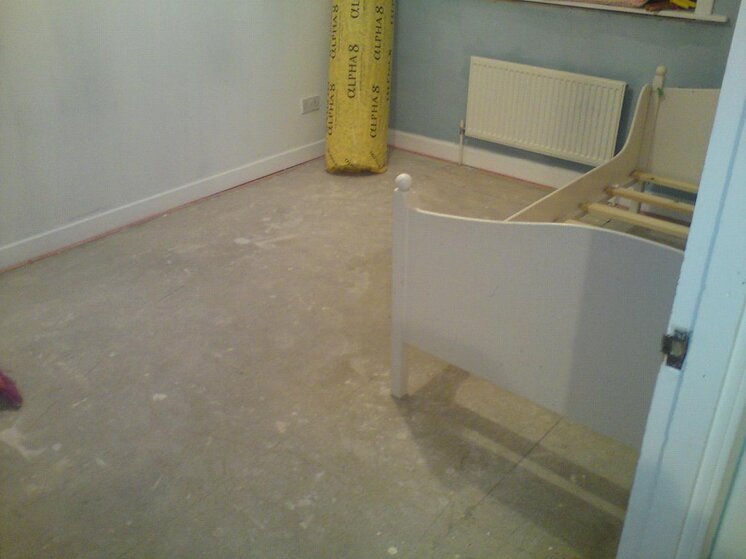
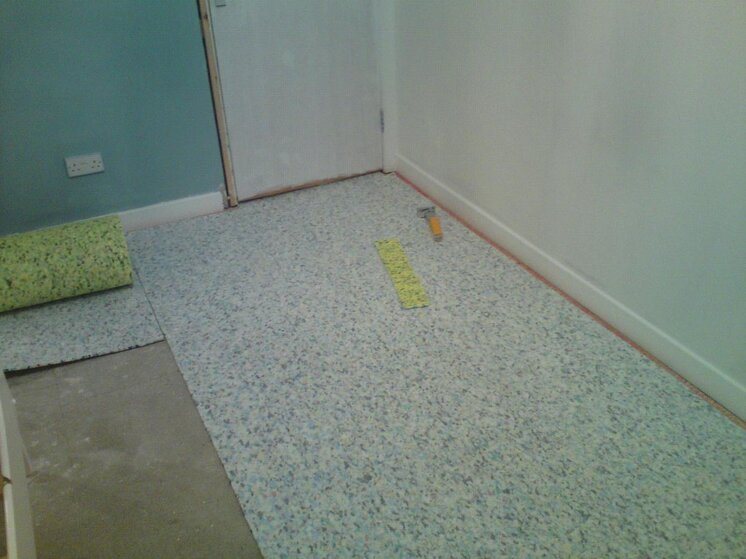
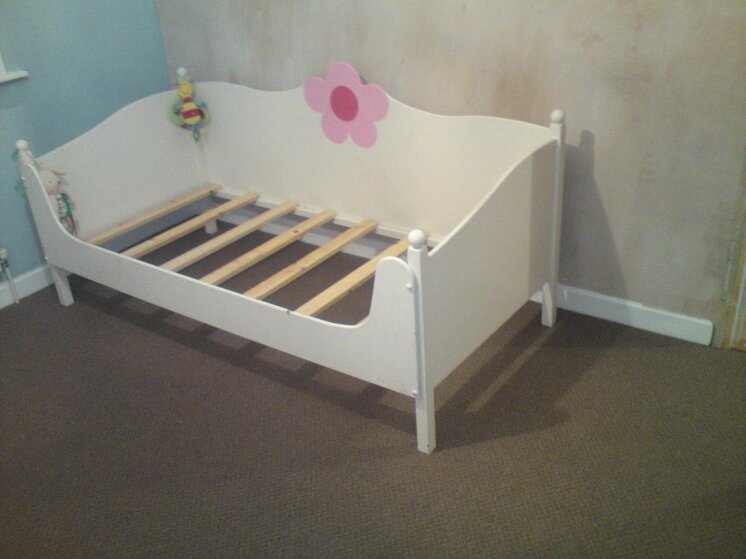
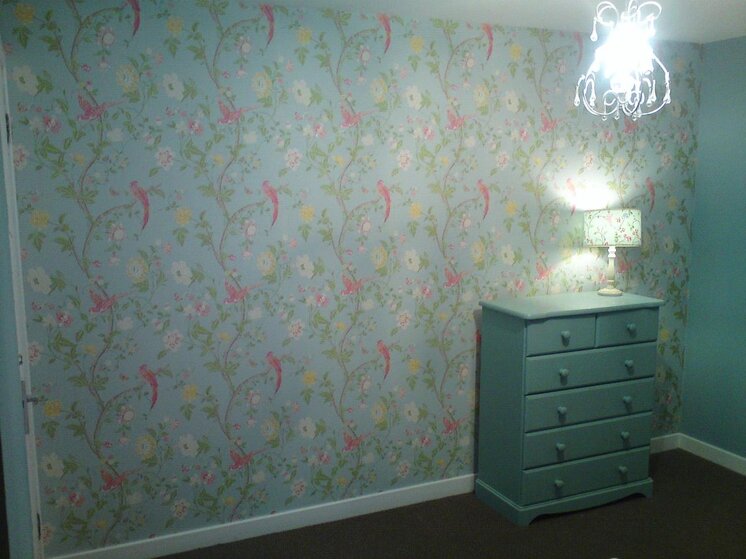
The only thins I have managed to do this week due to snow! Full decorarion of childs bedroom.

I skimmed a few walls in this room last week. At the begining of the week I fitted a new carpt after painting some of the walls. Painted the skirting/ facings with eggshell and fitted new facing and cill around the window.

Papered feature wall with Laura Ashley wall paper (took 3 rolls due do to 75cm repeat in the pattern).

Built 2 bespoke bookcases but not fitted yet as only just finnished decorating.
 

Attachments

  • knee to head.jpg
    knee to head.jpg
    89.6 KB · Views: 95
  • mist coat.jpg
    mist coat.jpg
    98.3 KB · Views: 91
  • half done.jpg
    half done.jpg
    103.6 KB · Views: 90
  • prepin floor.jpg
    prepin floor.jpg
    97.3 KB · Views: 82
  • underlay.jpg
    underlay.jpg
    122 KB · Views: 83
  • carpet fitted.jpg
    carpet fitted.jpg
    108.2 KB · Views: 85
  • Laura Ashley feature wall 1.jpg
    Laura Ashley feature wall 1.jpg
    127.4 KB · Views: 84
  • Laura Ashley wall 2.jpg
    Laura Ashley wall 2.jpg
    102 KB · Views: 93
Last edited by a moderator:
S

Scott

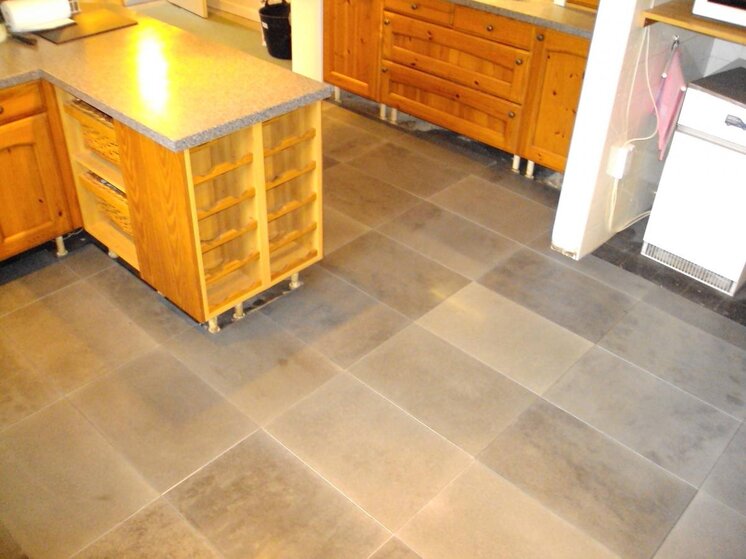
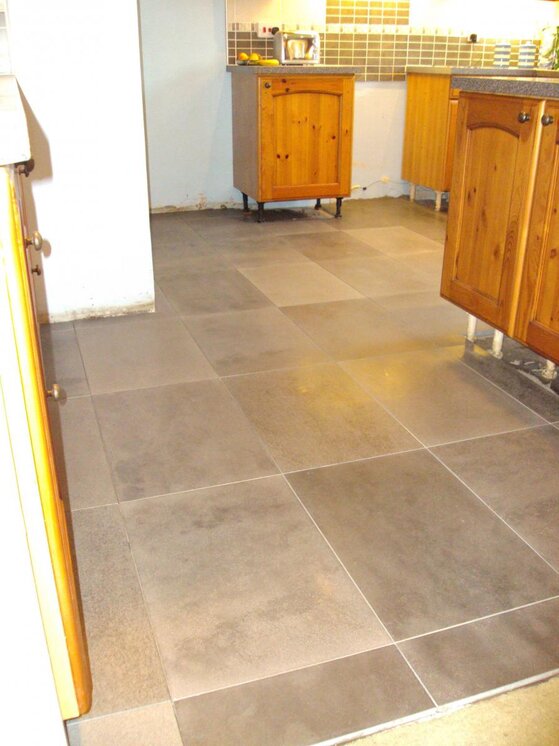
I dont normally put up pics of my work but i feel like a change.

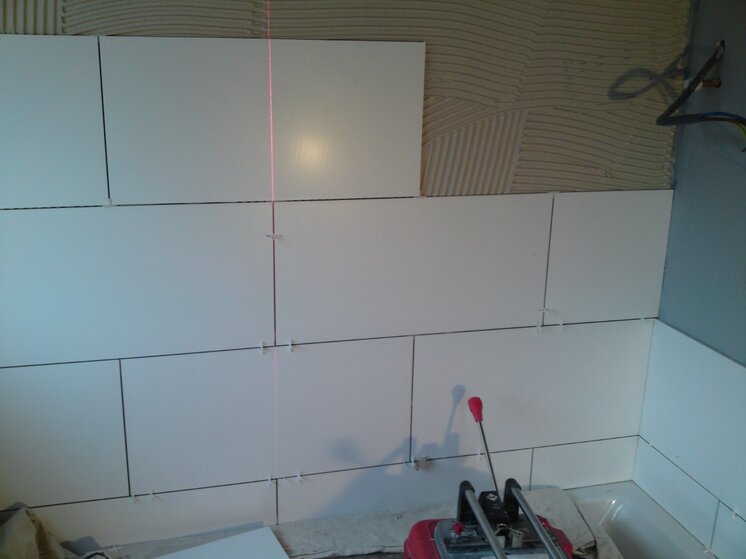
This is one of my latest projects and in a way the forum is possibly the reason i got the job due to the customer checking up on tile weights etc.

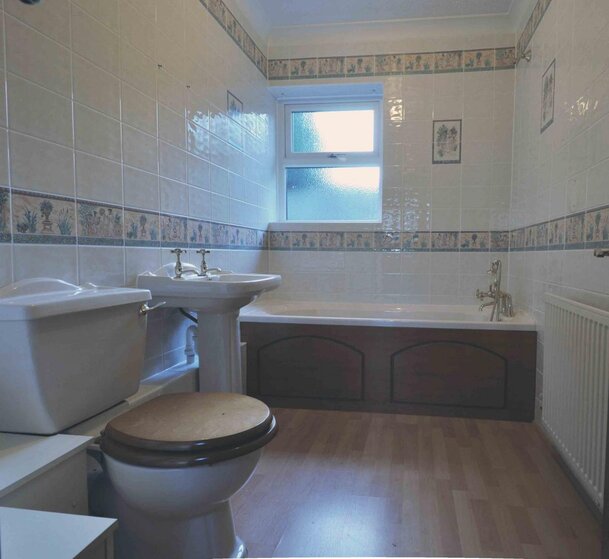
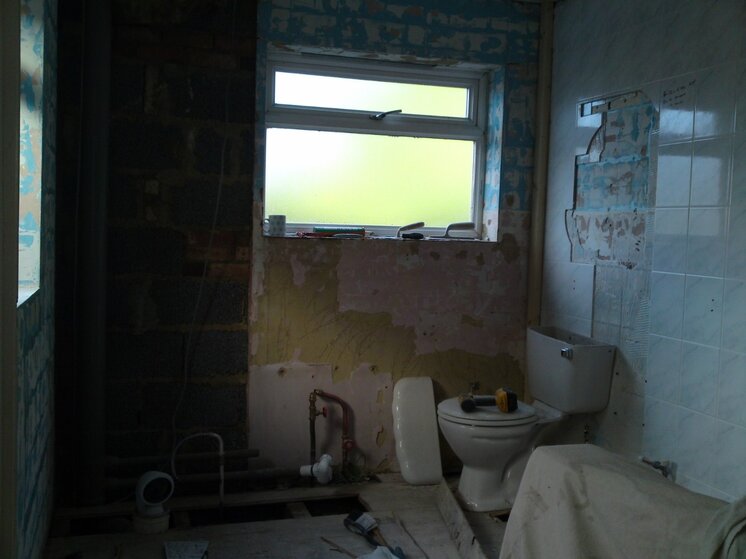
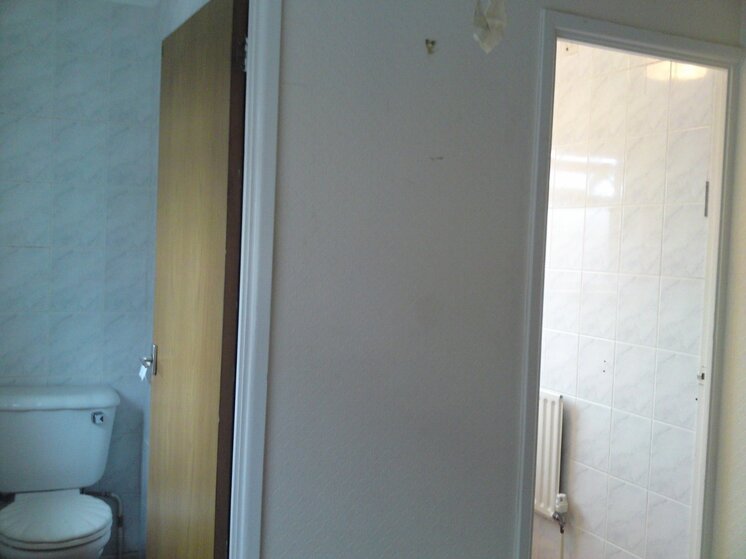
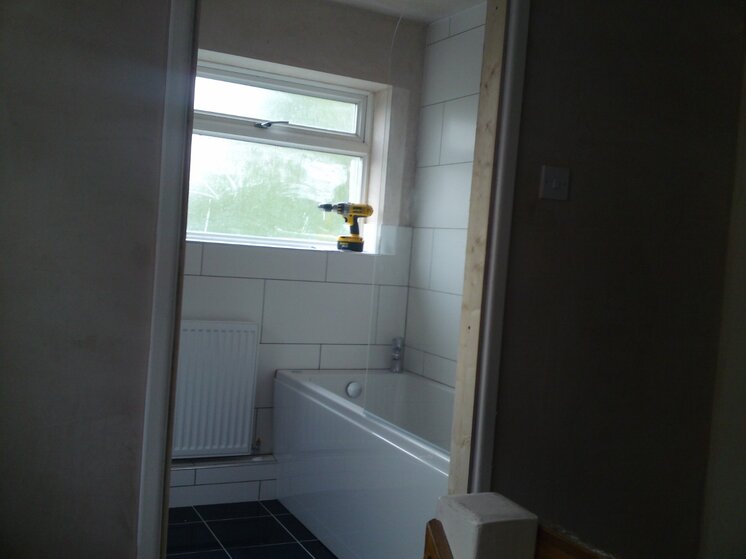
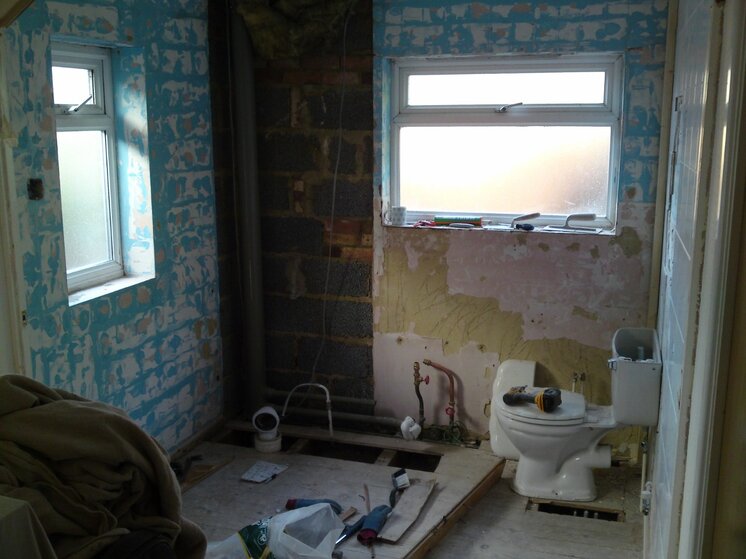
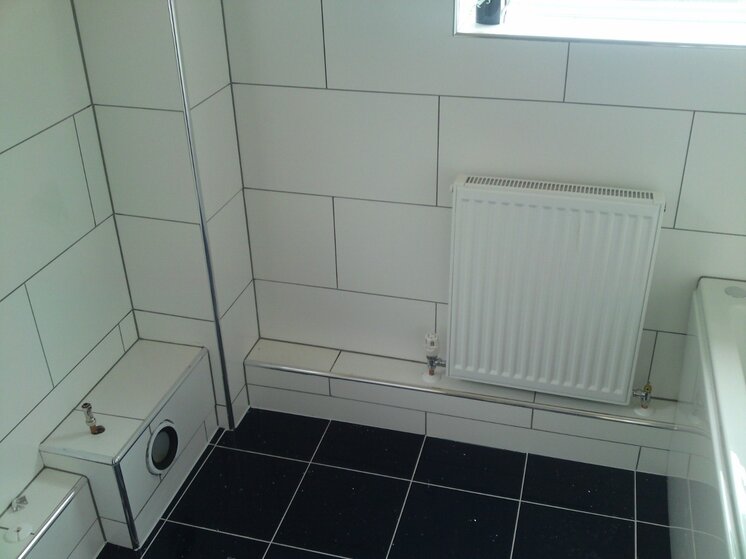
The previous bathroom fitter had said he would remove the top layer of tiles and tile over the existing blue layer. The new tiles are 600x300 ceramics....need i say more? Ok, it was not only skimmed plaster board but paramount plasterboard :yikes:
I advised them that the whole lot needed to come out and they bit the bullet and had the job done right. Both rooms knocked into one and the wall adjacent to the bedroom had an independant stud wall put up in front so I didnt have to completely ruin her house.
 

Attachments

  • DSC01992 (1200x900).jpg
    DSC01992 (1200x900).jpg
    168.5 KB · Views: 103
  • DSC01979 (1200x900).jpg
    DSC01979 (1200x900).jpg
    162.6 KB · Views: 114
  • DSC02056 (1200x900).jpg
    DSC02056 (1200x900).jpg
    134.1 KB · Views: 108
  • DSC01991 (1200x900).jpg
    DSC01991 (1200x900).jpg
    216.6 KB · Views: 111
  • DSC02049 (1200x900).jpg
    DSC02049 (1200x900).jpg
    141.4 KB · Views: 120
  • DSC02050 (1200x900).jpg
    DSC02050 (1200x900).jpg
    155.6 KB · Views: 118
  • DSC02010 (1200x900).jpg
    DSC02010 (1200x900).jpg
    140.4 KB · Views: 106
  • DSC01974 (900x1200).jpg
    DSC01974 (900x1200).jpg
    160.7 KB · Views: 122
  • DSC02053 (900x1200).jpg
    DSC02053 (900x1200).jpg
    254.7 KB · Views: 123

Reply to Show Us YOUR Work Thread - Tilers Pictures in the Tiling Work Showcase Forum area at TilersForums.com

Subscribe to Tilers Forums

There are similar tiling threads here

D
Show Us YOUR Work Thread - Tilers Pictures Showcase Show Us YOUR Work Thread - Tilers Pictures...
Replies
0
Views
84
D
    • Like
  • Sticky
  • Article
Post a New Thread for Each Tiling Job Completed. Rather than using the Show us Your Work Thread...
Replies
0
Views
2K
A
How to reach more people on facebook by changing your linking practices Have you ever noticed...
Replies
0
Views
104
Admin1
A
A
Tilers Talk Facebook Group Se connecter à Facebook Connectez-vous à Facebook pour commencer à...
Replies
0
Views
186
Admin1
A
D
    • Like
A list of all tile related groups on facebook Can we get a list started for all the tile related...
Replies
0
Views
168
D

Advertisement

Thread starter

Dave

Staff member
Esteemed
Arms
Subscribed
TF
Joined
Location
Co.Durham
Business Name
David Howe Tiling.

Thread Information

Title
Show Us YOUR Work Thread - Tilers Pictures
Prefix
N/A
Forum
Tiling Work Showcase Forum
Start date
Last reply date
Replies
3K

Which tile adhesive brand did you use most this year?

  • Palace

    Votes: 9 5.4%
  • Kerakoll

    Votes: 17 10.1%
  • Ardex

    Votes: 12 7.1%
  • Mapei

    Votes: 47 28.0%
  • Ultra Tile

    Votes: 21 12.5%
  • BAL

    Votes: 40 23.8%
  • Wedi

    Votes: 4 2.4%
  • Benfer

    Votes: 4 2.4%
  • Tilemaster

    Votes: 23 13.7%
  • Weber

    Votes: 19 11.3%
  • Other (any other brand not listed)

    Votes: 17 10.1%
  • Nicobond

    Votes: 8 4.8%
  • Norcros

    Votes: 2 1.2%
  • Kelmore

    Votes: 5 3.0%

Birthdays

Top