Search the forum,

Discuss Show Us YOUR Work Thread - Tilers Pictures in the Tiling Work Showcase Forum area at TilersForums.com.

Status
Not open for further replies.

Dave

TF
Staff member
Esteemed
Arms
Subscribed
389,894
1,000,000
Co.Durham
Edit May 2024: THIS is a New Show Us Your Work Thread for 2024 Onwards

This is the new Tilers Showcase Forum where we want new tiling work added, with each tiling job you complete having a thread of its own so people can see what kind of work you do, and potential customers can find your work


I thought it was about time we had a thread dedicated to all members of Tilers forums to show us any work that they do.

Be it from installing a kitchen to garden decking. Show us your work! Get those pictures taken, but then do something with them! Actually add them to a thread and some facebook groups with your website link in them etc and it'll help spread the tile love. :)

If you have done a job then please do share it with us.

Pics are a MUST as what is the point of sharing a job without them..:smilewinkgrin:.

So if you do a job and you take a few pics then please do share it with us.

Lets make it a big thread for all to view and input in.

Thanks Dave ..:thumbsup::thumbsup:
 
Last edited by a moderator:

kilty55

TF
Arms
9
1,113
edinburgh
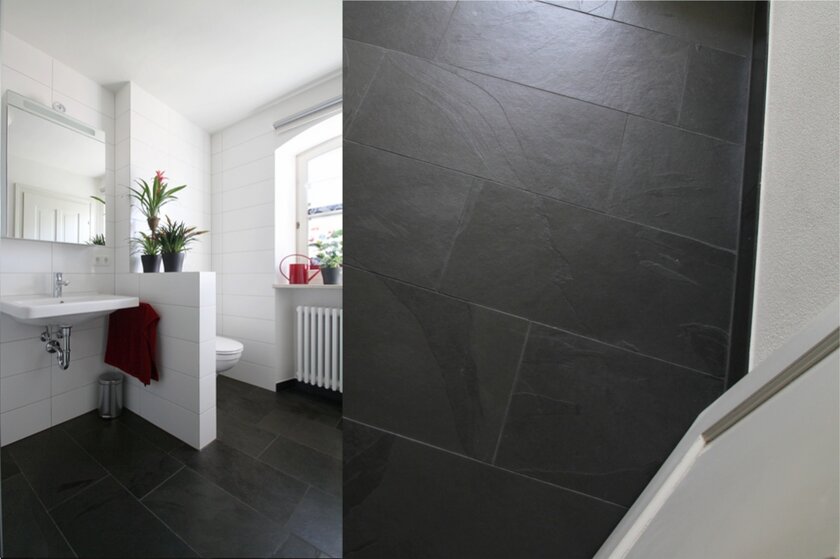
fired earth crackle glazed tiles
 

Attachments

  • DSCF1636 (1209 x 907).jpg
    122.9 KB · Views: 39
  • DSCF1634 (1209 x 907).jpg
    120.9 KB · Views: 38
Q

Qwerty

Nice bathroom Geoff. I'll bet the customers were pleased with the result especially looking at the old room. Do you mind my asking how long that job took?

9 days start to finish. Problem was that it was the only bathroom in the house and it was a family of 4 adults. Rip out only took 3 hours...... The tiled bath wall fell on me in one whole sheet!!!! Just as well I was fitting a new bath!
 

martin1c

TF
Arms
91
633
Cheshire
9 days start to finish. Problem was that it was the only bathroom in the house and it was a family of 4 adults. Rip out only took 3 hours...... The tiled bath wall fell on me in one whole sheet!!!! Just as well I was fitting a new bath!

9 days for that kind of quality is going some. Well done. I've got a similar one next week, only one bathroom in the house so I have to re-install the WC at the end of each day.
 
Q

Qwerty

9 days for that kind of quality is going some. Well done. I've got a similar one next week, only one bathroom in the house so I have to re-install the WC at the end of each day.

I had my spark do all electrical related work, plasterer skim ceiling, a willing labourer to help with lugging bits and painting of ceiling. I did motor on with it though....... totally knackered at the end!!! Mostly 10-12 hour days!
 
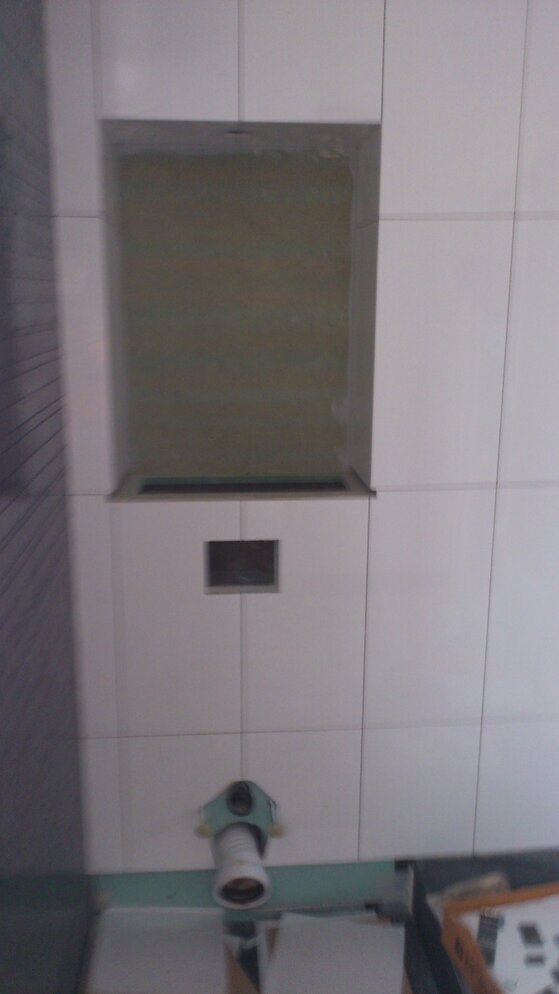
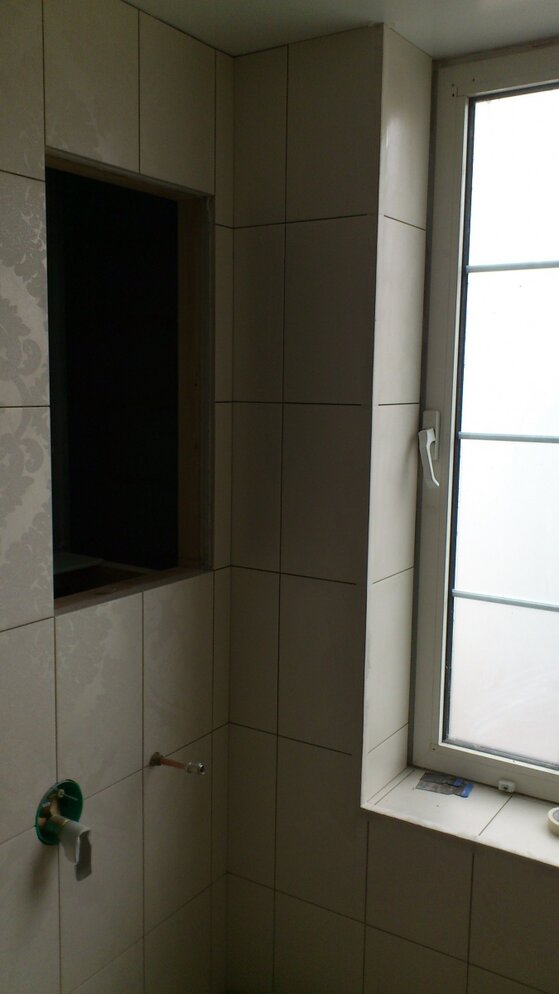
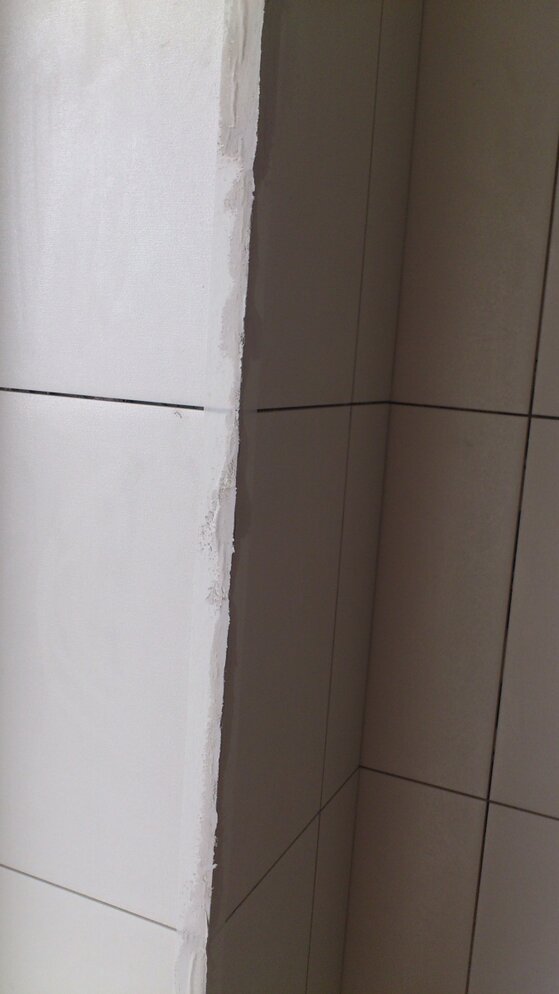
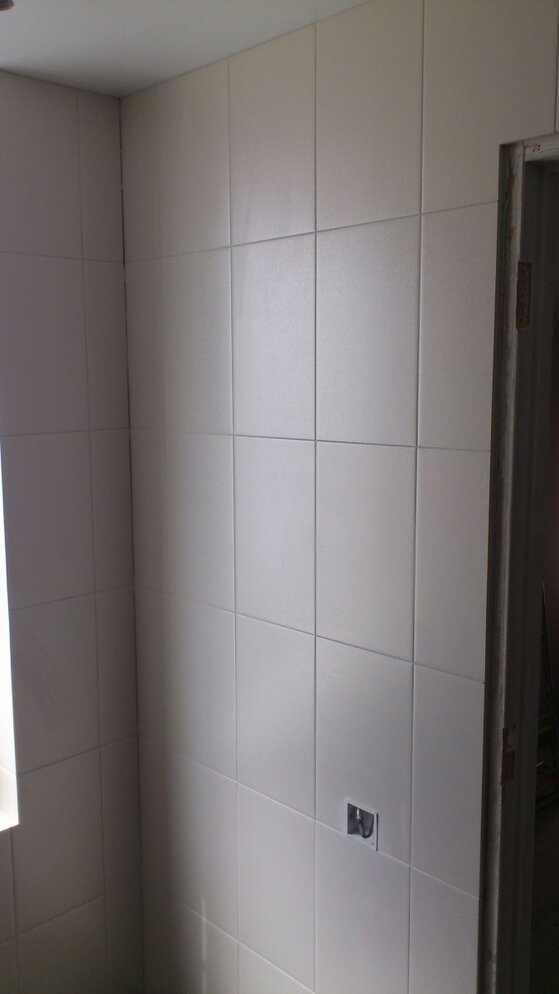
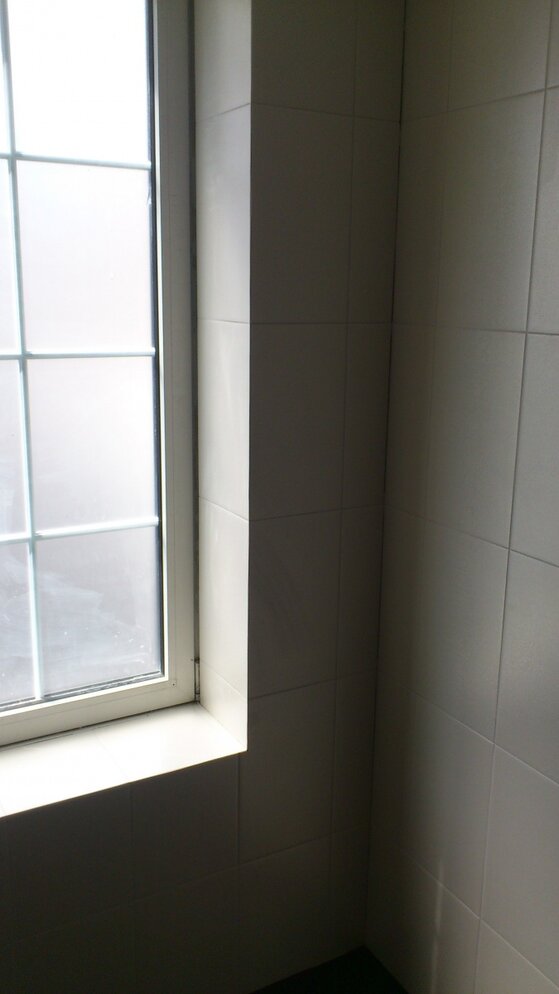
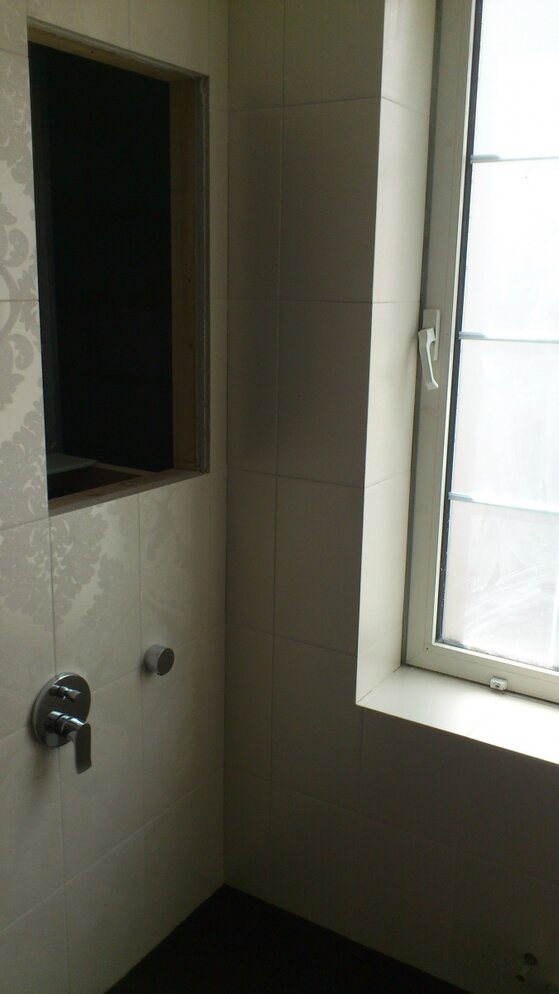
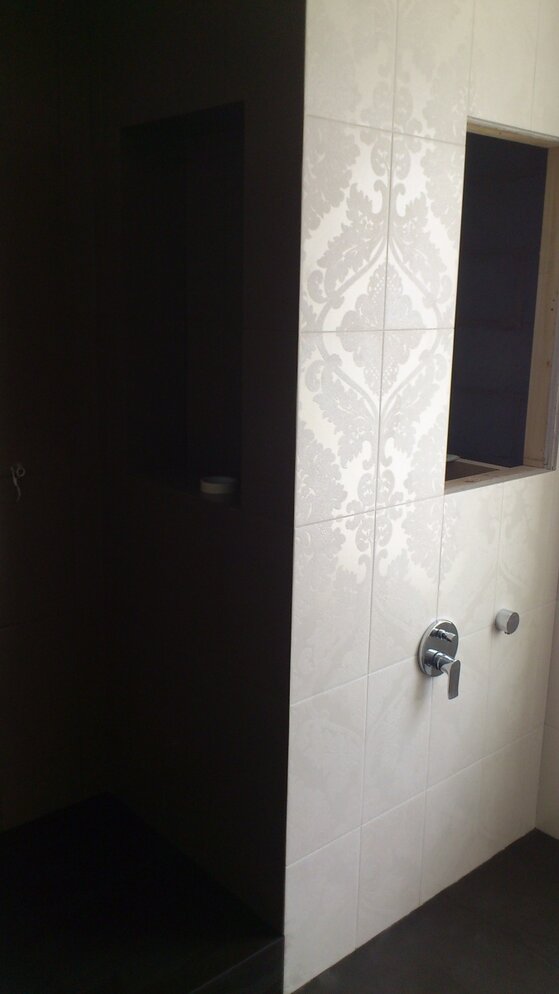
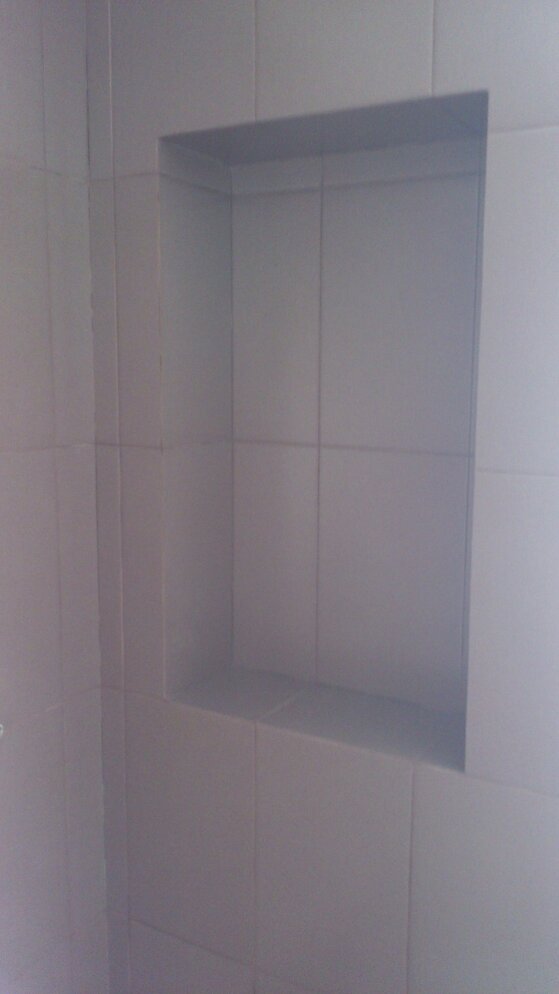
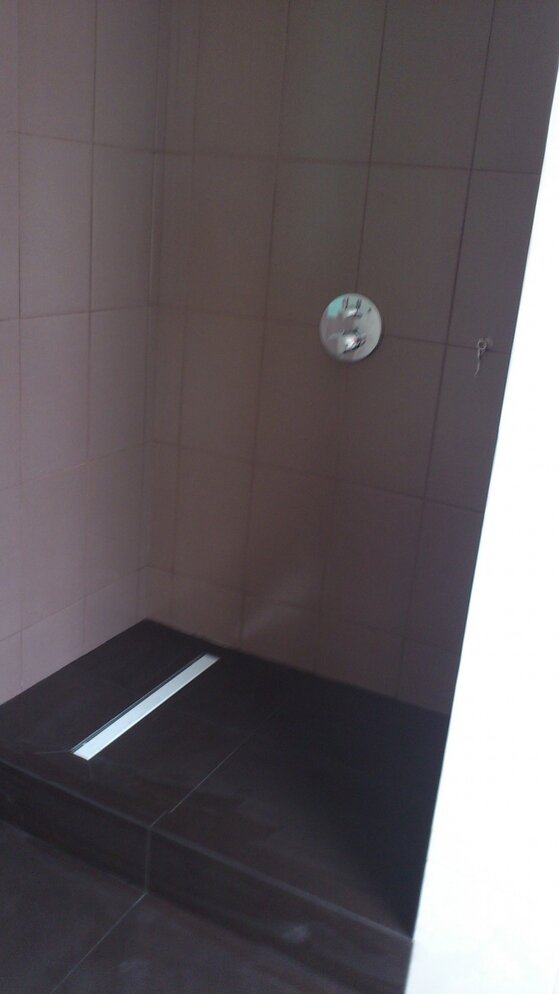
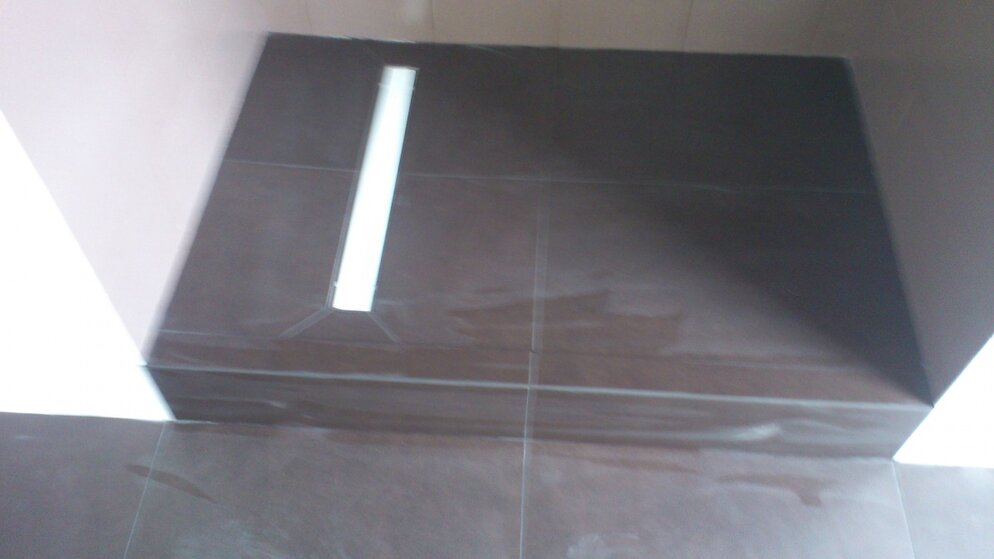
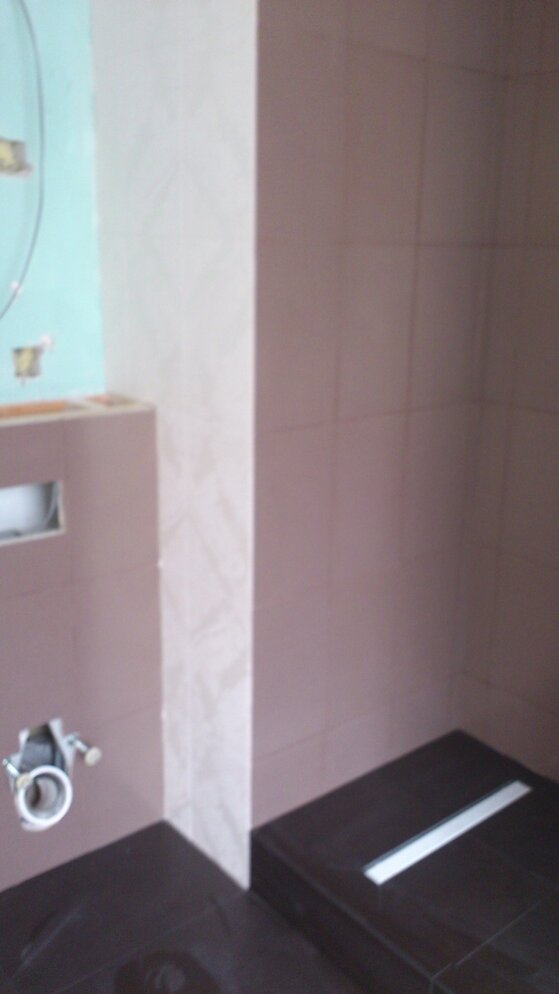
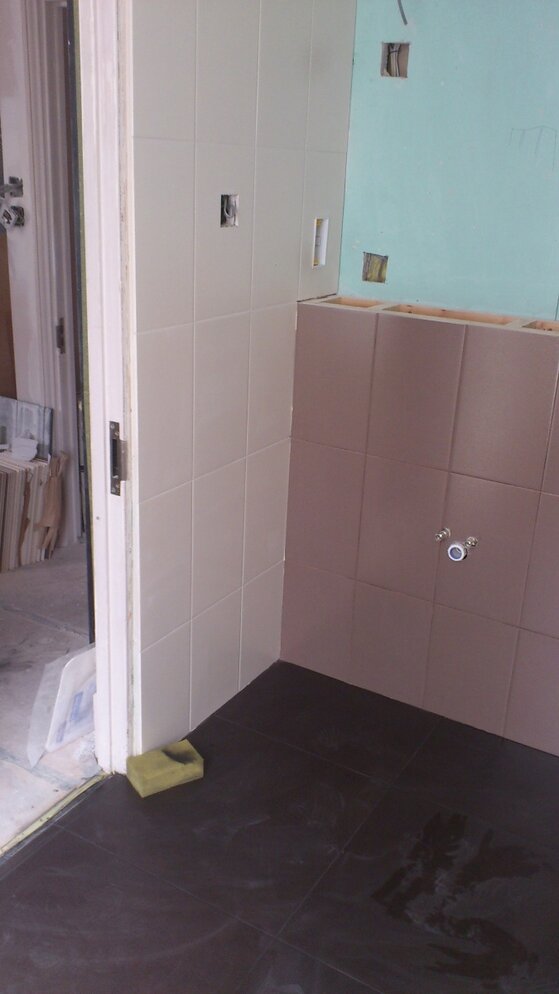
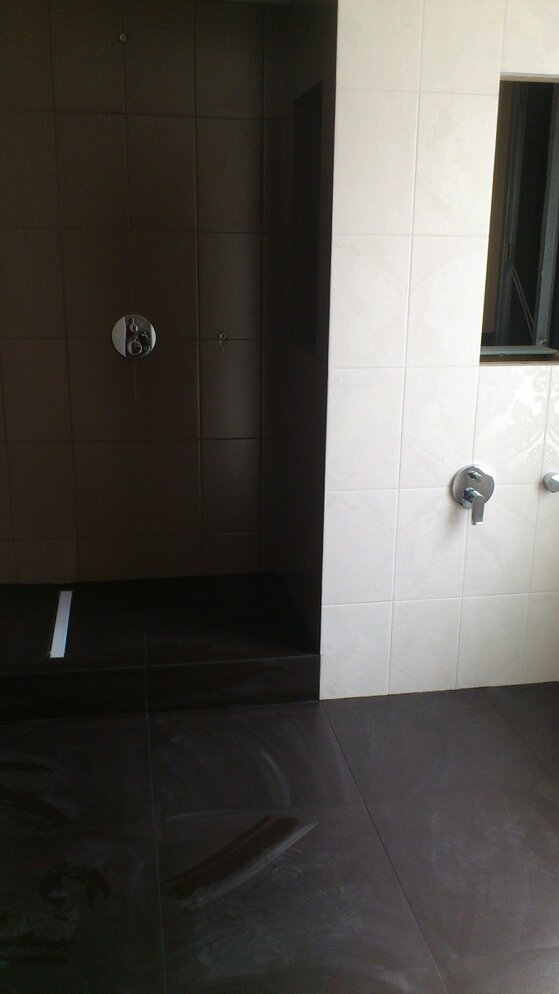
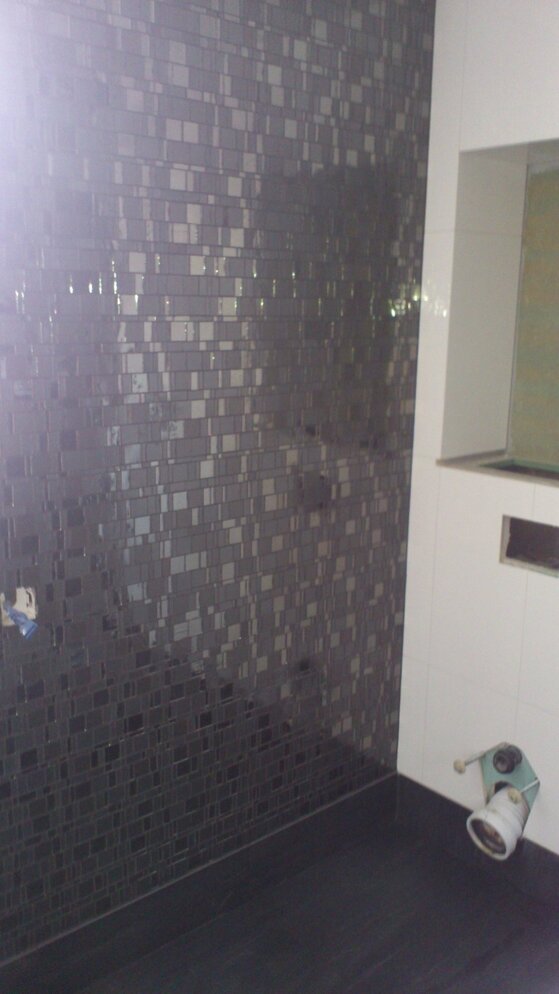
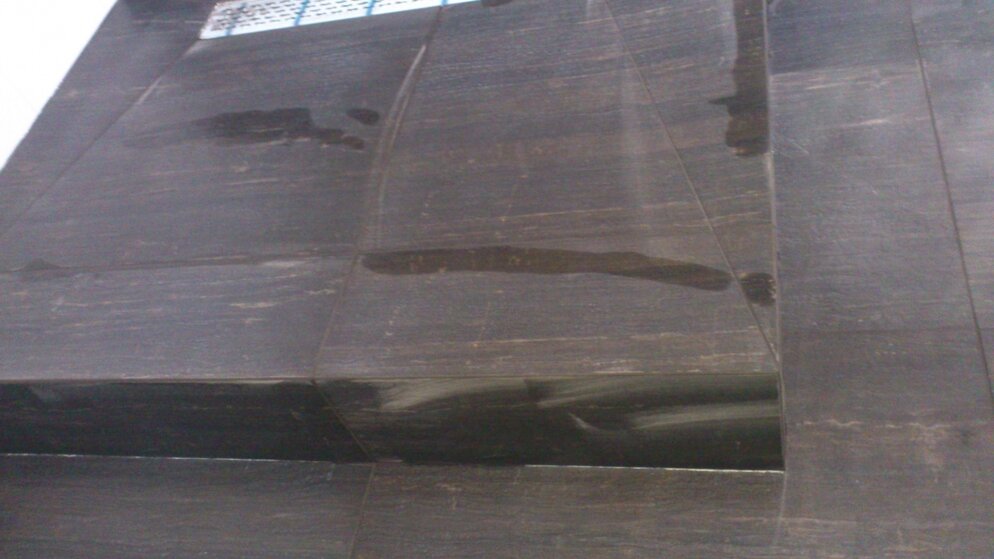
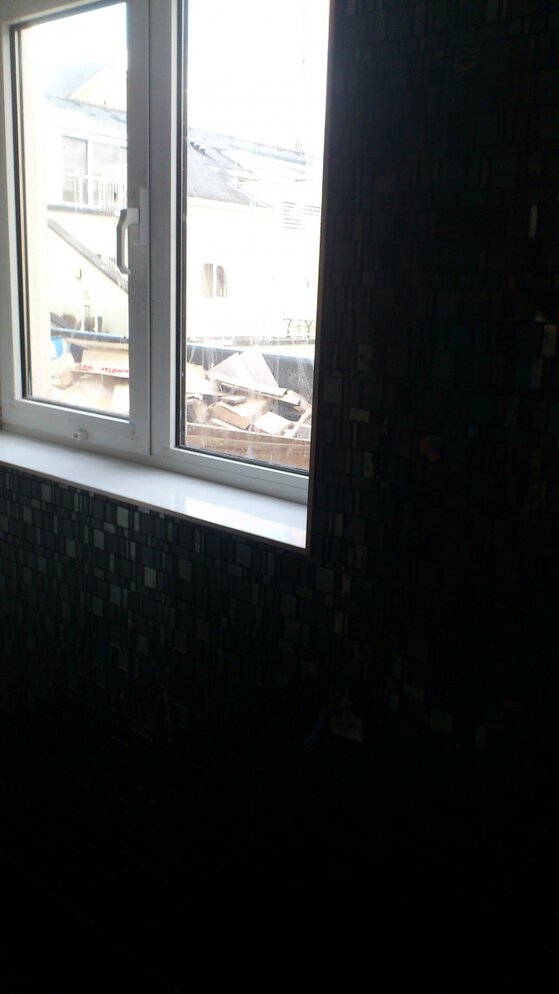
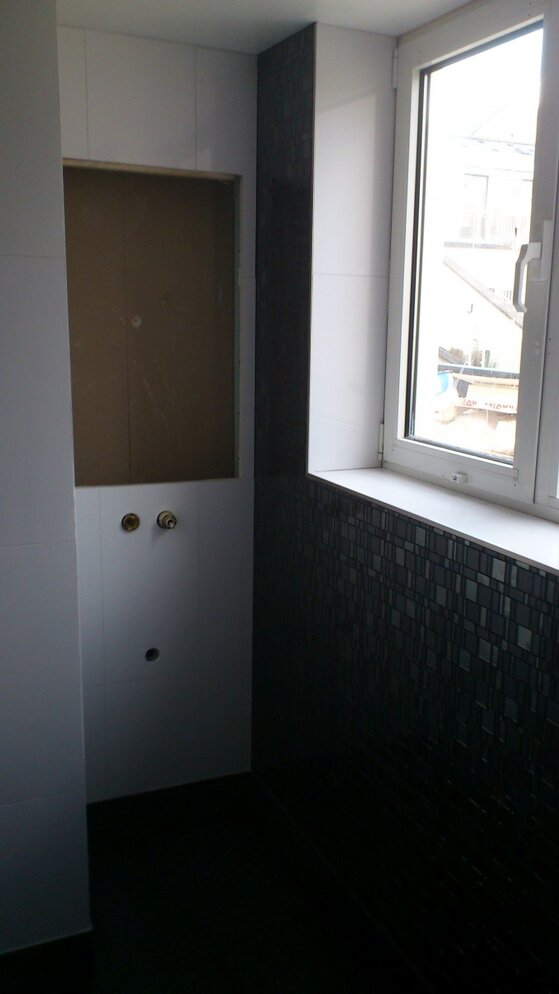
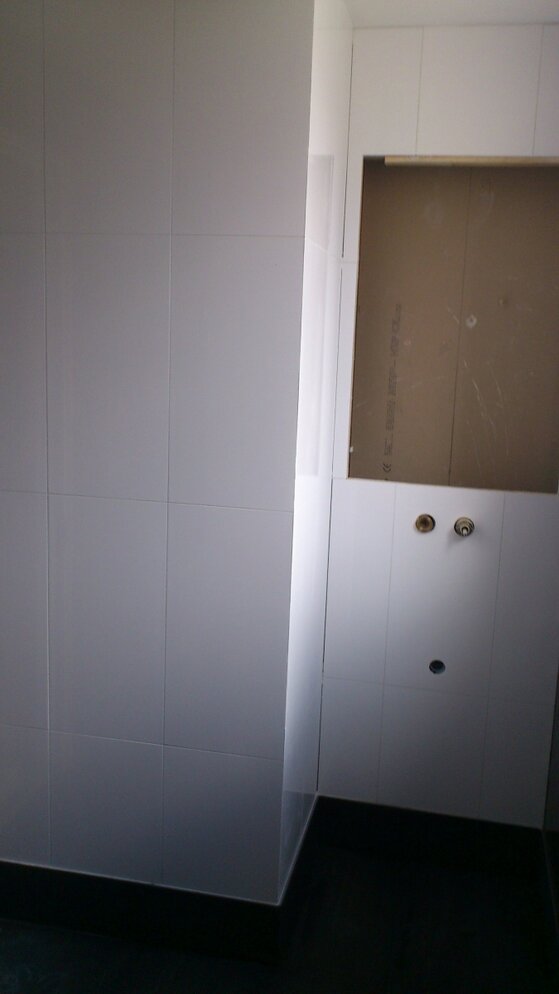
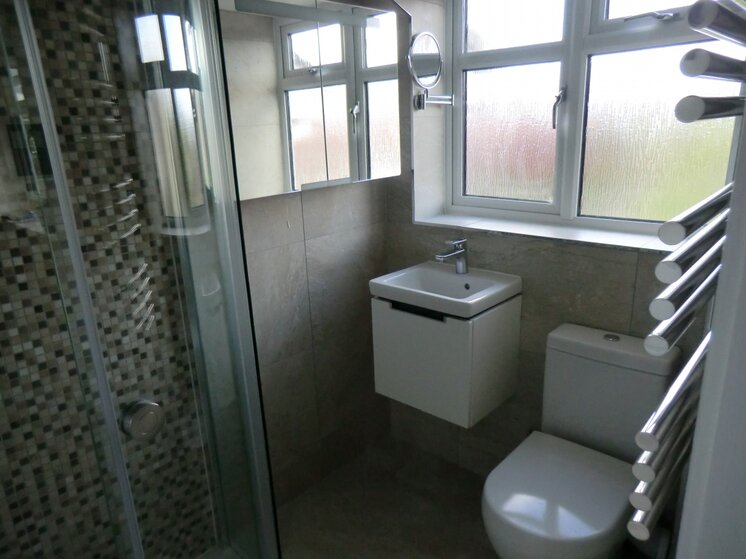
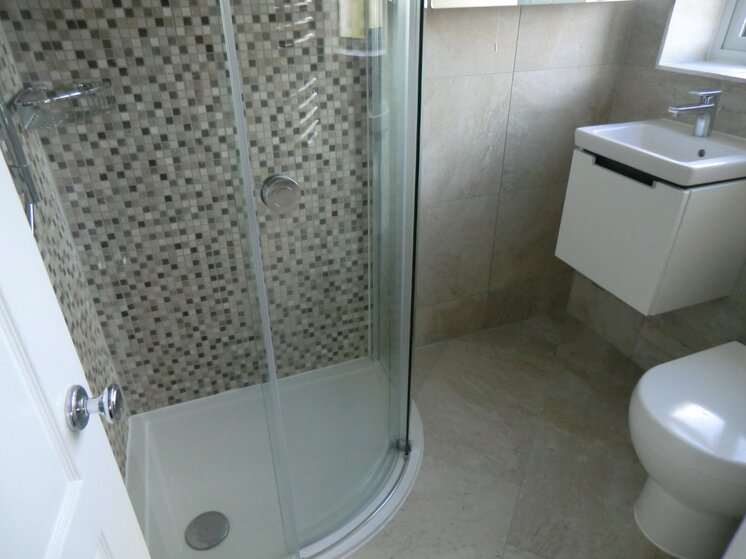
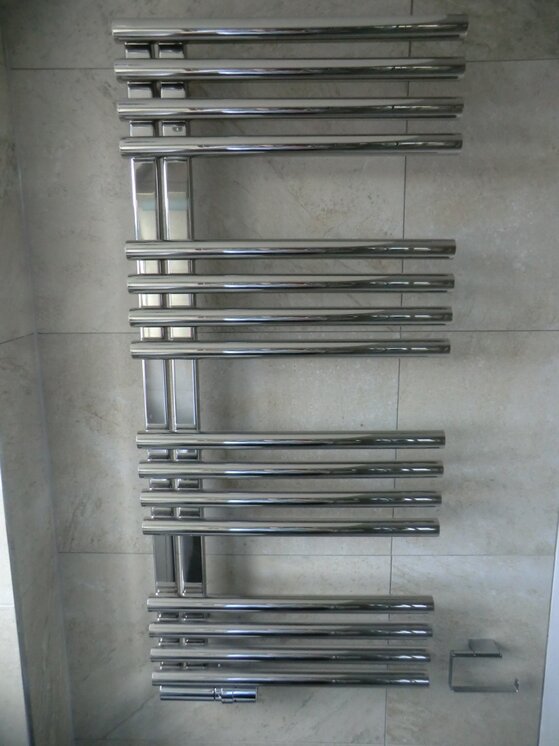
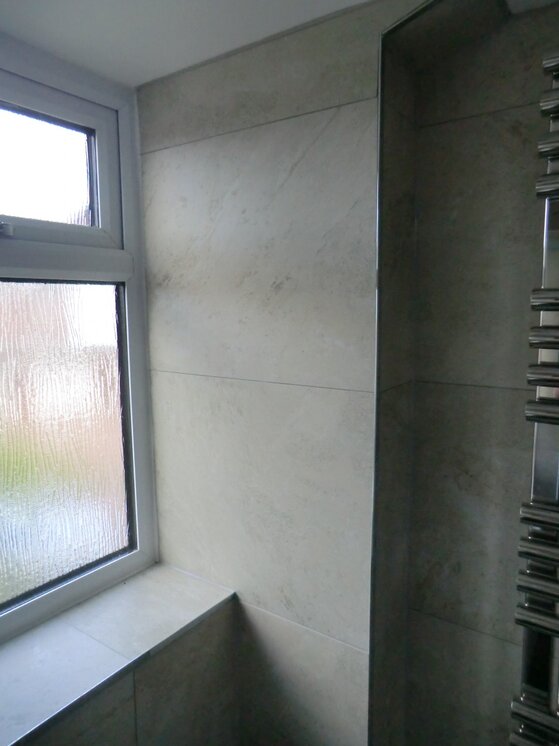
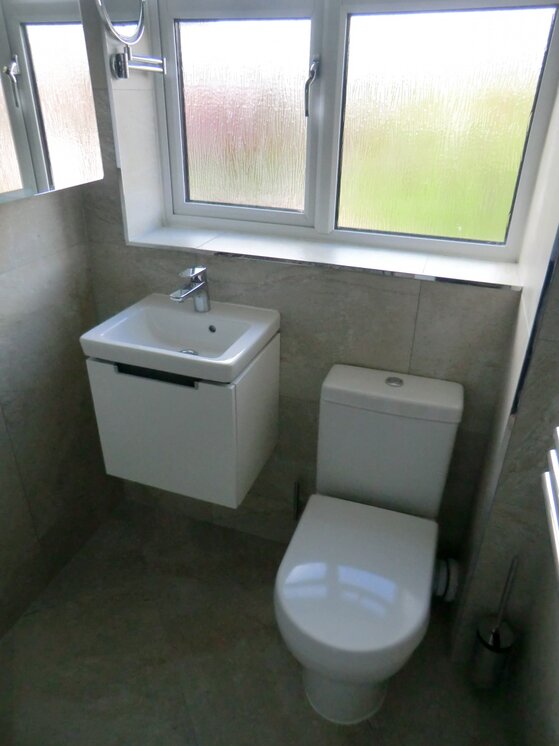
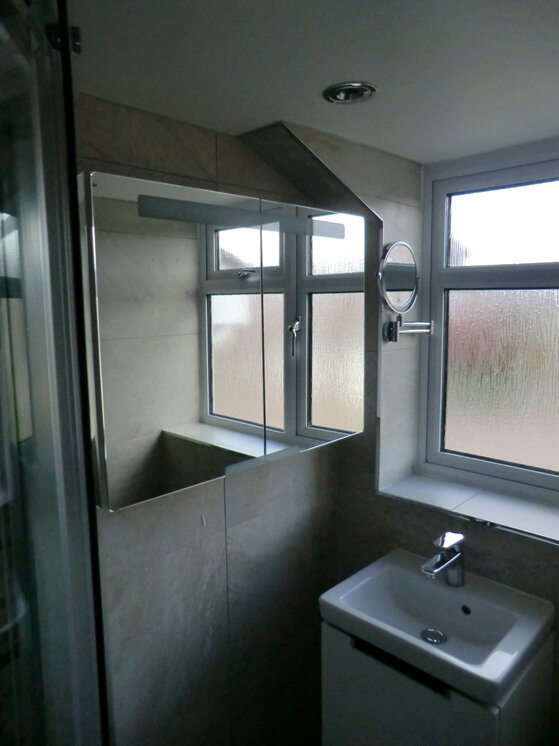
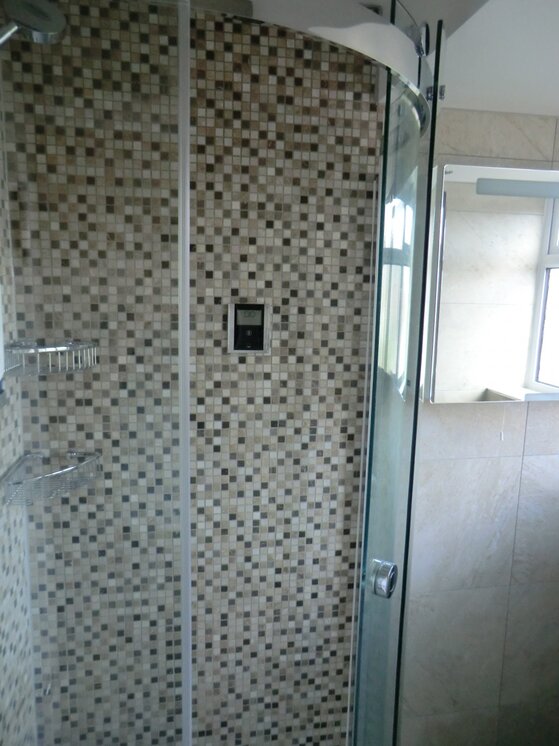
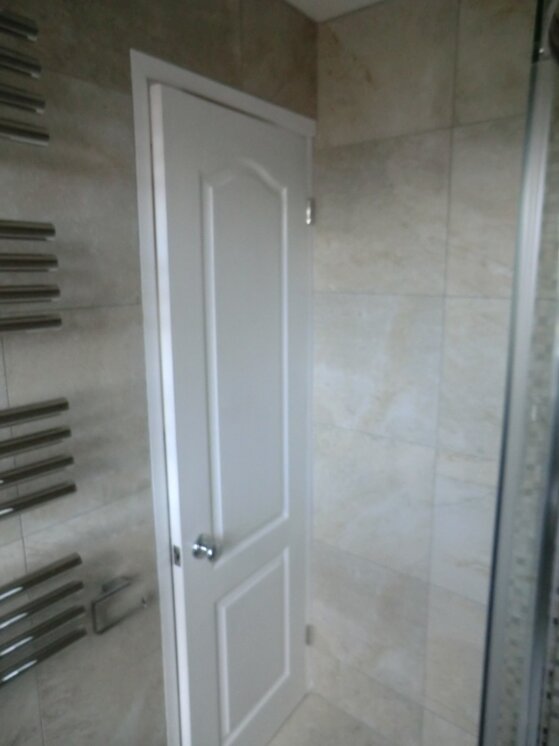
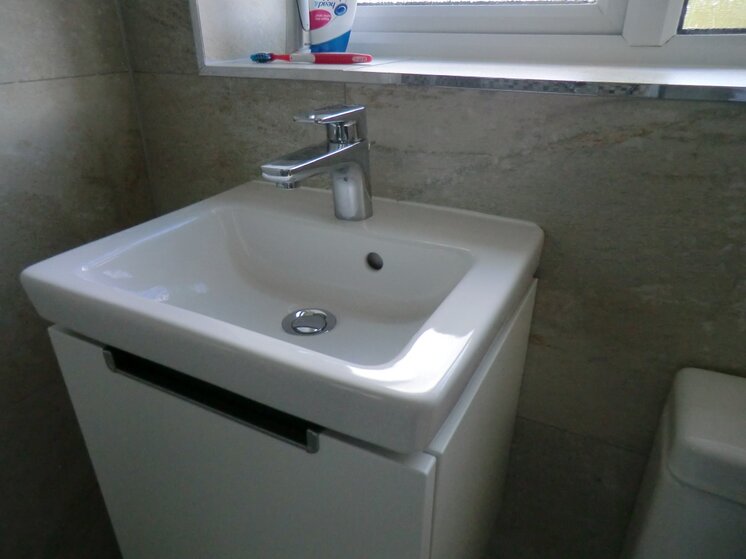
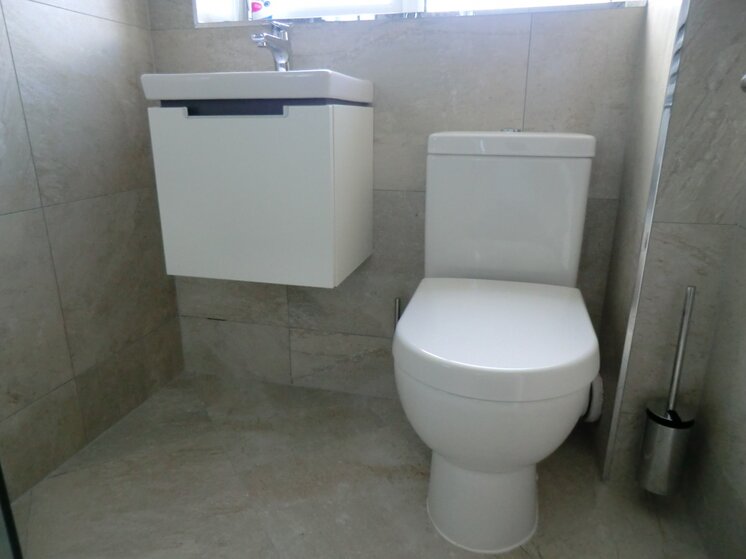
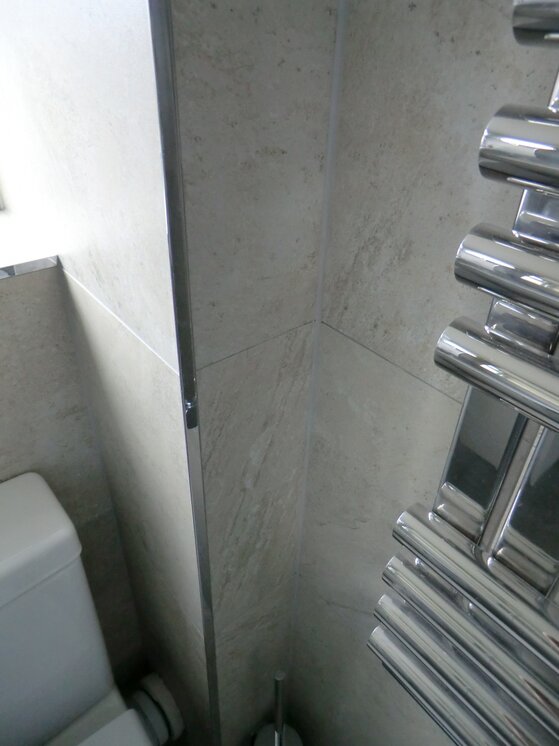
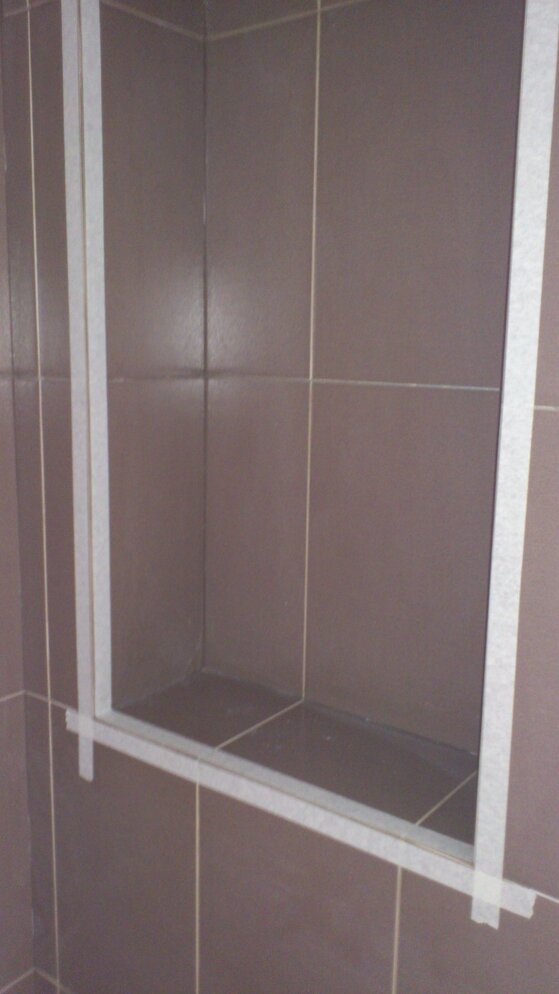
Hi Guys! The latest work has just finished.On the right side of the wall will be installed big mirror.


Attachments

  • IMAG0285.jpg
    68.4 KB · Views: 46
  • IMAG0289.jpg
    91 KB · Views: 51
  • IMAG0290.jpg
    80.3 KB · Views: 52
  • IMAG0291.jpg
    106 KB · Views: 50
  • IMAG0293.jpg
    54.6 KB · Views: 49
  • IMAG0294.jpg
    114.5 KB · Views: 45
  • IMAG0295.jpg
    75.3 KB · Views: 46
  • IMAG0296.jpg
    64.9 KB · Views: 44
  • IMAG0297.jpg
    70.7 KB · Views: 45

kilty55

TF
Arms
9
1,113
edinburgh
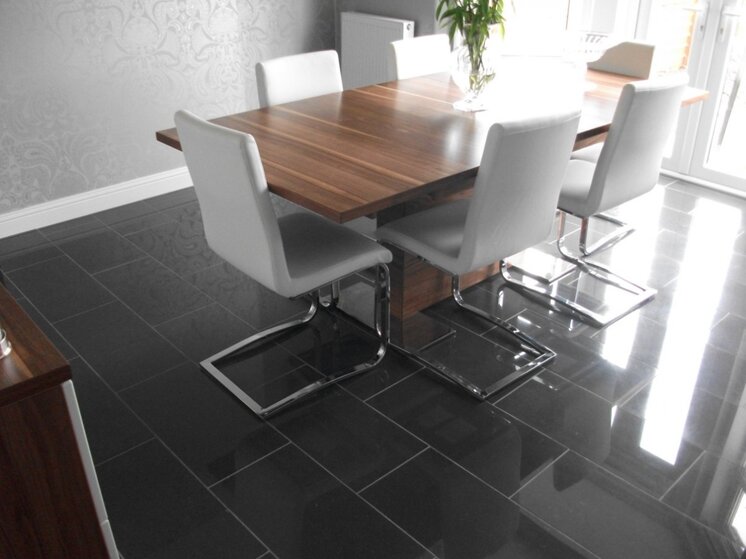
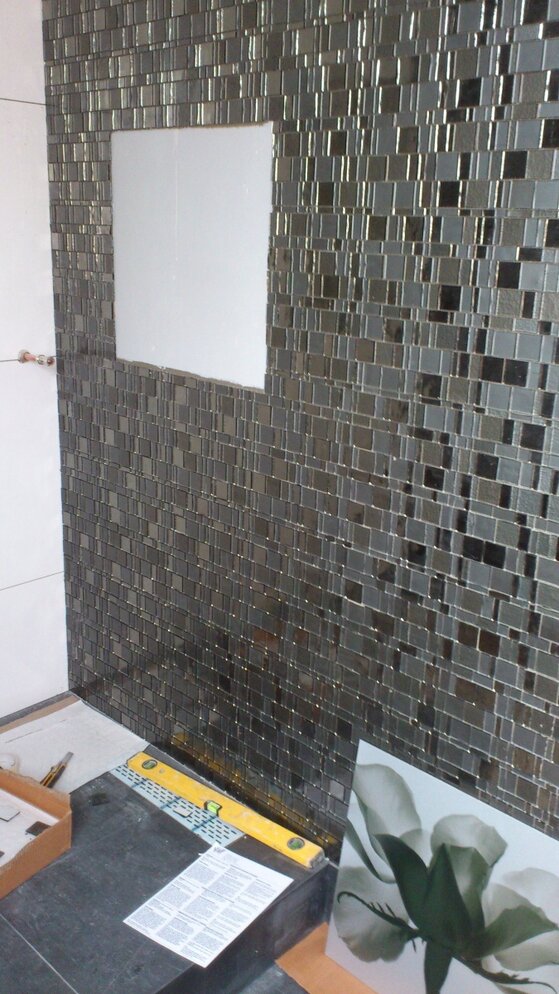
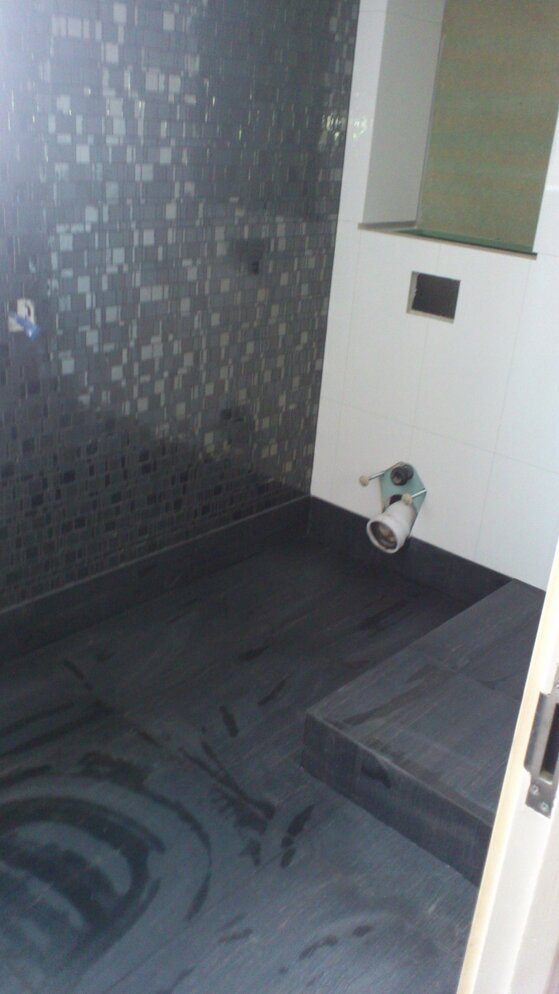
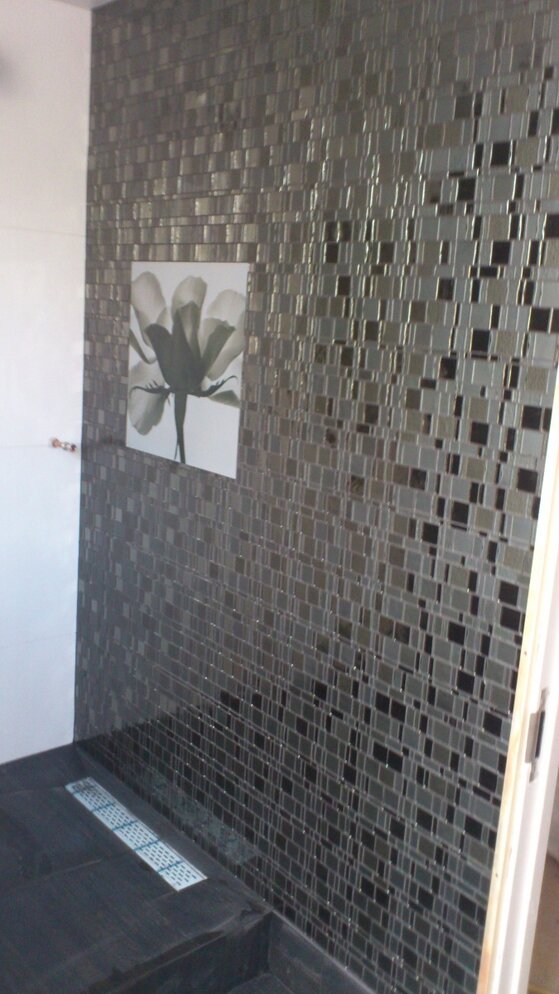
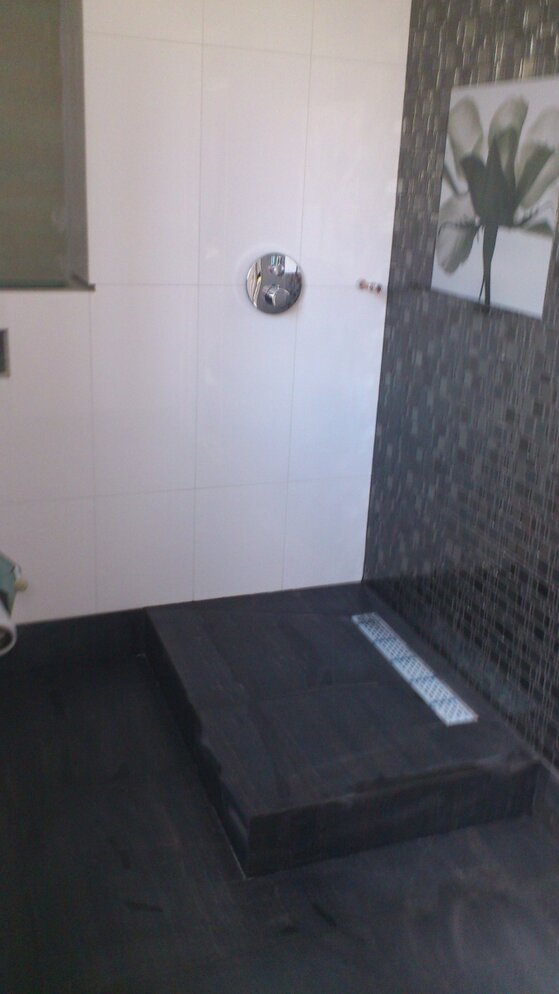
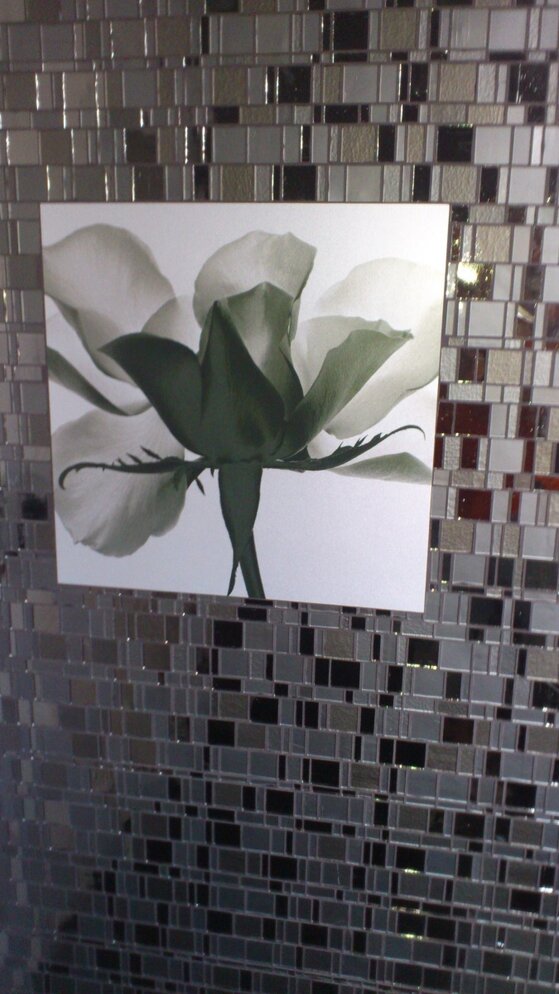
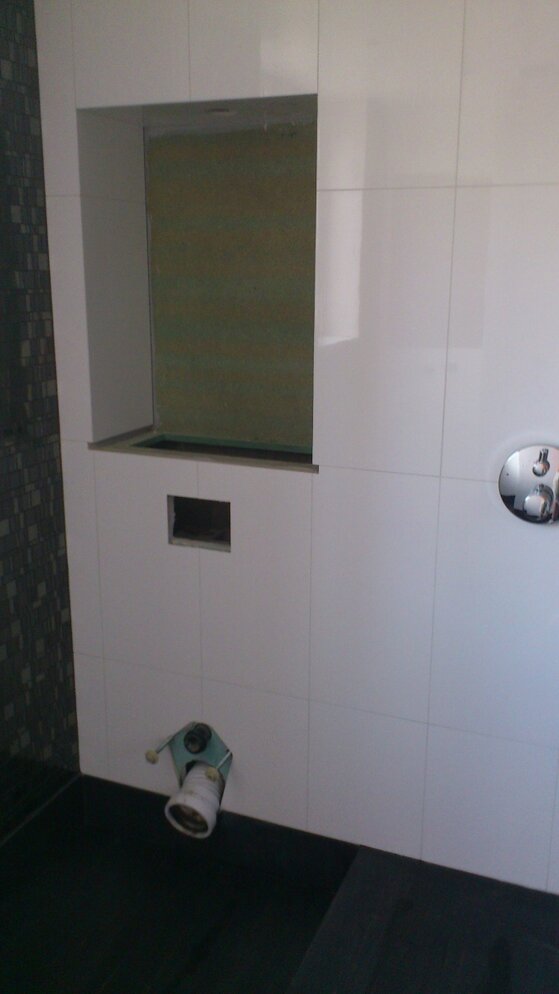
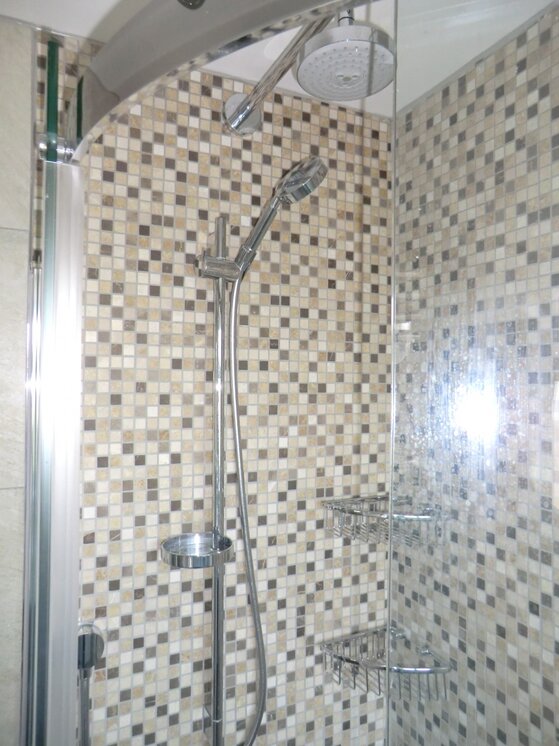
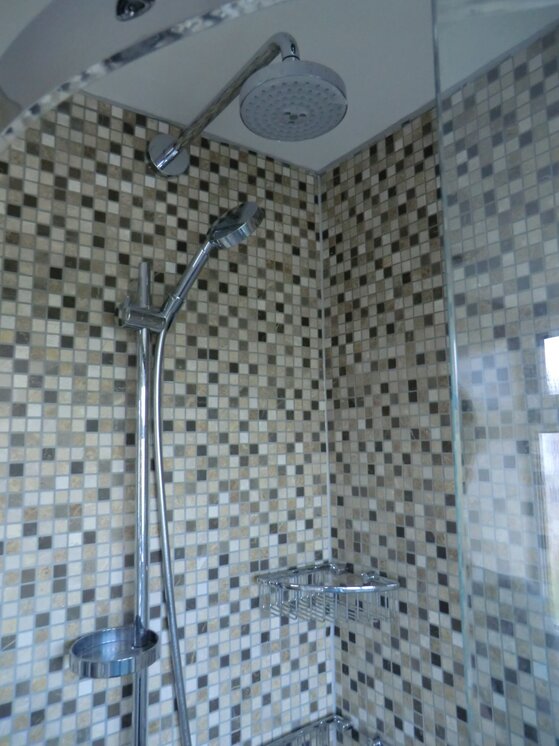
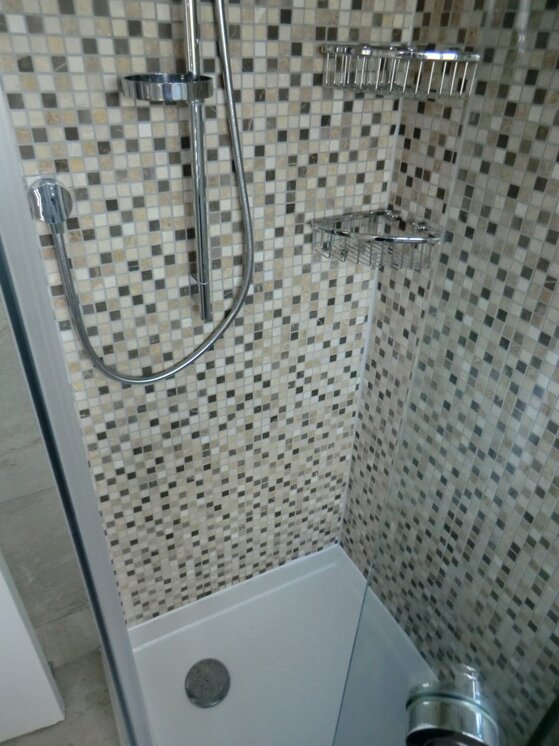
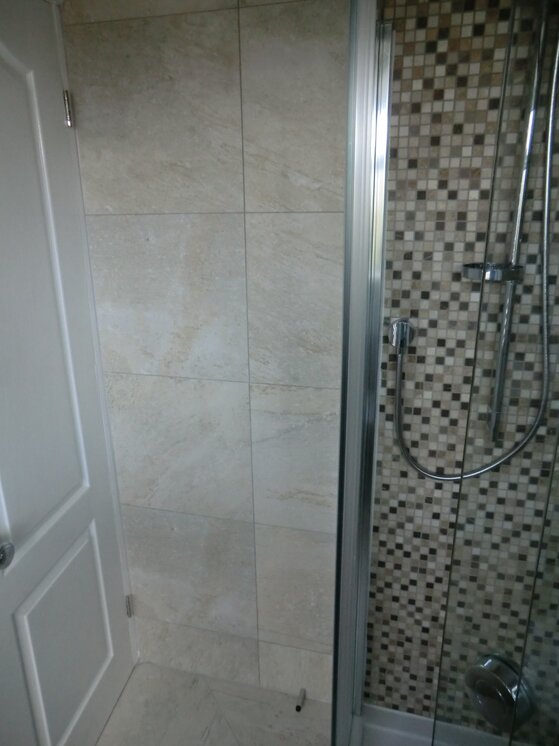
the italian job at xmas bathroom in grey polished porc,dining room,hall and kitchen floor in jakarta black and walls in glass mosaic
 

Attachments

  • DSCF1654 (907 x 1209).jpg
    225.7 KB · Views: 47
  • DSCF1656 (1209 x 907).jpg
    219.9 KB · Views: 45
  • DSCF1657 (1209 x 907).jpg
    265.6 KB · Views: 47
  • DSCF1658 (1209 x 907).jpg
    228.9 KB · Views: 46
  • DSCF1659 (907 x 1209).jpg
    205.7 KB · Views: 45
  • DSCF1663 (1209 x 907).jpg
    219.2 KB · Views: 54
  • DSCF1664 (1209 x 907).jpg
    244.1 KB · Views: 46
  • DSCF1665 (1209 x 907).jpg
    259.1 KB · Views: 47
  • DSCF1667 (1209 x 907).jpg
    327.4 KB · Views: 60
  • DSCF1671 (907 x 1209).jpg
    206.3 KB · Views: 49
  • DSCF1675 (1209 x 907).jpg
    202.4 KB · Views: 50
  • DSCF1676 (907 x 1209).jpg
    207.9 KB · Views: 49
  • DSCF1678 (1209 x 907).jpg
    224 KB · Views: 48
  • DSCF1679 (907 x 1209).jpg
    184.6 KB · Views: 46
  • DSCF1682 (907 x 1209).jpg
    204.9 KB · Views: 50
  • DSCF1677 (1209 x 907).jpg
    251.4 KB · Views: 49
J

jonnyc

this is one of the trickiest jobs i have done i guess.
client wanted a 1 mt wide stone surround to kidney shape pool, but did not want a separate coping stone.
he wanted the paving to hang over pool and effectively become the coping in one piece.
I put disclaimer in as was worried that the stone that bridged the shell and concrete surround would crack on bridge join. builder tied in concrete to shell with steel and remarkably this has held for 5 years.
First we fixed 600 x random lengths x 30mm over hanging pool edge by at least 50mm .
We did not let stones overhang by more than 200mm as the tool my mate had made needed to hook over the front edge .
pool was not constructed accurately enough to simply make two external and one internal radius as per drawing for kidney pool.
For the tool ,Dave used 4 wheels off a shopping trolley and welded on to base plate
then he made a 1200mm arm welded to this that hooked over edge of pool with two running and lockable steel sleeves that would take a pencil that would be locked at desired distance back from edge of pool face .
furthest was 1000mm to mark the back edge of paving and nearest was 30mm forward of the pool face to allow for bullnose overhang.
we then got on a trestle in pool and run the tool and trestle along around the whole inside circumferance of pool wall approx 300mm under top edge of shell.
this tool marked by pencil followed the contour of pool exactly to front face and back edge.
we could then cut the front and back of stone off to an even 1000mm surround.
last job was to set the tool and template up to apply full bullnose.
pinned sections of plywood less than 80mm from finished coping edge with masonry nails in joints of stone.
re set tool sleeve and pencil to run round 80mm back from finished coping.
picked ply up and cut very accurately to line with jigsaw and spoke shave.
pinned plywood back down and now used portable dewalt router with water feed to run front plate against plywood, thus creating fullbullnose .
i think it was as tricky to lay stone level to pool radius as setting up tool and template.
in retrospect, considering the whole cost of project i would have made it easier on us if i had insisted that we cut all stone with joints at 90 degree tangent to inside and outside radiuses.
You can actually see the TOOL in one part of video.
sorry it is incoplete but thought you might enjoy the the difficulty of job
 
Status
Not open for further replies.

Reply to Show Us YOUR Work Thread - Tilers Pictures in the Tiling Work Showcase Forum area at TilersForums.com

There are similar tiling threads here

    • Like
  • Locked
  • Suggestion
I spend some time in doorways. TJ's Doorway Mosaics for McKenzie Shop Front
Replies
11
Views
2K
  • Sticky
  • Suggestion
Post a New Thread for Each Tiling Job Completed. Rather than using the Show us Your Work Thread - which has more than 500,000 views, and thousands of posts to scroll through - we thought it would...
Replies
0
Views
63
Morning All! I thought it was about time to start a new Good Morning Thread. The old thread can be found HERE but is quite long so not as easy to find specific posts. So tell us what you are up...
2
Replies
39
Views
4K
Join The Tile Association and Get Noticed Some time ago joining The Tile Association may have got your tile business noticed, but it wouldn’t have helped your website much, as the Tiles.org.uk...
Replies
0
Views
172
    • Like
  • Article
Morning all. Dan asked me to post up a thread about our training centre which he can then use for feedback. We have been established in Newport, South Wales (just across the bridge from Bristol)...
Replies
6
Views
1K
Posting a tiling question to the forum? Post in Tilers' Talk if you are unsure which forum to post in. We'll move it if there's a more suitable forum.

Advertisement

Top