hi ripkord
thanks for the drawing there. that certainly helps to explain the situation more.
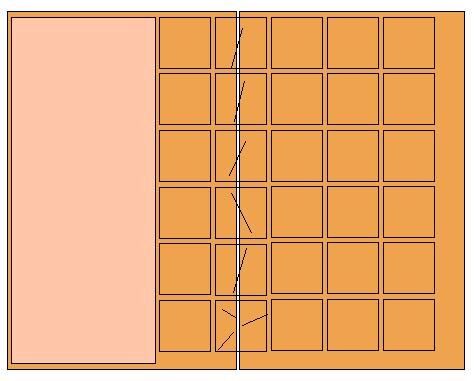
if the join between 2 boards is where you say, and there is no additional overboarding on the floor before the tiles were laid, I think it's pretty conclusive that the tiles, adhesive and grout failed because there was too much flex/movement in the boards under the tiles.
You need to take all the tiles up and start again in my opinion. a 6mm hardibacker board that covers both floor boards and straddles the seam would be more helpful to you. securing the hardibacker at 300mm centres or less will give the floor more rigidity and will stop the tiles cracking under the movement.
I don't see how the ply will give you any further rigidity.. The hardibacker will give the right amount of rigidity to the floor without adding an additional layer to it.
If the original floor boards are warped though, I would suggest you sort them out first if the warping causes a bump in the floor. Perhaps it might need additional screws to the joists?
I've just gutted my bathroom and have chipboard sheets down as my floorboards, and now that the original flooring (lino and laminate) has been removed and air has been allowed the flow, the damp areas of chipboard have now dried out.
best of luck and let us know how you get on. a good saying I came across on here is "Do it right, do it once"
GRR