P
peckers
Triblock P and Hardi and very sick floor
Right where do I start with this one. I have included pics for you too see I have taken them as i have done it, but my camera aint the best!
The customer diddn't want the floor dug up and re-screeded so this is what i done and the products used!!!
There is two floors!
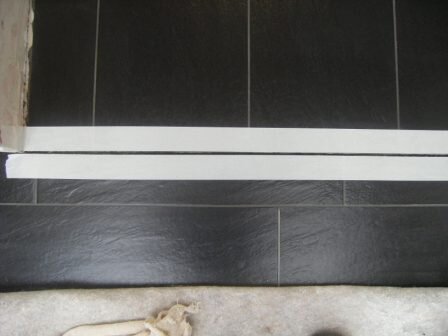
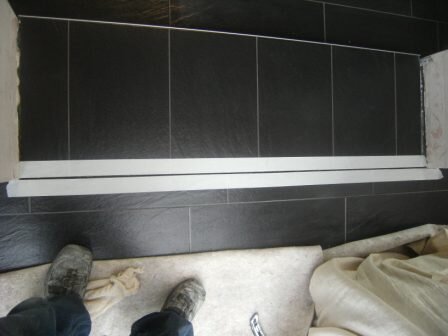
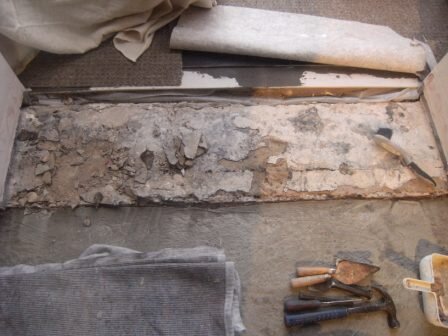
The first one in the conservatory which is chipboard which is existing and was glued down to a concrete floor with some kind of rubber glue and it wouldnt budge and there was no flex at all so decided to leave it in place and over board with hardi.
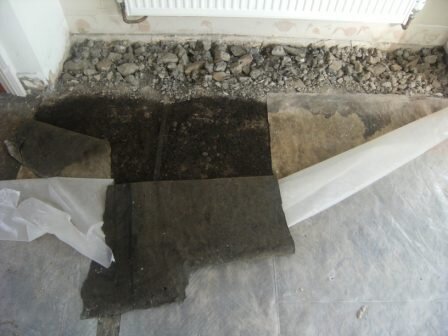
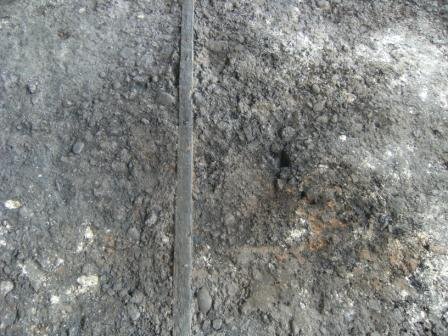
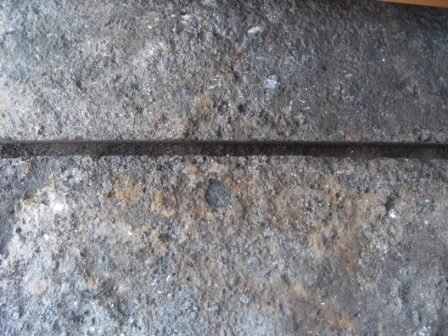
The second floor is the lounge which had 18mm chipboard then plastic then 12mm MDF then roofing felt and then I found a poorly concrete floor which had been stained by the black from the roofing felt and was damp as it had no membrane below and there was no screed on the concrete either. And the two floors have to be tiled as one with a step down so this is what i did.
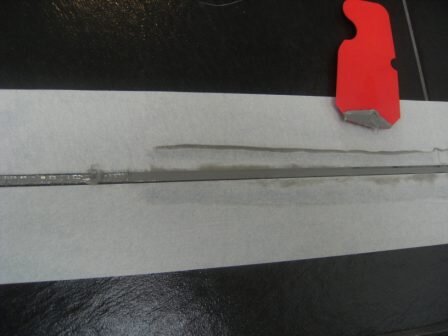
Pics 1,2,3
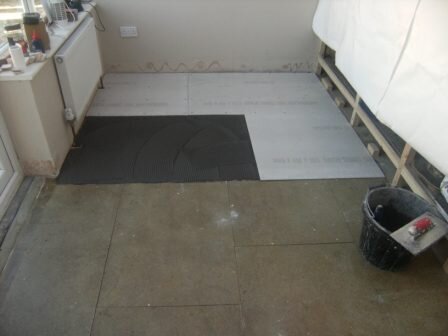
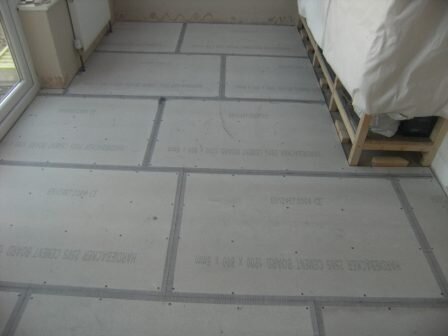
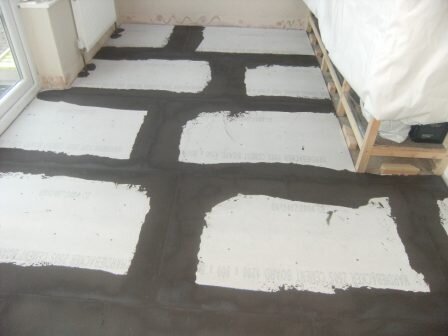
Primed the chipboard with acrylic primer and then applied keraquick with a 6mm notched trowel and laid hardi backer screwed down every 200mm centres then taped joints and feathered out the joints with the same adhesive.
Pics 4,5,6
This shows the state of the floor in the lounge after everything was removed, I repaired under the radiator with rapid setting concrete removed the old rotten wooden bearers that had been left in and filled them in with a screed mix again using rapid set cement.
Pic 7
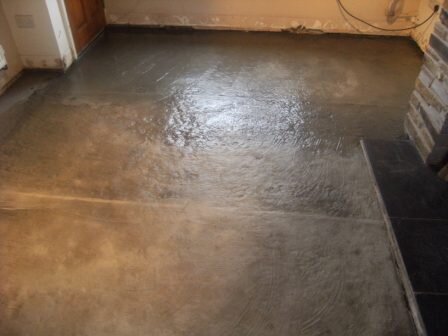
I had cleaned the floor and repaired the crumbling areas with a screed mix then to tie it all back togeather and to make it strong again i applied an SBR and water mix with neat cement and layed this all over like you were putting down SLC, and as i was doing it i brushed it in with a stiff hand brush to give it a good key ready to take the SLC.
Pic 8,9
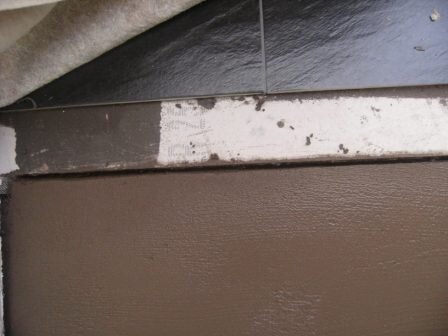
This is the step before and after i screeded it at 3:1 mix. All the loose old crud was removed and cleaned up and then it had an SBR cement mix put on it same as the other floor, It also backs onto the conservatory floor which is hardi on chipboard so i created my own expansion joint between the two off 10mm
Pic 10,11
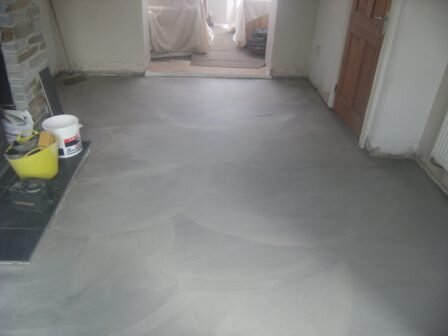
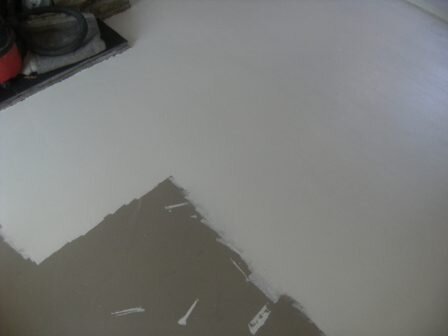
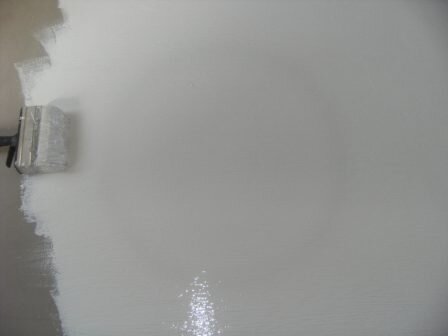
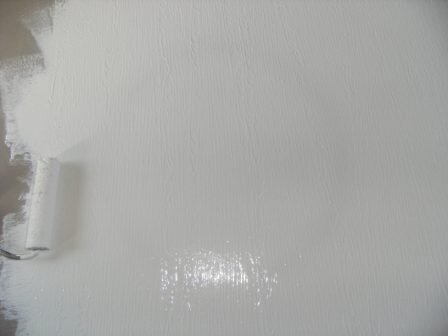
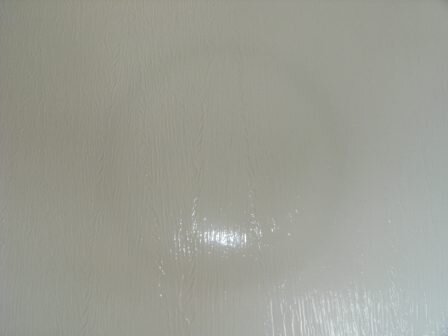
I then applied ardex NA slc over the whole floor on top of the SBR mix i had previously applied, this product is designed to go under damp proof membraines and will stick to almost anything and you can apply it to wet surfaces as long as there is no standing water, And it is a great product to use so easy.
Pic 12,13,14,15,16 Triblock P
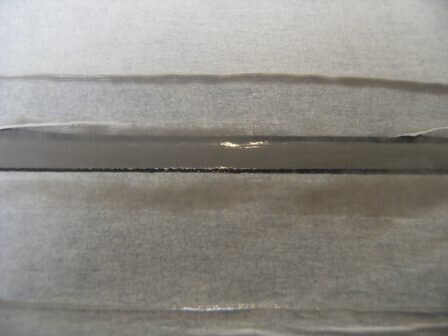
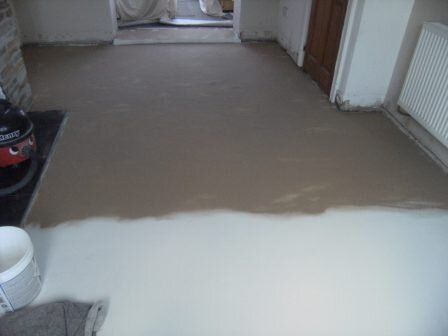
Now this floor has no membrane in it so i needed to cure the damp issue! Mapei recommended there Triblock P I have never used this before i normally use the ardex dpm but I wanted to give it a go. You mix part A and B togeather first then part C which is a powder, so far so good, then depending on how you apply it you add water to a percentage depending on if you are applying by brush/roller or spraying. I decided to roller it on, mixed it went to roller it and i couldnt get an even consistency by using the roller, so I then applied it with a block brush to get the consistency and then used a small roller over the top, This way was working a treat and easy to apply and i soon found myself zooming along.:hurray:
Pic 17,18
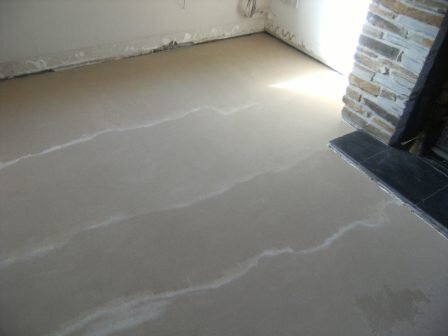
This is the second coat being applied at right angles to the first, you have to wait 4-6 hrs between the coats so while waiting for the first coat to dry i went for a :8: When applying the second coat I added kiln dried sand sprinkled over the top of it so as to make sure the next procedure sticks to it. When it has dried you remove all loose sand by brooming and hoover.
Pic 19
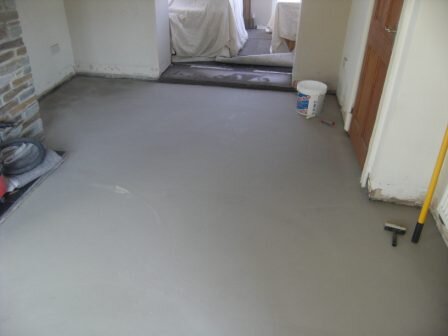
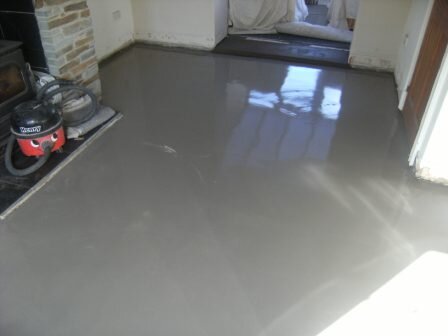
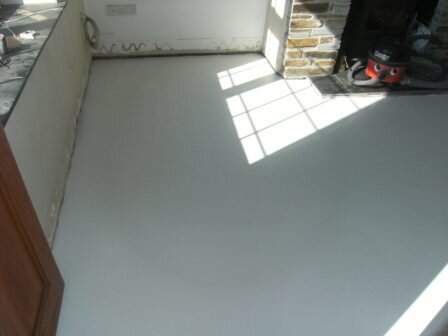
Then I applied another coat of slc this time it is mapei laytex plan, not bad to use but it diddnt seem to flow as well as the ardex na, now this might be because it had the sand to contend with, but i also did get a few air bubbles once it had dried, before i applied the slc i put a few droplets of water ontop of the sanded area to see if it was absorbed by the sand, left it for 30 mins while i got set up and no it had not been absorbed.
Pic 20
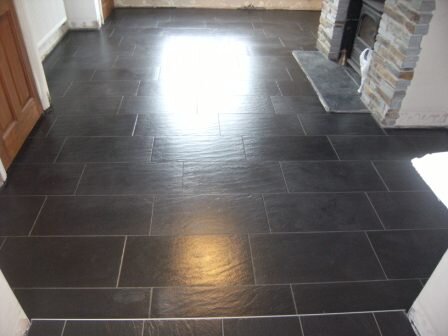
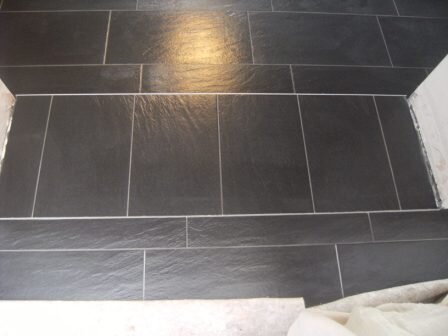
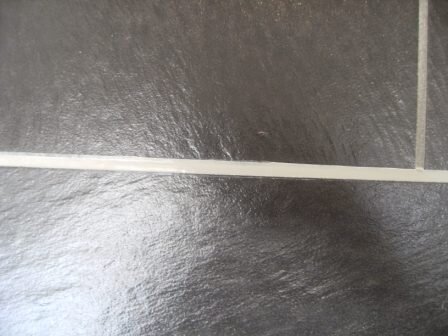
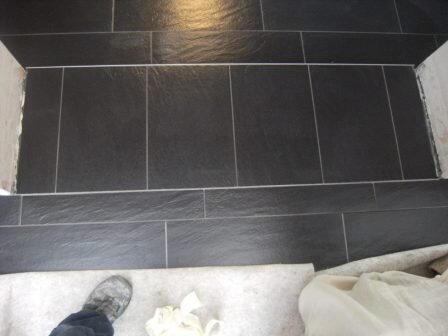
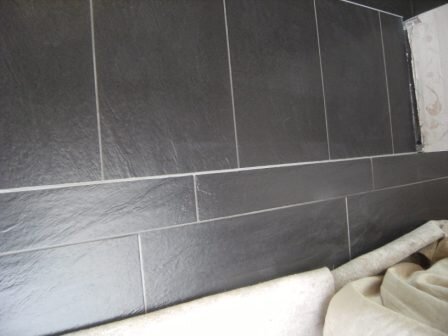
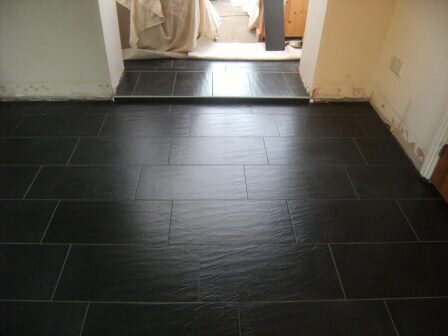
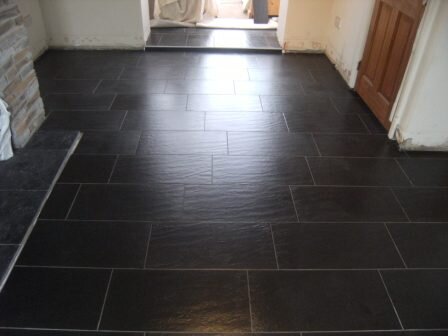
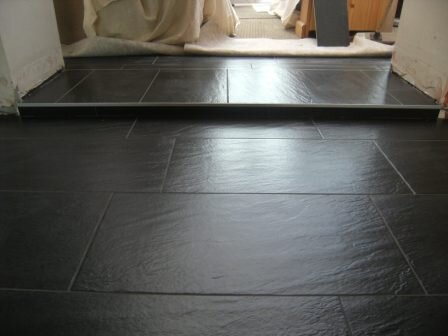
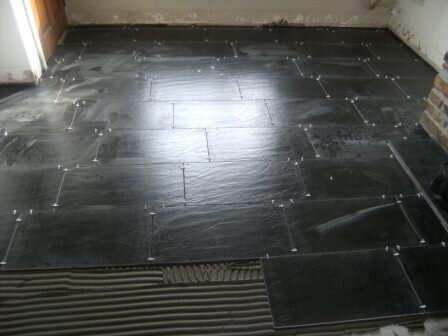
Ready for tiling, concrete floor tiled with Mapei keraflex hardi tiled with keraquick and laytex additive and all to be grouted with ultracolour :drool5:
I hope you all enjoyed my book! :lol:
And I would like to thank DAVE for working out the quantities i needed for the TRIBLOCK P couldn't get me head round it cheers m8 it was spot on
Attachments
-
 1.JPG21.2 KB · Views: 58
 -
 2.JPG18.5 KB · Views: 70
 -
 3.JPG22.5 KB · Views: 53
 -
 4.JPG29.2 KB · Views: 48
 -
 5.JPG42.9 KB · Views: 48
 -
 10.JPG16.8 KB · Views: 58
 -
 9.JPG24.9 KB · Views: 55
 -
 8.JPG34.1 KB · Views: 59
 -
 7.JPG25.4 KB · Views: 56
 -
 6.JPG48.1 KB · Views: 62
 -
 11.JPG16.6 KB · Views: 59
 -
 12.JPG11.8 KB · Views: 60
 -
 13.JPG11.4 KB · Views: 61
 -
 14.JPG14.8 KB · Views: 47
 -
 15.JPG12.4 KB · Views: 50
 -
 20.JPG27.9 KB · Views: 56
 -
 19.JPG18.1 KB · Views: 53
 -
 18.JPG17.1 KB · Views: 53
 -
 17.JPG16.6 KB · Views: 51
 -
 16.JPG17.2 KB · Views: 47


