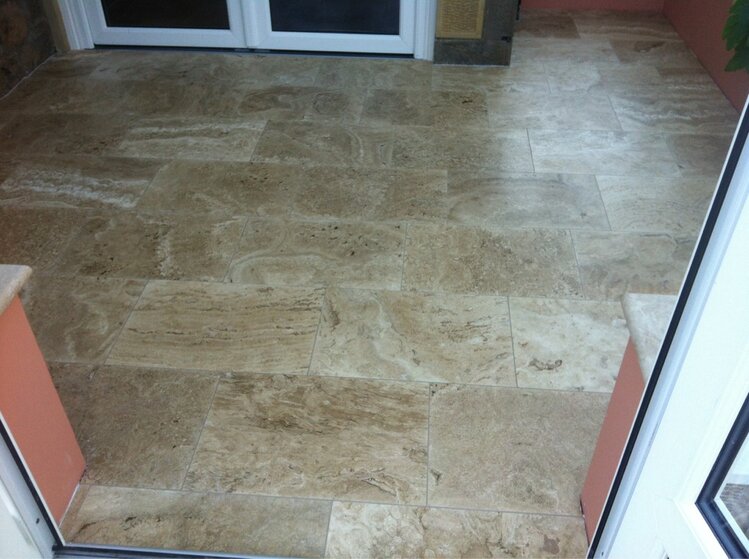
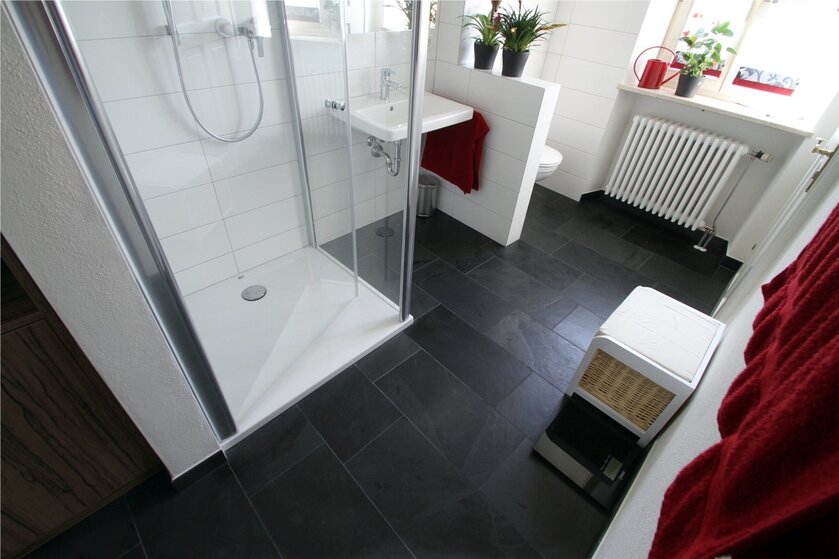
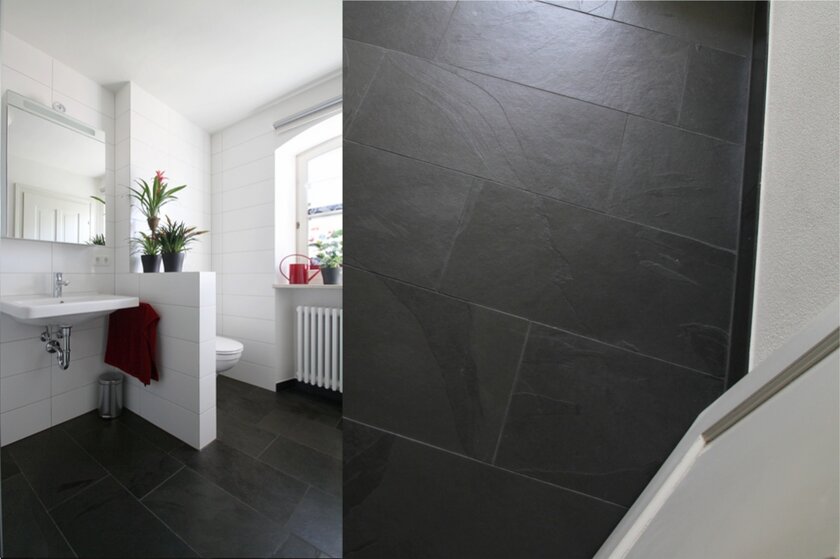
Discuss Show Us YOUR Work Thread - Tilers Pictures in the Tiling Work Showcase Forum area at TilersForums.com.

Edit May 2024: THIS is a New Show Us Your Work Thread for 2024 Onwards

This is the new Tilers Showcase Forum where we want new tiling work added, with each tiling job you complete having a thread of its own so people can see what kind of work you do, and potential customers can find your work


I thought it was about time we had a thread dedicated to all members of Tilers forums to show us any work that they do.

Be it from installing a kitchen to garden decking. Show us your work! Get those pictures taken, but then do something with them! Actually add them to a thread and some facebook groups with your website link in them etc and it'll help spread the tile love. :)

If you have done a job then please do share it with us.

Pics are a MUST as what is the point of sharing a job without them..:smilewinkgrin:.

So if you do a job and you take a few pics then please do share it with us.

Lets make it a big thread for all to view and input in.

Thanks Dave ..:thumbsup::thumbsup:
 
Last edited by a moderator:
John Benton

TF
Arms
2,203
1,138
Leeds
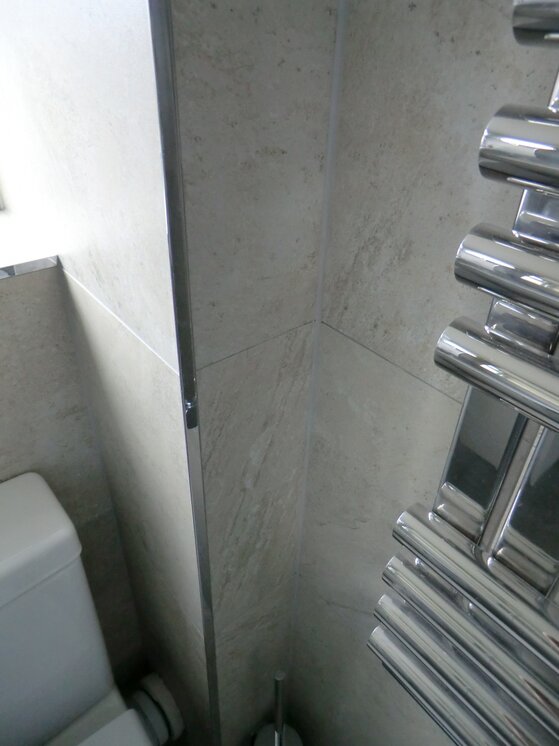
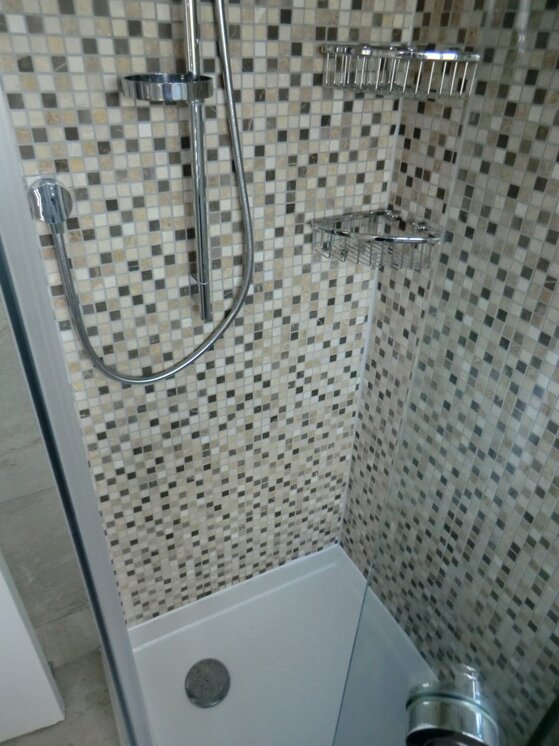
Hi Tony! like it a lot ! Just wonder... what for you got this masking tape around boxing in third pic ?

He's covering up all the chips the Mitre Wizz leaves behind :smilewinkgrin:
 

Tony73

TF
Arms
70
1,233
acton w3, london
Hi Tony! like it a lot ! Just wonder... what for you got this masking tape around boxing in third pic ?

Hi, for grouting on mitred corner. i grout all mitred corners first. and rest of walls later. if i did it in one go, would wash grout on efternal corners to deap. :thumbsup:
 

martin1c

TF
Arms
91
633
Cheshire
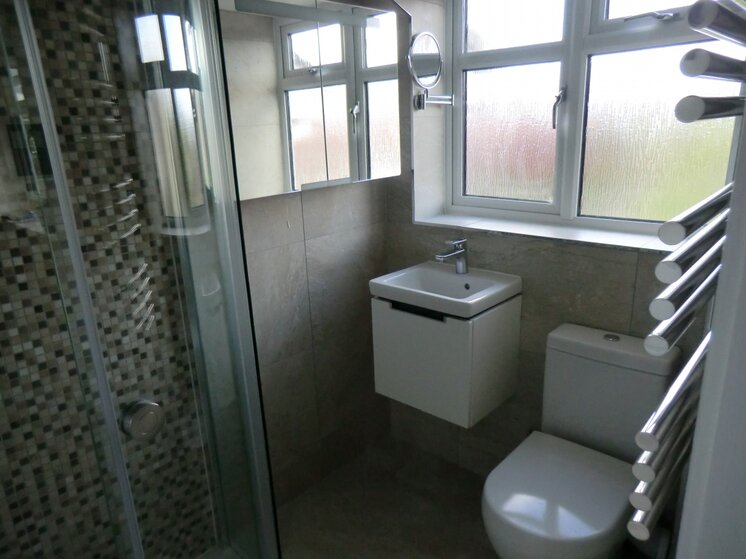
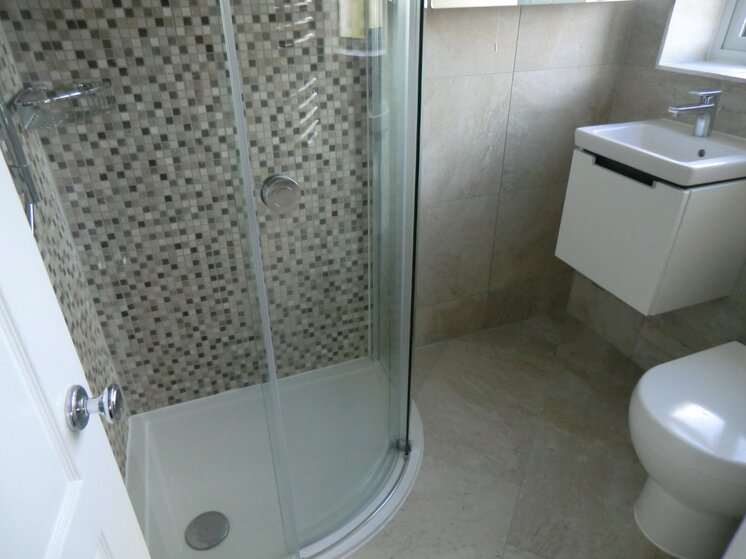
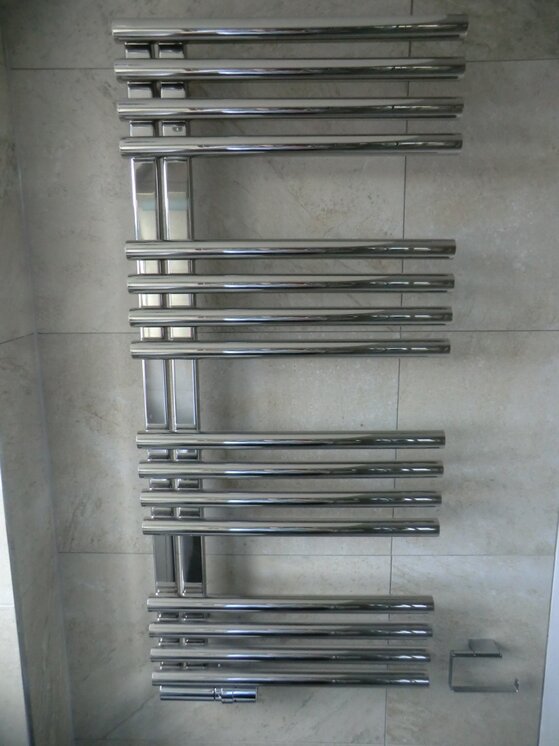
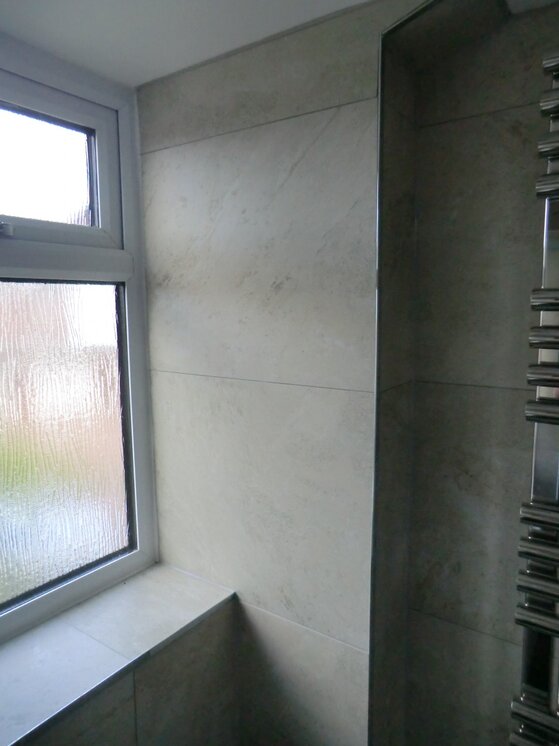
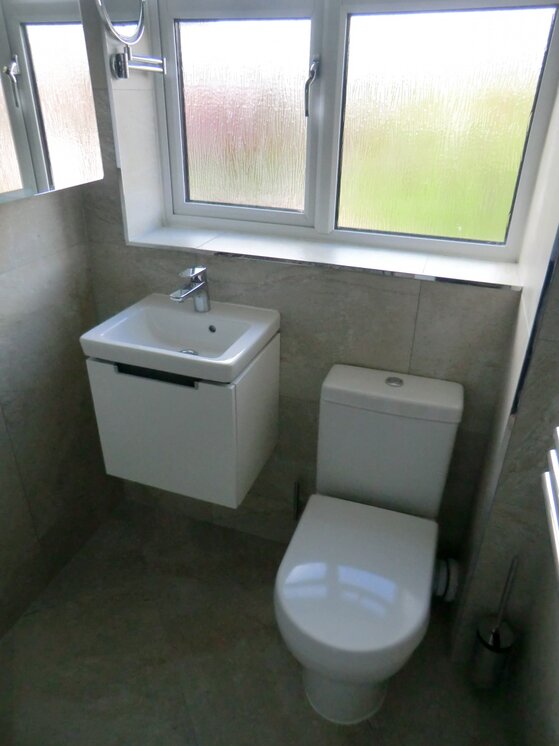
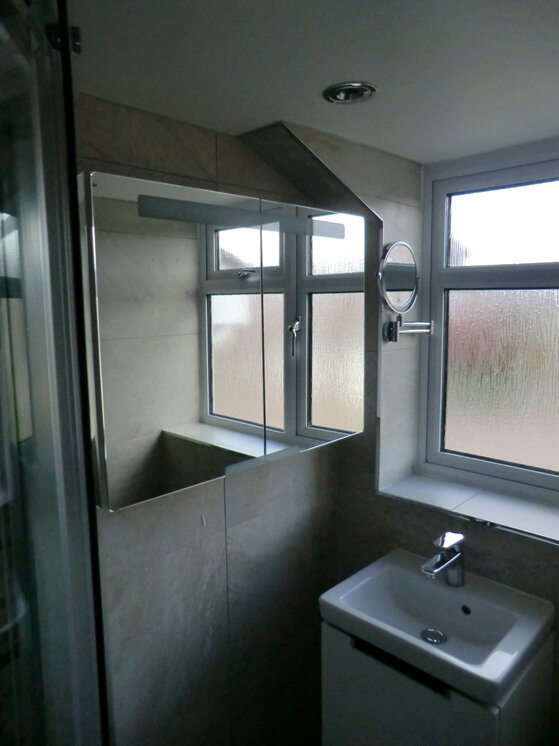
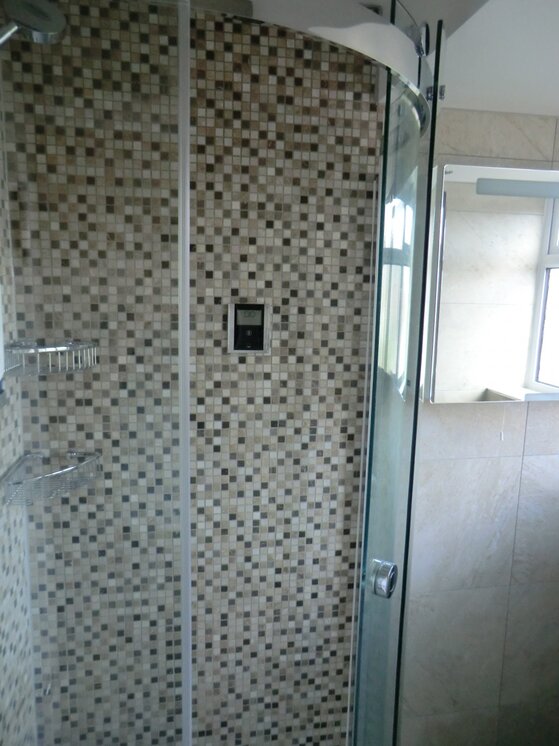
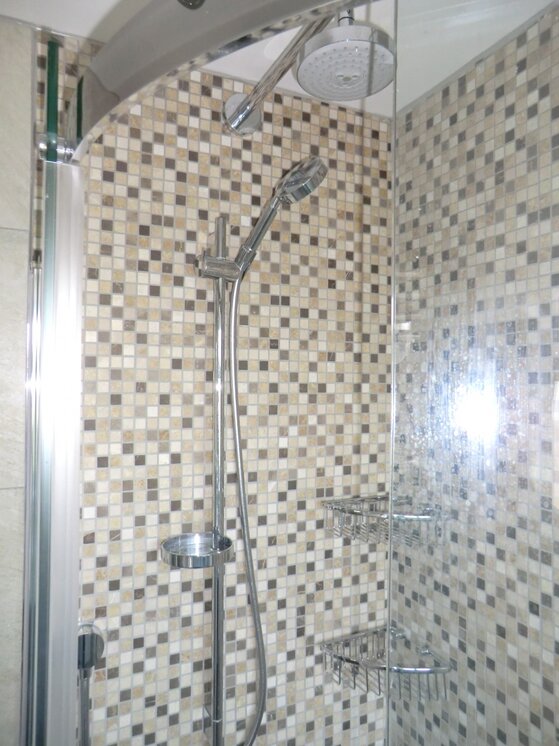
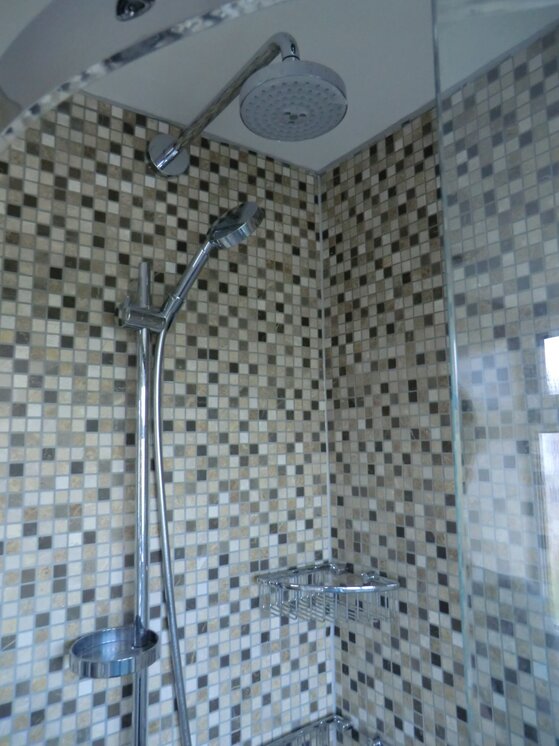
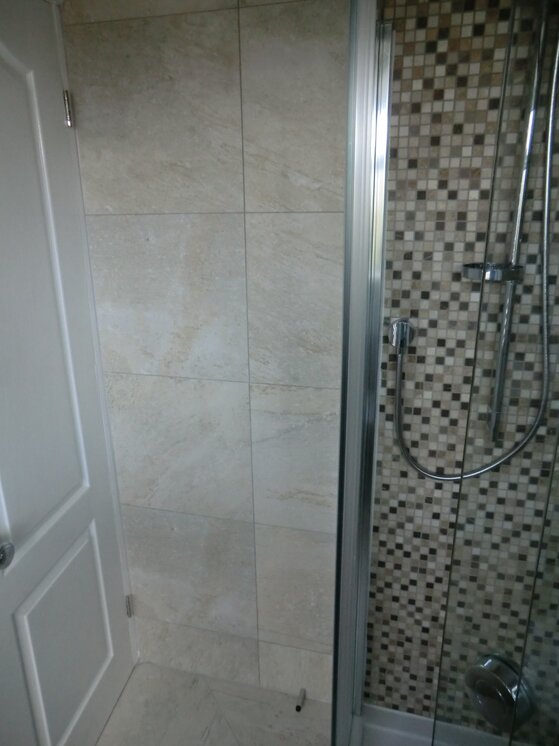
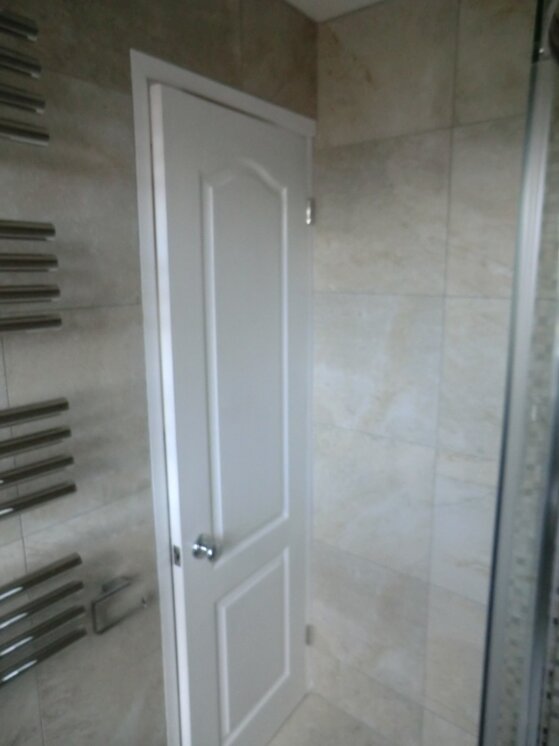
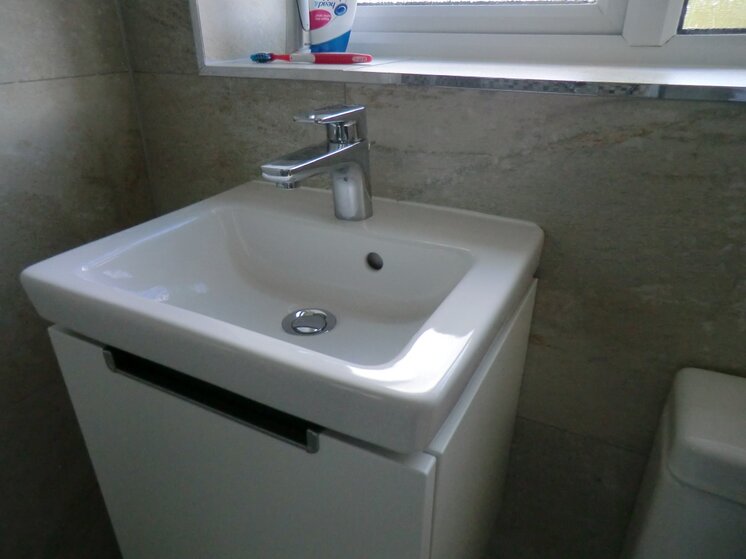
An ensuite I finished recently. Tiles were all Porcelanosa.

CIMG6561.jpg CIMG6562.jpg CIMG6563.jpg CIMG6564.jpg CIMG6565.jpg CIMG6566.jpg CIMG6567.jpg CIMG6568.jpg CIMG6569.jpg CIMG6570.jpg CIMG6571.jpg CIMG6572.jpg CIMG6573.jpg CIMG6574.jpg CIMG6575.jpg
 
J

jonnyc

this is one of the trickiest jobs i have done i guess.
client wanted a 1 mt wide stone surround to kidney shape pool, but did not want a separate coping stone.
he wanted the paving to hang over pool and effectively become the coping in one piece.
I put disclaimer in as was worried that the stone that bridged the shell and concrete surround would crack on bridge join. builder tied in concrete to shell with steel and remarkably this has held for 5 years.
First we fixed 600 x random lengths x 30mm over hanging pool edge by at least 50mm .
We did not let stones overhang by more than 200mm as the tool my mate had made needed to hook over the front edge .
pool was not constructed accurately enough to simply make two external and one internal radius as per drawing for kidney pool.
For the tool ,Dave used 4 wheels off a shopping trolley and welded on to base plate
then he made a 1200mm arm welded to this that hooked over edge of pool with two running and lockable steel sleeves that would take a pencil that would be locked at desired distance back from edge of pool face .
furthest was 1000mm to mark the back edge of paving and nearest was 30mm forward of the pool face to allow for bullnose overhang.
we then got on a trestle in pool and run the tool and trestle along around the whole inside circumferance of pool wall approx 300mm under top edge of shell.
this tool marked by pencil followed the contour of pool exactly to front face and back edge.
we could then cut the front and back of stone off to an even 1000mm surround.
last job was to set the tool and template up to apply full bullnose.
pinned sections of plywood less than 80mm from finished coping edge with masonry nails in joints of stone.
re set tool sleeve and pencil to run round 80mm back from finished coping.
picked ply up and cut very accurately to line with jigsaw and spoke shave.
pinned plywood back down and now used portable dewalt router with water feed to run front plate against plywood, thus creating fullbullnose .
i think it was as tricky to lay stone level to pool radius as setting up tool and template.
in retrospect, considering the whole cost of project i would have made it easier on us if i had insisted that we cut all stone with joints at 90 degree tangent to inside and outside radiuses.
You can actually see the TOOL in one part of video.
sorry it is incoplete but thought you might enjoy the the difficulty of job
 

Reply to Show Us YOUR Work Thread - Tilers Pictures in the Tiling Work Showcase Forum area at TilersForums.com

Subscribe to Tilers Forums

There are similar tiling threads here

D
Show Us YOUR Work Thread - Tilers Pictures Showcase Show Us YOUR Work Thread - Tilers Pictures...
Replies
0
Views
86
D
    • Like
  • Sticky
  • Article
Post a New Thread for Each Tiling Job Completed. Rather than using the Show us Your Work Thread...
Replies
0
Views
2K
A
How to reach more people on facebook by changing your linking practices Have you ever noticed...
Replies
0
Views
106
Admin1
A
A
Tilers Talk Facebook Group Se connecter à Facebook Connectez-vous à Facebook pour commencer à...
Replies
0
Views
186
Admin1
A
D
    • Like
A list of all tile related groups on facebook Can we get a list started for all the tile related...
Replies
0
Views
170
D

Advertisement

Thread starter

Dave

Staff member
Esteemed
Arms
Subscribed
TF
Joined
Location
Co.Durham
Business Name
David Howe Tiling.

Thread Information

Title
Show Us YOUR Work Thread - Tilers Pictures
Prefix
N/A
Forum
Tiling Work Showcase Forum
Start date
Last reply date
Replies
3K

Which tile adhesive brand did you use most this year?

  • Palace

    Votes: 9 5.4%
  • Kerakoll

    Votes: 17 10.1%
  • Ardex

    Votes: 12 7.1%
  • Mapei

    Votes: 47 28.0%
  • Ultra Tile

    Votes: 21 12.5%
  • BAL

    Votes: 40 23.8%
  • Wedi

    Votes: 4 2.4%
  • Benfer

    Votes: 4 2.4%
  • Tilemaster

    Votes: 23 13.7%
  • Weber

    Votes: 19 11.3%
  • Other (any other brand not listed)

    Votes: 17 10.1%
  • Nicobond

    Votes: 8 4.8%
  • Norcros

    Votes: 2 1.2%
  • Kelmore

    Votes: 5 3.0%

Birthdays

Top