Search the forum,

Discuss DIY Tiler - 90 sq m of large format porcelaine tiling making me nervous! in the DIY Tiling Forum area at TilersForums.com.

P

PJPro

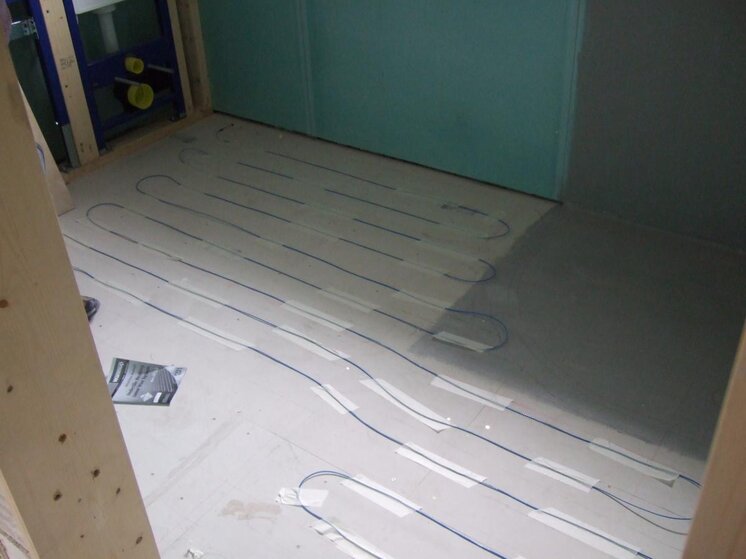
When I installed the UFH, I followed the instructions on the pack. Once I had taped down the loose wires, I tiled straight over the top. However, I've seen a few posts which refer to SLC with regard to UFH. What is SLC and should I have used it? What's the impact of not using it?
 

kilty55

TF
Arms
Reaction score
9
Points
1,113
Location
edinburgh
slc is self levelling compound

it will encapsulate the ufh and protect it,say you needed to change a tile a year down the line due to a breakage then it will be easier to remove it

also going over the wires with adhesive can leave hot spots...areas uncovered
 
D

DHTiling

When I installed the UFH, I followed the instructions on the pack. Once I had taped down the loose wires, I tiled straight over the top. However, I've seen a few posts which refer to SLC with regard to UFH. What is SLC and should I have used it? What's the impact of not using it?

Nothing as long as you fully enbed the wires into adhesive,,
 
P

PJPro

OK. I've got the night off so time to post some pictures (in between ordering doors, lights, etc).
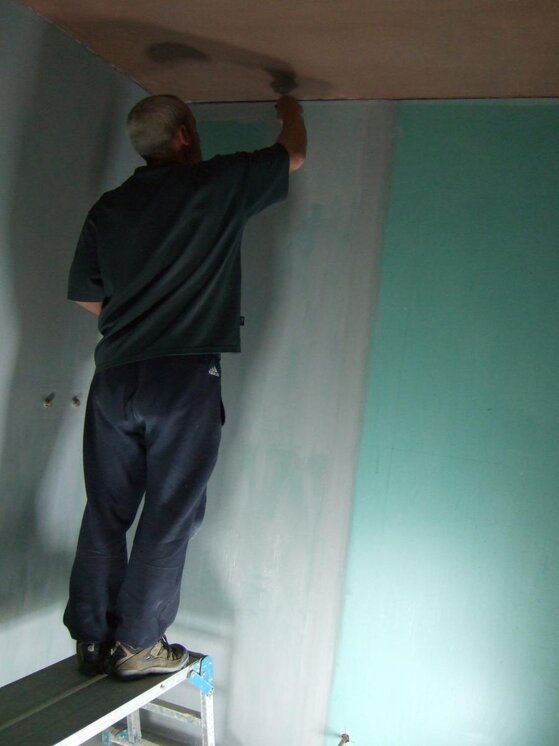
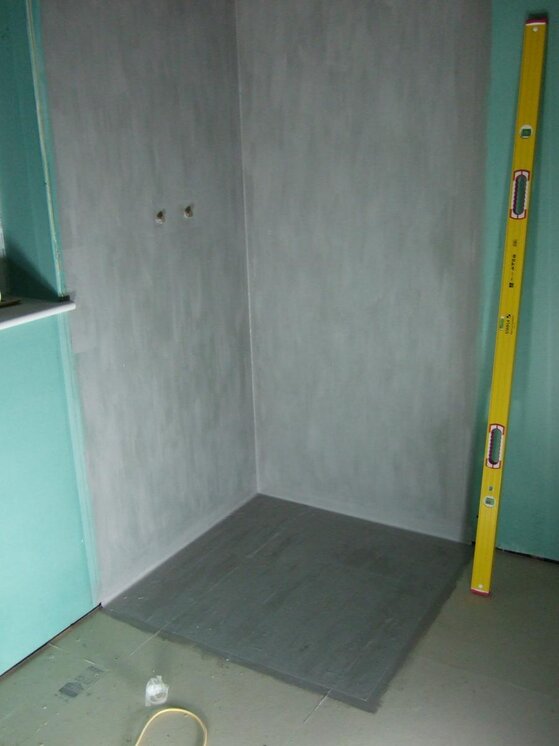
DSCF7602.jpg
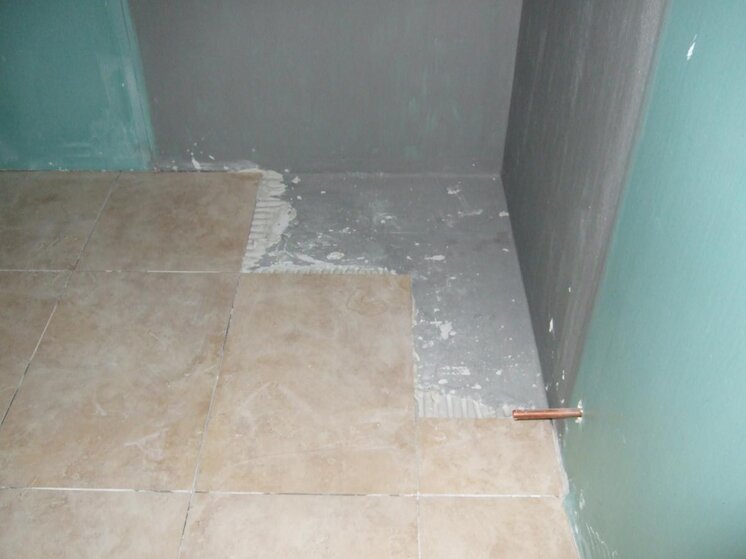
Tanking the shower area in the dark.

DSCF7610.jpg
The completed job.

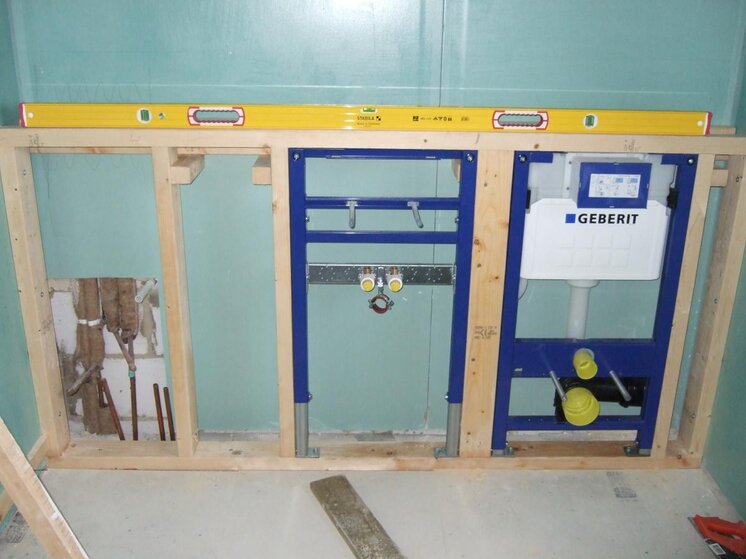
DSCF7628.jpg
My re-installation of the wet wall

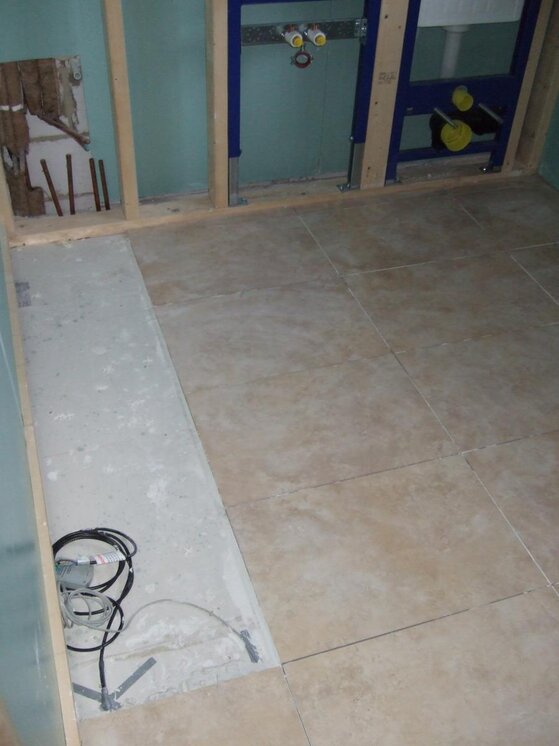
DSCF7667.jpg
The loose wire UFH goes down.

DSCF7654.jpg
D'ya remember that night out...


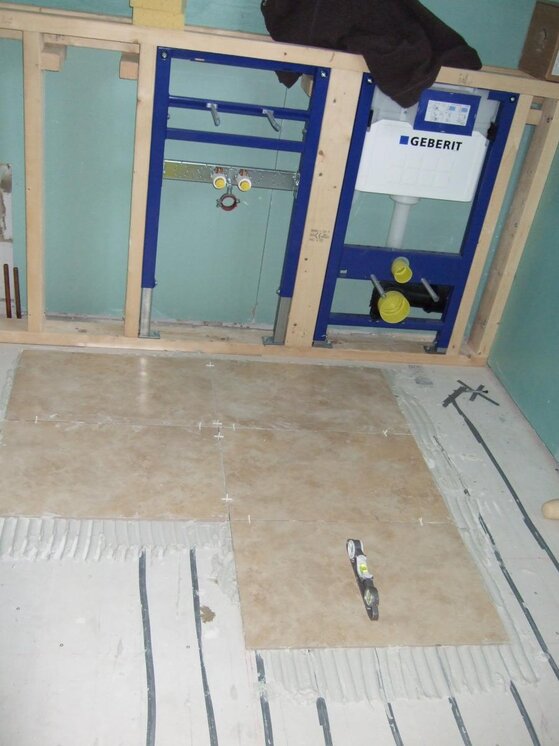
DSCF7675.jpg
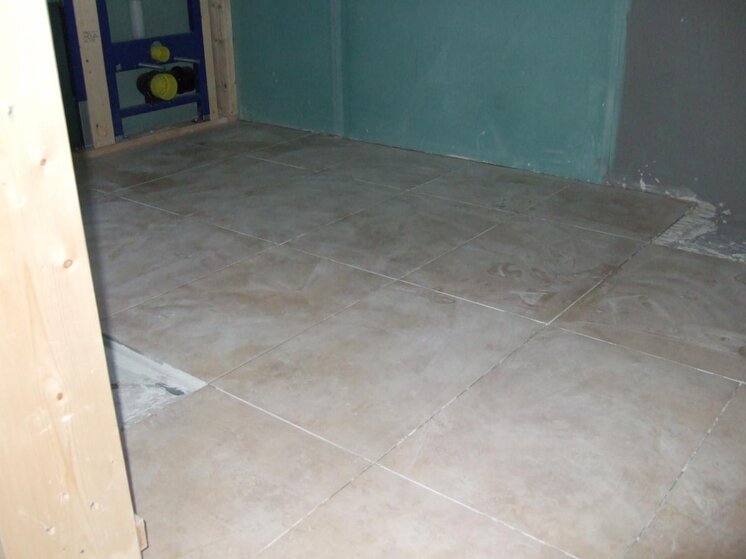
The floor tiles being laid

DSCF7685.jpg
Floor tiles almost done...

DSCF7687.jpg
But not under the shower......

DSCF7686.jpg
.......or the bath.

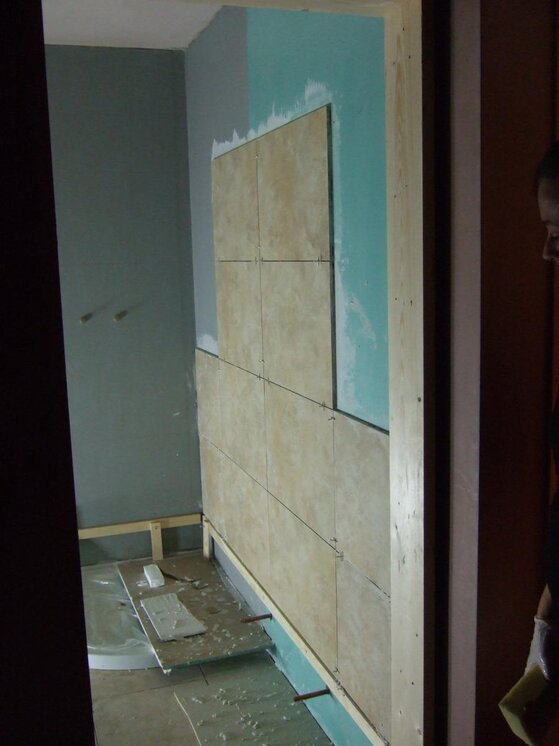
DSCF7711.jpg
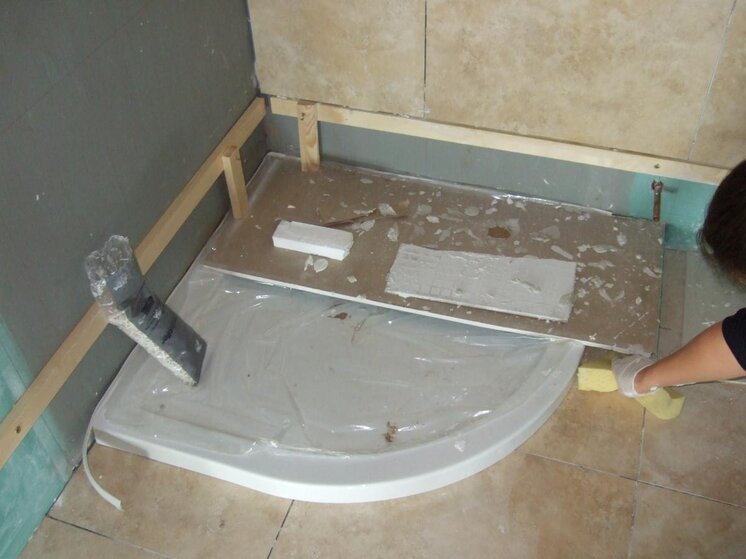
Starting on the wall tiles

DSCF7712.jpg
and getting addy all over the new shower tray
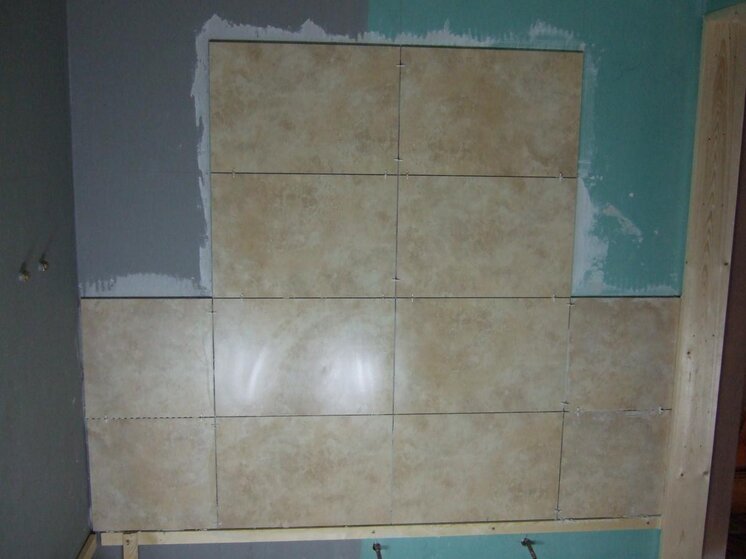
DSCF7710.jpg
A bit more progress


DSCF7703.jpg

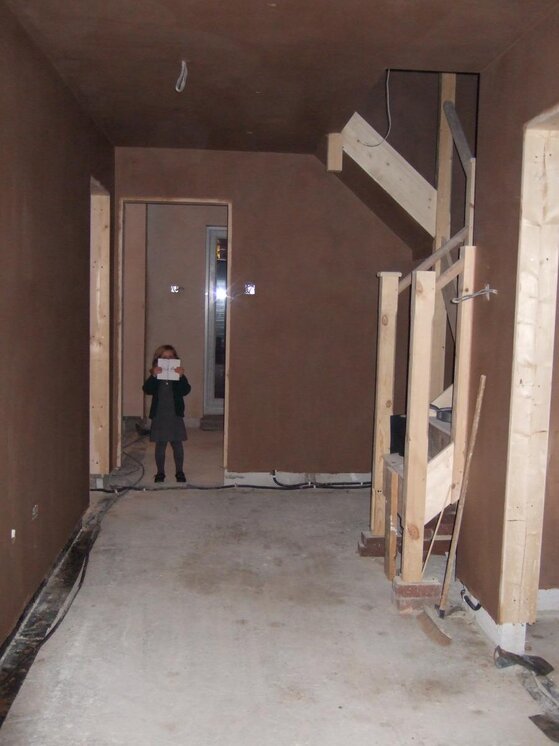
With all this downstairs to do.

I've actually made a little more progress than the pictures suggest. One wall is now completely tiles and doesn't look too bad. Had a few problems yesterday with the addy being too wet. We seem to be getting a fair few lumps as well despite a real thorough mixing with the paddle mixer.
 
P

PJPro

I do have a problem looming. Despite the time I spent thinking about the setting out, I neglected to consider the tiles above the wet wall and the thickness of the window cill which sits on top of it.

If I tile down to the cill, I'm going to have the problem of a tile which is too thin. Tiling behind the cill doesn't seem right somehow. I'd have to increase the height of the wet wall considerably if I want to avoid taking slithers off a large tile to make it fit and lowering the height of the wet wall is impossible.

I do have some "detail" travertine mosaic tiles which I wanted to fit as a course right round the wall but just couldn't get the setting out right if I used them. Maybe I can use them to get myself out of a bind somehow? I need to give this more thought.
 

DJS

TF
Reaction score
16
Points
463
Location
Peel Hall, Manchester
Doing yourself proud there PJ...well done. Sounds like the mosaic could be a good idea, but your right to give it more thought.

And yep, I do remember nights out like that in pic5! lol
 
P

PJPro

Work progressing very slowly at the moment. Was ill for a couple of days, so no proess at all on those days. I am currently working around the window. Got a couple of slithers to deal with (the cill is the same height as the wet wall) and have been agonising over the fitting of the trim around the window.

I tilied the reveals first and then planned to tile the wall and fit the trim then. It's not really working out. Don't get me wrong.....it's not bad just not perfect. If I were to do it again, I'd tile the walls first and fit the trim and then tile the reveals to suit. Still, I can use that lesson learnt when I tile the downstairs cloak.

Oh, and the spark was round today and we have lights! My wife isn't keen on the downlighters we've gone for. They're OK in the bathroom but not so good in the hall. They don;t light the whole room somehow and can be a bit blinding. I'm hoping things will improve when the walls are painted white.

Oh and the downstairs has been screeded. They used a retardant so it's taking a while to go off. And they added some fibrous stuff yo help it bond together. They've made a pretty good job of it and it nicely covers the wet UFH.

The PM is keen that we buy the doors so they can get on with the second fix chippy work but I'm delaying as I need to buy quite a few and want to avoid storing them any longer than I have to....especially when the wet trades have just finished.

When I get time, I'll post some more pictures. Hopefully, you'll be impressed!
 
P

PJPro

Actually, I have a question. The foreman/plumber have suggested I tile to the bath rather than behind it. Is this the best way to do it?
 

Reply to DIY Tiler - 90 sq m of large format porcelaine tiling making me nervous! in the DIY Tiling Forum area at TilersForums.com

There are similar tiling threads here

    • Like
Bathroom floor. I would be grateful for advice on how to prepare my bathroom sub floor ready for...
Replies
1
Views
433
I had a small leak in the main water line before the stop tap in my 1950s house. The copper pipe...
Replies
1
Views
615
Good morning all. After a little advice. I'll post pictures a bit later. However.... The...
Replies
6
Views
786
Hi! I'm looking for some advice, I have laid some SLC (Mapei 1210) in our conservatory in...
Replies
5
Views
571
Hi all. Just wanting some advice and wondering what the pros in here are using nowadays for...
Replies
2
Views
556

Advertisement

New Tiling Questions

Replies you've not seen

Top