Discuss Please help a Newbie in the British & UK Tiling Forum area at TilersForums.com.

L

LesD

Les Well done mate that seal looks pretty good from here :punk:

TJ

Hi TJ,

I just hope it is as good as it looks!

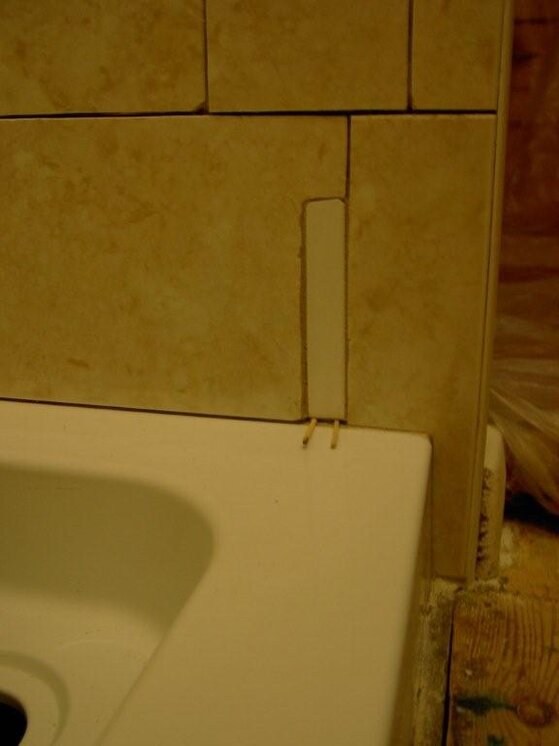
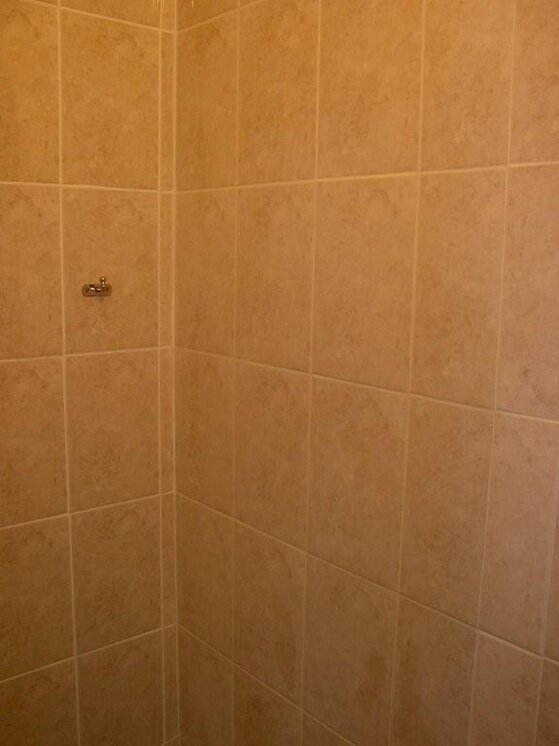
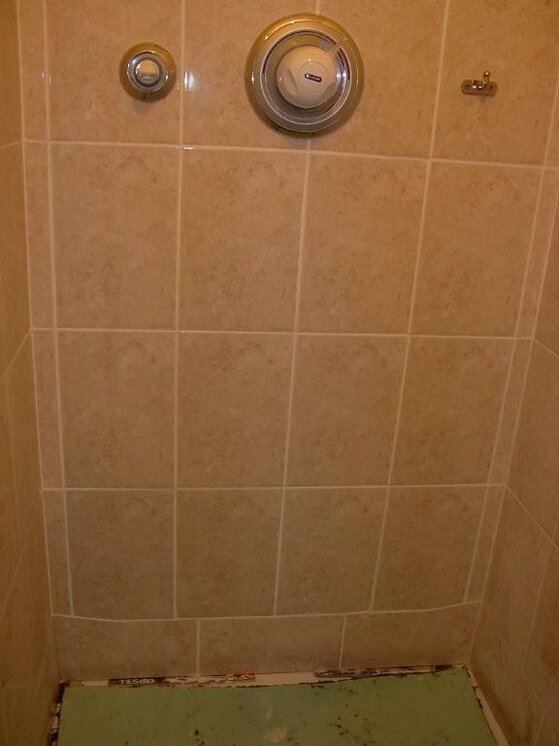
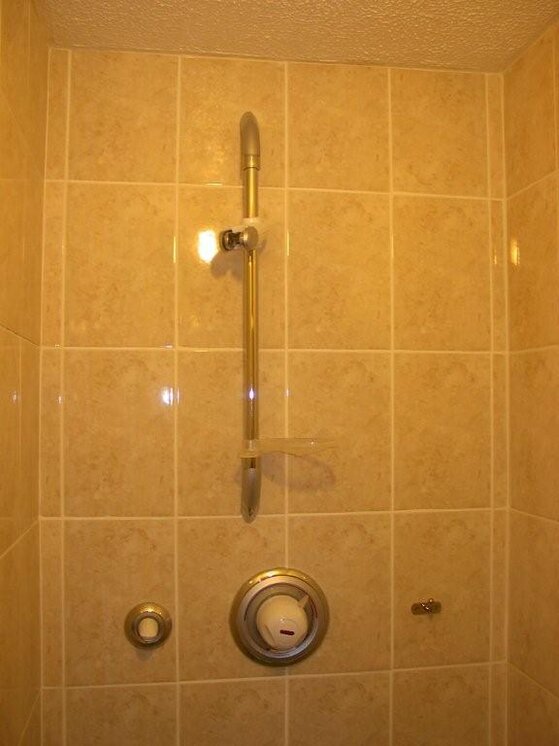
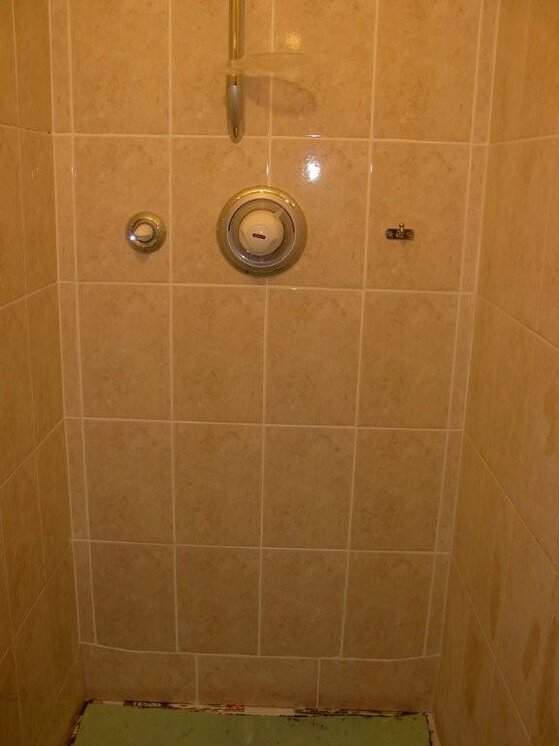
I said I would post some pictures to illustrate the stages of work so I have attached a few below to kind of bring them together all in the one post.

From this phrase:
I am looking for inspiration to get me kick started on fixing my shower
that was in my very first post on this forum at the beginning of this thread, to the finished job that you can see in the last picture below, everyone has been helpful, friendly and very supportive towards my endeavours, especially TJ who has guided me through the retiling/grouting phase with patience and fortitude. TJ please accept my heartfelt thanks once again. Lets not forget faithhealer, Mikethetile, whitebeam Smurf21 and everyone else who has contributed there help and advice, it has been very much appreciated. :thumbsup:Thanks guys.
 

Attachments

  • IM002186.jpg
    IM002186.jpg
    112.6 KB · Views: 140
  • IM003253.jpg
    IM003253.jpg
    103.2 KB · Views: 123
  • IM003259.jpg
    IM003259.jpg
    66.6 KB · Views: 122
  • IM003279.jpg
    IM003279.jpg
    74.8 KB · Views: 126
  • IM003298.jpg
    IM003298.jpg
    69.5 KB · Views: 128
  • IM003302.jpg
    IM003302.jpg
    33.9 KB · Views: 149
Last edited by a moderator:
L

LesD

Well done Les! Job done well under TJ's guideance :thumbsup:.

Have you run a line of Silicon up the corners too? (I can't tell from your pics). If not, then it will be worth doing, white or clear will look good.

Thanks Captain Slow.

The corners between the back and side wall are done with BAL Microflex.
Should I run Silicon over the Microflex?
 
L

LesD

Well said Captain Slow...........
TJ

I have just booted up and spotted the above because this evening I have done exactly what Captain Slow recommended and Siliconed up the corners so I am pleased to see that you are in agreement with this refinement TJ.

Tonight, however, I used a bit of improvisation of my own. I found a plastic card that was slightly bigger than a standard credit card and snipped off the rounded corners so that they were straight across but of different sizes and used this card to do the first smooth and removal of excess Silicon. Just a short length at a time before wiping the card clean on some paper towel. This gave me an excellent start for TJ "wipe the grit from a baby's eye" technique with Fairy Liquid on the end of my index finger. I found that the edges of the card removed any excess Silicon a treat from the tiles on either side of the corner by angling it a bit as need be. :thumbsup:

The corners do look better than before but not worth a picture because I think it would be difficult to make the difference show in a photograph.

I even got the carpet cut back to accommodate the bigger base and relaid on it's gripper so the job it pretty much done and dusted all bar the acid test of using it for a while and checking for leaks, God forbid! :yikes:
 
L

LesD

For the sake of completeness here is a list of the main materials, new tools and the suppliers that I used for this refurbishment of my shower:

900 x 900 x 95 mm Shower Tray...................Primrose Bathrooms Sheffield (c/o eBay)
900 mm Bi-fold Door.............................Primrose Bathrooms Sheffield (c/o eBay)
P-Trap..........................................Primrose Bathrooms Sheffield (c/o eBay
18 mm Weather Proof & Boil (WPB) Plywood........Wickes Stafford
Esmeralda Beige 200 x 300 x ~9 mm Tiles.........Wickes Stafford (Surplus from earlier work)
White 200 x 250 x ~5mm Tiles....................Wickes Stafford
Carbide Edged Grout Routing Tool................Wickes Stafford
Plaster Board and Timber........................Wickes Stafford (Surplus from other work)
Mapei Keraquick (Grey)..........................Trades Direct Newcastle Staffs
Mapei Latex Plus................................Trades Direct Newcastle Staffs
Mapei Primer G..................................Trades Direct Newcastle Staffs
Mapei While Silicon Sealer.....................Trades Direct Newcastle Staffs
Mapei Keraquick (White).........................Tile Giant Cannock
BAL Microflex (Microban) Flexible Grout.........Topps Tiles Stafford
BAL While Silicon Sealer.......................Topps Tiles Stafford
Notched Spreader "Vinyl" for Adhesive...........B&Q Stafford
Flexible Spreader "Vinyl" for Grout.............B&Q Stafford
Saw Edged Blade Grout Routing Tool..............B&Q Stafford
Grouting Sponges................................B&Q Stafford
Disposable Vinyl Gloves.........................B&Q Stafford
Dulux Bathroom+ White Paint for the Ceiling.....Wilkinson (Wilko) Stafford
 
L

LesD

The two weeks for the BAL Microflex to cure, set, harden or whatever it needs two weeks to do before the shower could be used was up yesterday so use the shower I did and so far it is all good news. :thumbsup:

I ran the shower for 5 to 10 minutes with the floorboards in front of it lifted and inspected all the couplings in the drainage plumbing and they stayed nice and dry and there were no sign of any leaks that I could detect. :)

So with that I took a shower, my first since the 2nd of May. ;)

After that I inspected the plumbing again and looked where I could for any signs of leaks and fortunately couldn't find any.

I know that leaks can be time related but so far it's looking good, albeit early days.

My
thanks1.gif
once again to all who contributed and to TJ in particular.
 
Last edited by a moderator:
T

TJ Smiler

No shower since the 2nd of May?? i'm surprised you were brave enough to look at the pipes afterwards they must have been black lol.

It's a pleasure Les, Keep inspecting it once in a while just to make sure no teething problems occur but if it's fine now it should be fine for a long time.

Good luck to you mate, i'm pleased you enjoyed it and are happy with the end result

TJ
 
L

lona

Hi Les

It's been a while since the showerroom got started but we are now at the stage of fitting the door. I notice all the shower doors are in from the edge of the tray and I think ours is going to look daft as you are only going to see about 1" of tiling outside the shower cubicle as we have only tiles the 3 wall areas around the shower tray.

Is it imperative that the door be centred on the rim of the tray.?
 

Reply to Please help a Newbie in the British & UK Tiling Forum area at TilersForums.com

Subscribe to Tilers Forums

There are similar tiling threads here

Hello All, I have a shower tray installed and it is sitting away from the wall. I am going to...
Replies
3
Views
968
Hi all, I'm an enthusiastic DIY'er (first time poster) who has been slowly chipping away at an...
Replies
10
Views
1K
    • Like
Renovated the bathroom on my 1970 bungalow last year. Took up the old pink floor tiles with sds...
2
Replies
25
Views
3K
    • Like
Hi all, My 1st post and just wanting some help/reassurance on a DIY bathroom refurb. I’m...
Replies
4
Views
2K
Hello I'm new to tiling my first flooring job it's 42sqm in 600x 200 floor tiles (wood effect)...
Replies
4
Views
2K

Trending UK Tiling Threads

UK Tiling Forum Popular

Advertisement

Thread Information

Title
Please help a Newbie
Prefix
N/A
Forum
British & UK Tiling Forum
Start date
Last reply date
Replies
79

Which tile adhesive brand did you use most this year?

  • Palace

    Votes: 9 5.5%
  • Kerakoll

    Votes: 17 10.4%
  • Ardex

    Votes: 12 7.3%
  • Mapei

    Votes: 46 28.0%
  • Ultra Tile

    Votes: 21 12.8%
  • BAL

    Votes: 39 23.8%
  • Wedi

    Votes: 4 2.4%
  • Benfer

    Votes: 3 1.8%
  • Tilemaster

    Votes: 22 13.4%
  • Weber

    Votes: 19 11.6%
  • Other (any other brand not listed)

    Votes: 17 10.4%
  • Nicobond

    Votes: 8 4.9%
  • Norcros

    Votes: 2 1.2%
  • Kelmore

    Votes: 5 3.0%

You're browsing the UK Tiling Forum category on TilersForums.com, the tile advice website no matter which country you reside. Our UK based online tiling forum has 48,000 members and started out in 2006.

Top